Table of Contents
In this article, I will take you through the steps to create your first Azure Function in Azure Portal. If you are looking for a feature where you don't want to create any Infrastructure or Virtual machine to run your code and only need to use resources that actually required to run your code then you are looking for none other than Azure Function Service. It is an on-demand cloud service which allows you to focus more on code rather than Infrastructure required to run that code.
This gives an edge as compared to other Cloud or On-premise services which requires you to build the Infrastructure first before you can even think of writing and running a code. Functions provides serverless compute for Azure. You can use Functions to build web APIs, respond to database changes, process IoT streams, manage message queues, and more. More on Azure docs.

How to Create Your First Azure Function in Azure Portal
Also Read: How to Create a Log Analytics Workspace in Azure{Step by Step}
Step 1: Prerequisites
a) You should have a valid Azure Account.
b) In case you want to use any existing Resource Group, then you should already have the access of that Resource Group.
c) You should have access to create Resources from Azure Portal.
Step 2: Login to Azure Portal
You need to first go to URL https://portal.azure.com and login to Azure Portal using your valid user account and password.
Step 3: Open Function App
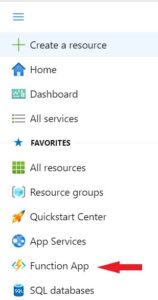
You need to go to Azure Home Page and Click on Function App under Portal Menu as you can see below.
Step 4: Create Your First Azure Function
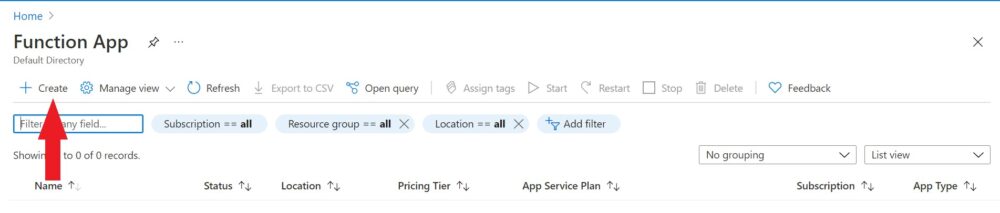
It will then take you to the below Function App page where you need to Click on Create.
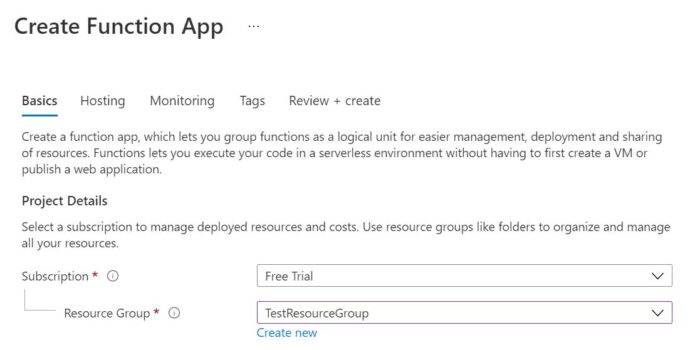
a) Basics
Here in the Basics section you need to first provide subscription and Resource Group details. I am selecting Free Trial subscription and TestResourceGroup as my Resource Group to manage this resource.
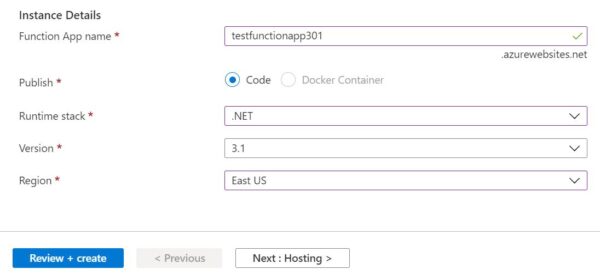
If you go further down then you will see Instance Details to fill. You need to provide some unique function app name here. I will be using testfunctionapp301 so the complete name becomes testfunctionapp301.azurewebsites.net. Then I will publish this as Code rather than Docker Containers so I will select Code. My runtime stack will be .NET and I am using version 3.1. Then last is the region to select. I will be selecting East US Region as you can see below. Then Click on Next: Hosting >
b) Hosting
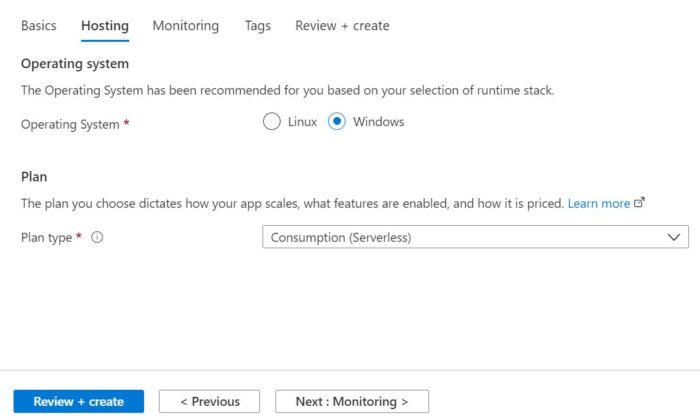
In the hosting section, you can choose either Windows or Linux depending on your requirements. I will be using Windows Operating System. Then Click on Next: Monitoring >
c) Monitoring
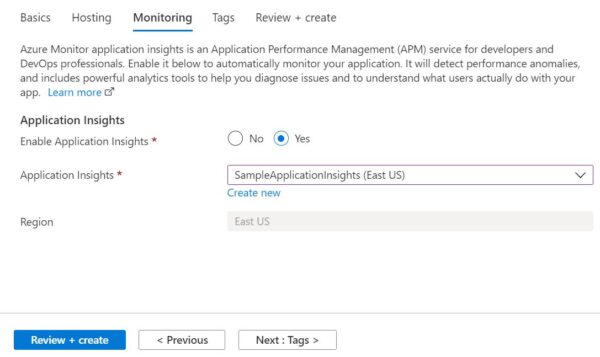
Monitoring a resource is very important to track the performance of that specific resource. Azure provides an Application Performance Management(APM) service called Application Insights to automatically monitor your application. You just need to enable it from here by selecting Yes. So I will be choosing SampleApplicationInsights which is created on East US region to monitor the Azure Function App resource. You can check How to Create an Application Insights Resource to Monitor Your Application in case you want to know how I created SampleApplicationInsights. Then Click on Next: Tags
d) Tags
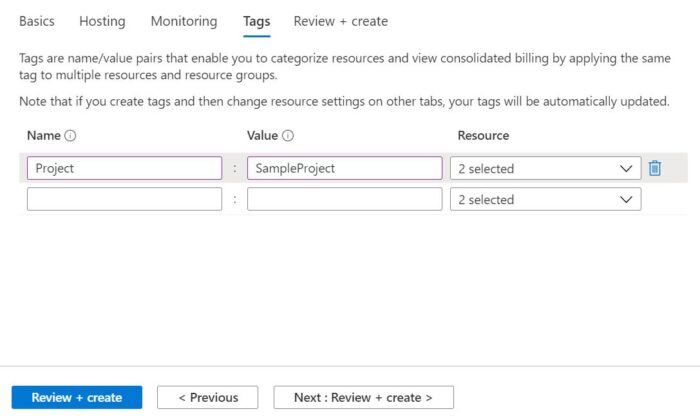
Tags are one of the most useful features Azure provides to track and consolidate the billing of multiple resources. A resource can be tagged using name/value pairs. I am tagging Function App with the project SampleProject so the name will be Project and value will be SampleProject as you can see below. Then Click on Next: Review+create >
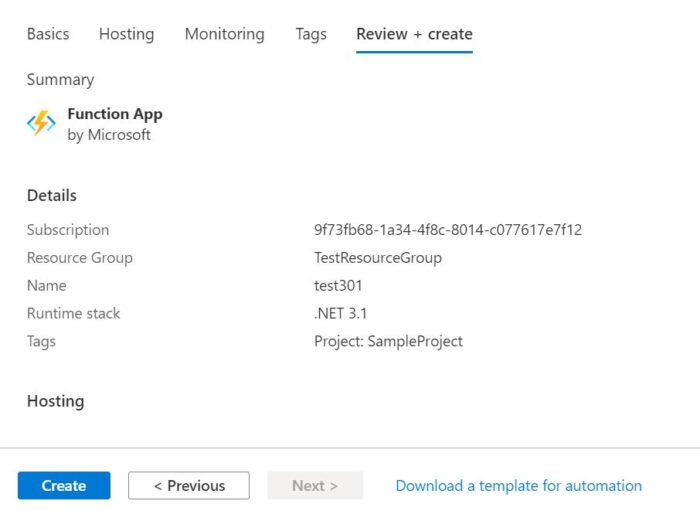
e) Review+Create
In this section, you need to validate all the details you have given and then Click on Create if everything looks good.
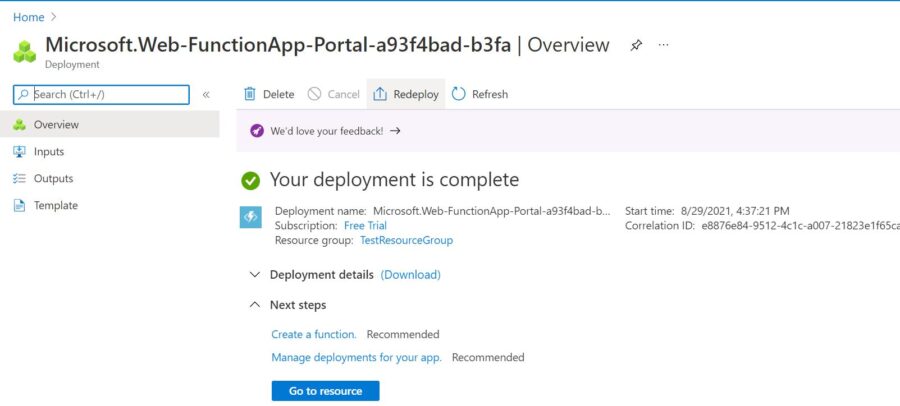
After few mins you can see below screen with successful deployment completion. You can also Click on Go to resource and check complete details about this Resource.