
Table of Contents
In this article, We will go through step by step procedure to create virtual machine in Azure. Microsoft Azure is a cloud computing service created by Microsoft for building, testing, deploying, and managing applications and services through Microsoft-managed data centers. It provides software as a service (SaaS), platform as a service (PaaS) and infrastructure as a service (IaaS) and supports many different programming languages, tools and frameworks, including both Microsoft-specific and third-party software and systems.
Create Virtual Machine in Azure

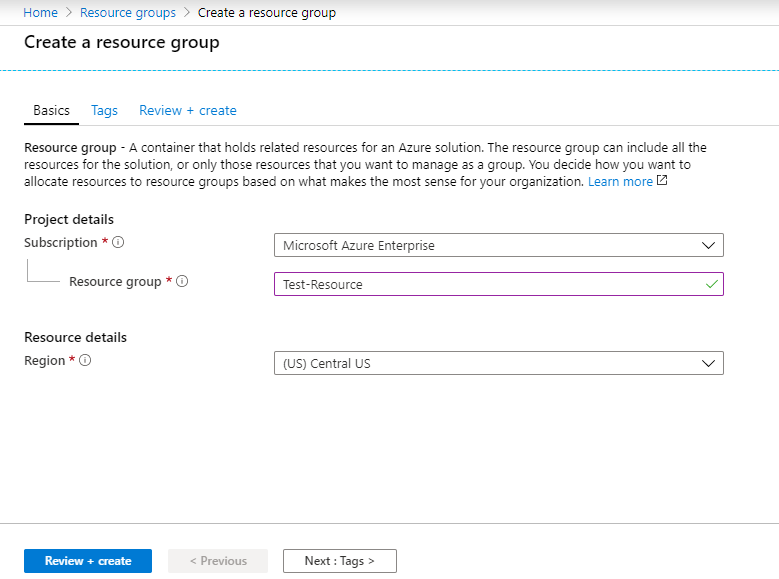
Step 1: Create a Resource Group
We need to create a Resource Group first to create a Virtual Machine. Here we will create a Resource Group Test-Resource.
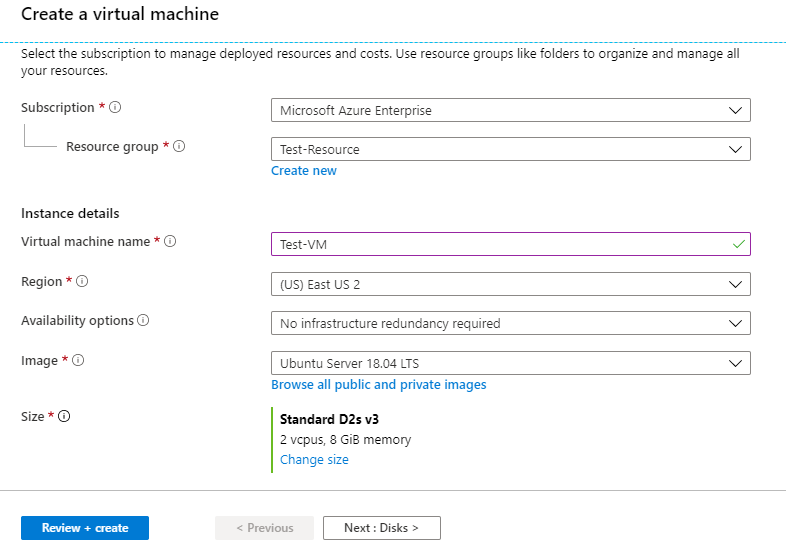
Step 2: Select Resource Group
We will provide below details for our example:-
Resource Group: Test-Resource
Virtual Machine Name: Test-VM
Region: East US 2
Image: Ubuntu Server 18.04 LTS
Size: 2 VCPU, 8 GB Memory
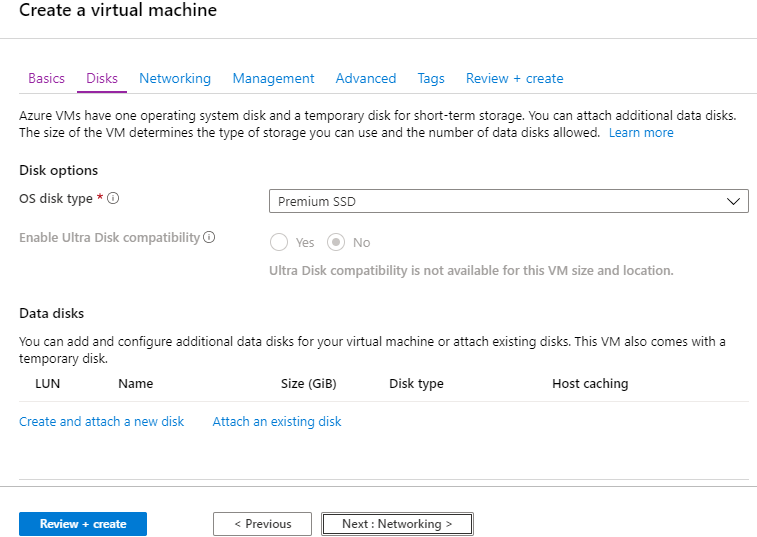
Step 3: Select Disk
We will select Premium SSD for our example and Click on Networking.
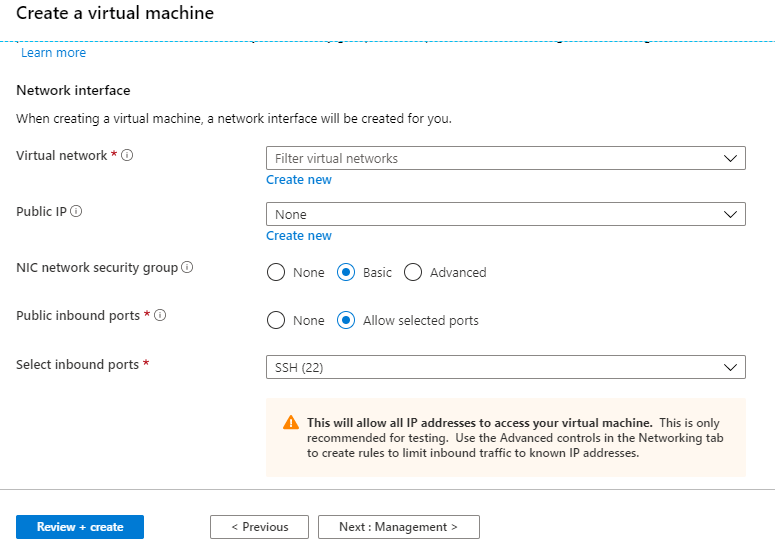
Step 4: Provide Networking Information
Here you need to select your virtual network, public ip, ports you want to open etc. For our example, we will only open port 22.
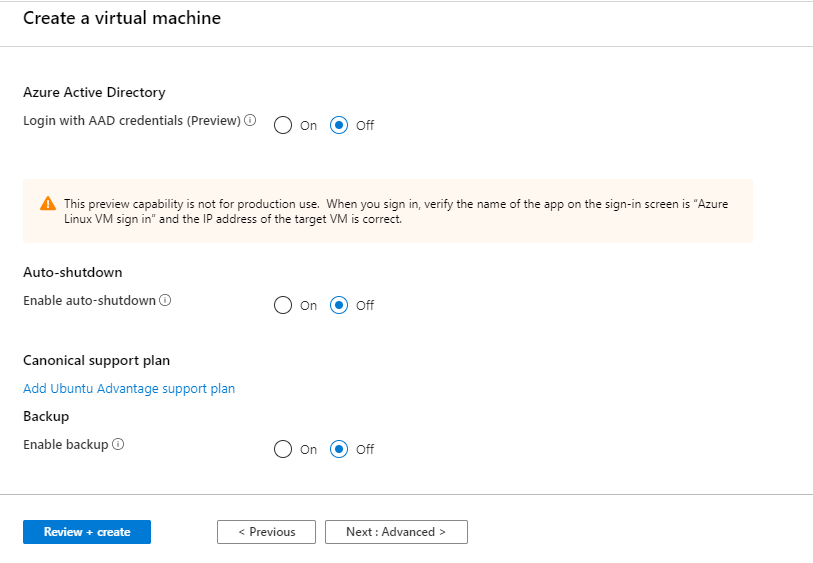
Step 5: Create Management(Optional)
You can enable the login with Azure Active Directory from here. We will not use this option for our example.
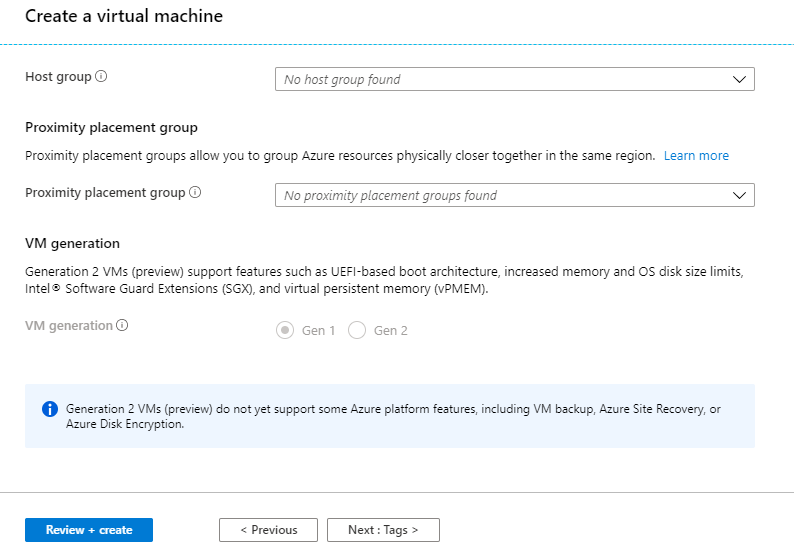
Step 6: Set up Advance(Optional)
This is an advance steps where you can set host group, VM Generation etc. We will not set this options for our case.
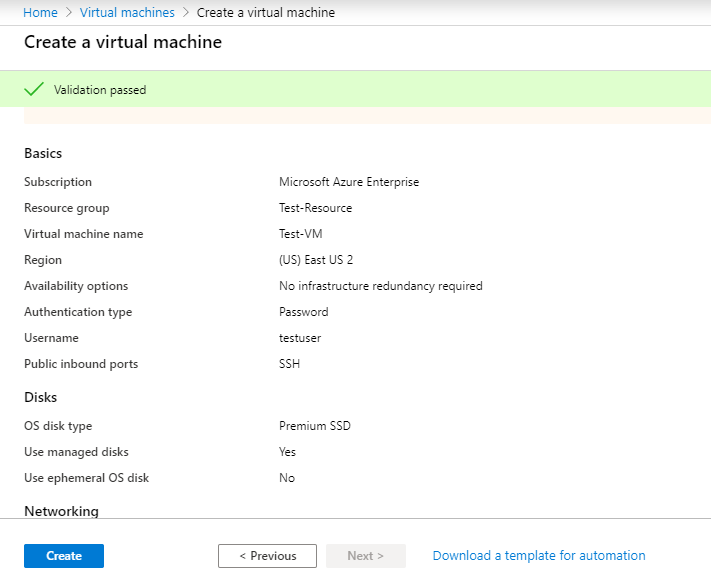
Step 7: Create and Review
Click on Review+Create. If all the options are set correctly then it will show Validation Passed. Now you can go ahead and select Create.
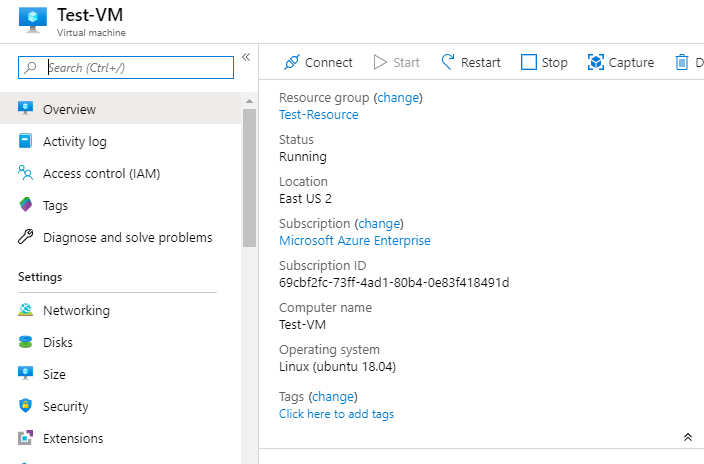
Step 8: Test-VM created successfully
Congratulations, You have created your Test-VM Successfully. You can now use the public ip to login.
Public IP: 10.256.54.76(In my case)
Also Read: AWS IAM User and Policy
References: Microsoft Azure Documentation