Table of Contents
In this article, I will take you through the steps to create public IP Address using Azure Portal but before that it is important to understand why we need to create Public IP Address. If you ever want to connect to any Azure resources on public Internet then you always need to do it through Public IP Addresses. Hence you need to create a public ip address in the first place before you even attempt to connect to an azure resource. It comes in two SKUs - Basic and Standard. You can choose whichever suits you best. Then you will also have the option to create addresses on the regional and global scale.
How to Create Public IP Address Using Azure Portal
Also Read: How to Create Azure Cosmos DB Account from Azure Portal
Step 1: Prerequisites
a) You should have a valid Azure Account.
b) You should have a valid subscription.
c) You should have access to create Resources from Azure Portal.
Step 2: Login to Azure Portal
First you need login to below Azure Portal using your valid user account and password. Upon successful login, you will be redirected to Portal Home Page from where you can create all the required resources.
Step 3: Go to Portal Menu
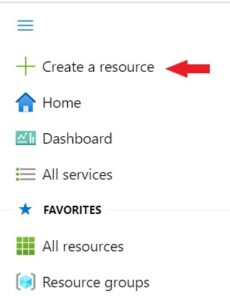
You can go Portal Menu and click on Create a resource as shown below.
Step 4: Create a Resource
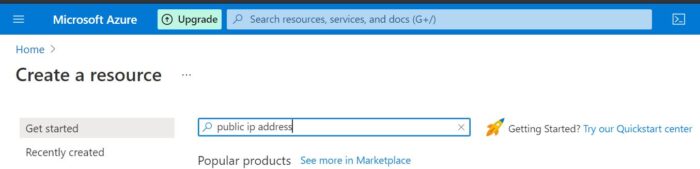
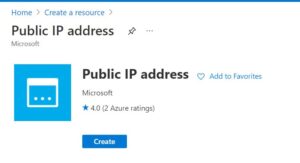
You need to open Public IP Address resource by searching public ip address in the search box as shown below. Once it appeared, click on it to open.
Step 5: Create Public IP Address
Here you need to click on Create to start with the creation of Public IP Address.
You can select the IP version, SKU and Tier as per your need and then provide some useful name to this resource. Regarding routing preferences, there are two choices currently available - Internet Routing and Microsoft Network Routing. Here we are providing below information:-
IP Version: IPv4
SKU: Standard
Tier: Regional
Name: TestIPAddress
Routing preference: Microsoft network

If you scroll down a bit, you need to fill the Idle timeout, DNS name label, Subscription, Resource group, Location and Availability Zone. We will provide the same information what we are using in previous articles.
DNS name label: test301
Subscription: Free Trial
Resource group: TestResourceGroup
Location: (US) East US
Availability Zone: Zone-redundant
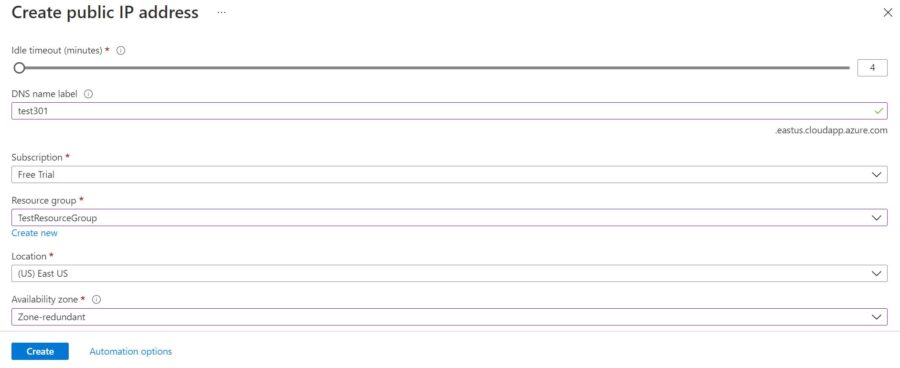
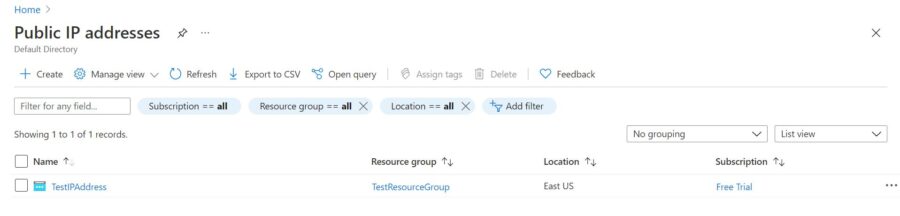
Once all the information are filled correctly, you can click on Create. After a while you will see that TestIPAddress created under Public IP addresses as you can see below. That's it !! Now you can go ahead and use this public ip address to connect to Azure Resources.