
Table of Contents
In this article, we will see how to install lens desktop on Ubuntu or Debian. Lens is a powerful, lightweight, easy to use Kubernetes Integrated Development Environment (IDE) designed to work in all major platforms. It can be used by small to large scale organizations to manage multiple kubernetes clusters with ease. Lens can be integrated with open source monitoring tools like Prometheus to provide the real time metrics of k8s cluster.
Using Lens Interface, users can directly view, edit and manage clusters resources. It is mostly designed for developers and devops engineers to manage and troubleshoot workloads in one place. It ensures secure deployment of k8s cluster from your desktop to production environment, thus becoming an ideal choice for organizations to use. It also simplifies the port forwarding for kubernetes services, which is very useful for debugging and development.
Since it provides integrated terminal access to kubernetes clusters, it enables users to run kubernetes commands directly from the UI. Lens provides support for Kubernetes Role-Based Access Control (RBAC), which ensures that users can only access resources that their role permissions allow.

How to Install Lens Desktop on Ubuntu or Debian
Also Read: How to Install Checkmarx One CLI on Linux
Step 1: Prerequisites
a) You should have a fully functional Ubuntu or Debian System(in our case we are using Ubuntu 22.04 LTS System).
b) You should have root or root like access to run privileged commands.
c) You would also require curl and gpg utility to download and add gpg key.
d) Minimum hardware requirements:
- CPU: Dual Core Processor would be enough to provide better performance.
- Memory: A minimum of 2GB ram would be recommended.
- Storage: At least 500MB of free disk space would be recommended for installation.
Step 2: Update Your Server
Since Ubuntu release security patches, bug fixes and feature upgrades time to time, it is important that before installing any new packages, run below command to check and update all the installed packages to the latest version. This will keep system stable and secure.
cyberithub@ubuntu:~$ sudo apt update && sudo apt upgrade
Step 3: Add GPG Key
In the next step, you have to download GPG key from Lens official website and add it to your keyring using below curl command. This keyring can then be used by package managers to verify the authenticity of Lens packages during installation, ensuring they have not been tampered with and are officially released by the Lens team.
cyberithub@ubuntu:~$ curl -fsSL https://downloads.k8slens.dev/keys/gpg | gpg --dearmor | sudo tee /usr/share/keyrings/lens-archive-keyring.gpg > /dev/null
Step 4: Add Repo
As Lens Desktop is only available through its repo, you need to first add the repo to download and install the package. You can add the repo to your /etc/apt/sources.list.d directory using below command.
cyberithub@ubuntu:~$ echo "deb [arch=amd64 signed-by=/usr/share/keyrings/lens-archive-keyring.gpg] https://downloads.k8slens.dev/apt/debian stable main" | sudo tee /etc/apt/sources.list.d/lens.list > /dev/null
Step 5: Update Package Cache
To update all the packages information from the newly added repo, run sudo apt update command as shown below. This will update the package cache and prepare for lens package installation.
cyberithub@ubuntu:~$ sudo apt update
Get:1 https://downloads.k8slens.dev/apt/debian stable InRelease [4,019 B]
Get:2 http://security.ubuntu.com/ubuntu jammy-security InRelease [110 kB]
Get:3 https://dl.google.com/linux/chrome/deb stable InRelease [1,825 B]
Hit:4 http://in.archive.ubuntu.com/ubuntu jammy InRelease
Get:5 http://in.archive.ubuntu.com/ubuntu jammy-updates InRelease [119 kB]
Get:6 https://downloads.k8slens.dev/apt/debian stable/main amd64 Packages [644 B]
Get:7 https://dl.google.com/linux/chrome/deb stable/main amd64 Packages [1,081 B]
Get:8 http://security.ubuntu.com/ubuntu jammy-security/main amd64 Packages [1,394 kB]
Hit:9 http://in.archive.ubuntu.com/ubuntu jammy-backports InRelease
Get:10 http://in.archive.ubuntu.com/ubuntu jammy-updates/main i386 Packages [620 kB]
Get:11 http://security.ubuntu.com/ubuntu jammy-security/main i386 Packages [453 kB]
Get:12 http://security.ubuntu.com/ubuntu jammy-security/main Translation-en [243 kB]
Get:13 http://security.ubuntu.com/ubuntu jammy-security/universe i386 Packages [601 kB]
Get:14 http://security.ubuntu.com/ubuntu jammy-security/universe amd64 Packages [848 kB]
Get:15 http://security.ubuntu.com/ubuntu jammy-security/universe Translation-en [163 kB]
Get:16 http://in.archive.ubuntu.com/ubuntu jammy-updates/main amd64 Packages [1,612 kB]
Get:17 http://in.archive.ubuntu.com/ubuntu jammy-updates/main Translation-en [304 kB]
Get:18 http://in.archive.ubuntu.com/ubuntu jammy-updates/restricted Translation-en [311 kB]
Get:19 http://in.archive.ubuntu.com/ubuntu jammy-updates/universe amd64 Packages [1,072 kB]
Get:20 http://in.archive.ubuntu.com/ubuntu jammy-updates/universe i386 Packages [701 kB]
Get:21 http://in.archive.ubuntu.com/ubuntu jammy-updates/universe Translation-en [245 kB]
Fetched 8,803 kB in 5s (1,711 kB/s)
Reading package lists... Done
Building dependency tree... Done
Reading state information... Done
Step 6: Install Lens Desktop
In the next step, you can install Lens from repo by using sudo apt install lens command as shown below. This will resolve all the dependencies and install them along with the lens package.
cyberithub@ubuntu:~$ sudo apt install lens
Reading package lists... Done
Building dependency tree... Done
Reading state information... Done
The following NEW packages will be installed:
lens
0 upgraded, 1 newly installed, 0 to remove and 177 not upgraded.
Need to get 315 MB of archives.
After this operation, 1,522 MB of additional disk space will be used.
Get:1 https://downloads.k8slens.dev/apt/debian stable/main amd64 lens amd64 2024.4.230844-latest [315 MB]
Fetched 315 MB in 1min 4s (4,909 kB/s)
Selecting previously unselected package lens.
(Reading database ... 207643 files and directories currently installed.)
Preparing to unpack .../lens_2024.4.230844-latest_amd64.deb ...
Unpacking lens (2024.4.230844-latest) ...
Setting up lens (2024.4.230844-latest) ...
Processing triggers for hicolor-icon-theme (0.17-2) ...
Processing triggers for gnome-menus (3.36.0-1ubuntu3) ...
Processing triggers for mailcap (3.70+nmu1ubuntu1) ...
Processing triggers for desktop-file-utils (0.26-1ubuntu3) ...
Step 7: Launch Lens Desktop
After successful installation, launch lens by running lens-desktop command from terminal as shown below.
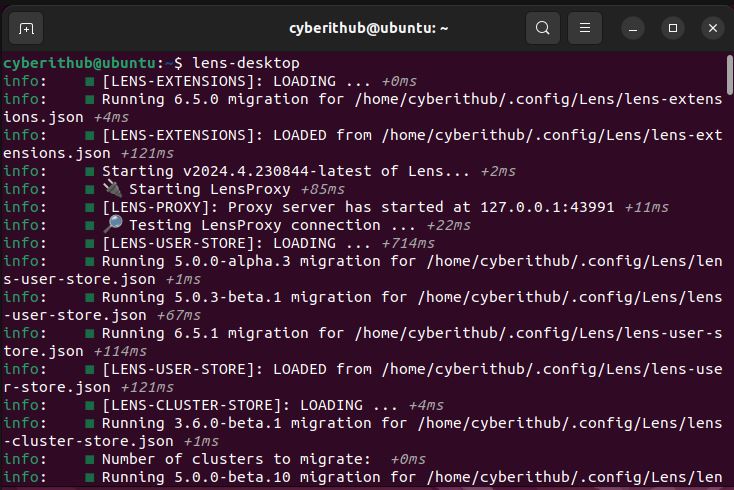
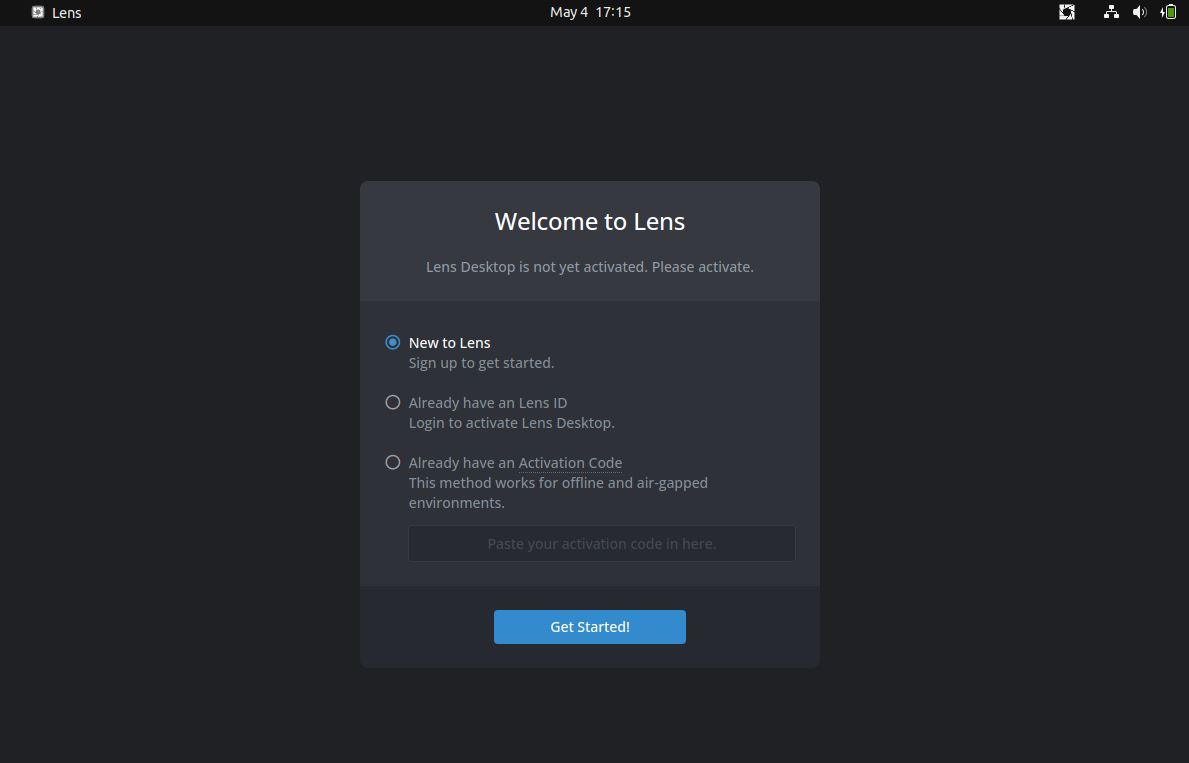
When you launch it for the first time after installation, it should be launched like below. To proceed, you can sign up to Lens or if you have Lens ID then login and activate it directly.
Step 8: Uninstall Lens Desktop
In case you are done using Lens, you can choose to remove it from your system by using sudo apt remove lens command as shown below.
cyberithub@ubuntu:~$ sudo apt remove lens
[sudo] password for cyberithub:
Reading package lists... Done
Building dependency tree... Done
Reading state information... Done
The following packages will be REMOVED:
lens
0 upgraded, 0 newly installed, 1 to remove and 177 not upgraded.
After this operation, 1,522 MB disk space will be freed.
Do you want to continue? [Y/n] Y
(Reading database ... 210812 files and directories currently installed.)
Removing lens (2024.4.230844-latest) ...
Processing triggers for hicolor-icon-theme (0.17-2) ...
Processing triggers for gnome-menus (3.36.0-1ubuntu3) ...
Processing triggers for mailcap (3.70+nmu1ubuntu1) ...
Processing triggers for desktop-file-utils (0.26-1ubuntu3) ...