
Table of Contents
In this article, I will take you through step by step guide to install Jenkins on Ubuntu 20.04. Jenkins is an open source automation server used by the Developers/Testers around the world to build, deploy, exec and test the applications. It is frequently used as Continuous Deployment and Continuous Integration tool along with other DevOps tool. You can check Jenkins Official website to know more about this tool.

Best Step by Step Guide to Install Jenkins on Ubuntu 20.04
Also Read: How to Install traceroute command on RHEL/CentOS 7/8 Using 5 Easy Steps
Step 1: Prerequisites
a) You need to have a running Ubuntu 20.04 Server.
b) You should have apt tool installed in your Server. To Know more about apt get tool, you can check 20 Useful apt get examples on Ubuntu.
c) You should have wget tool installed in your Server. To Know more about wget tool, you can check what is wget and How to use wget command in Linux(20 Popular wget examples)
d) You should have sudo access to run Privileged Commands. Please Check How to Add User to Sudoers to know more about providing sudo access to the User.
Step 2: Update Your System
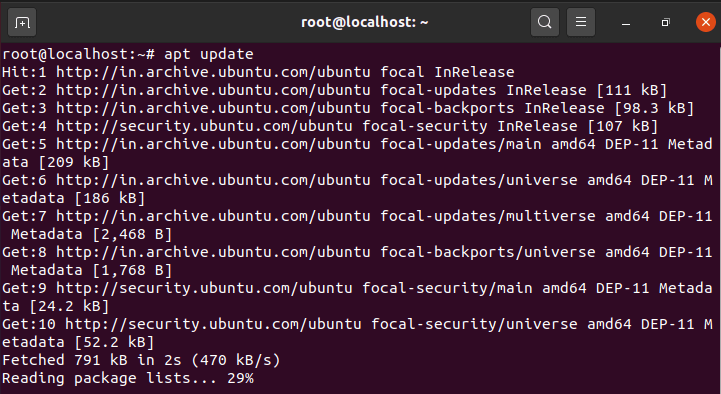
Before installing a new package in your system it is always recommended to update your system using apt update or apt-get update as shown below. This command will download and install all the latest available updates from Ubuntu Repository.
Step 3: Install Java
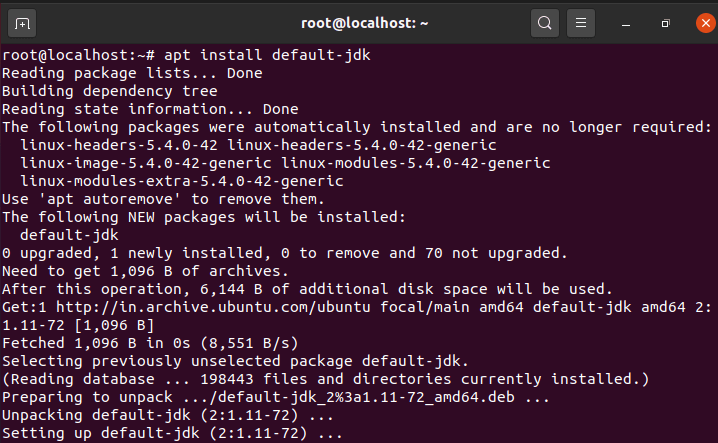
Jenkins required Java Framework to run and perform its tasks hence we will install java on Ubuntu 20.04 Server using apt install default-jdk command as shown below.
Step 4: Check Java Version
You can check the java version by using java -version command as shown below. As shown in the output, currently installed java version is 11.0.8.

Step 5: Add and Enable Jenkins Repo
In the next step, you need to add the below key to the list of trusted key using wget -q -O - https://pkg.jenkins.io/debian/jenkins.io.key | apt-key add - command as shown below.

After adding the trusted key you need to add the Jenkins repository using sh -c 'echo deb http://pkg.jenkins.io/debian-stable binary/ > /etc/apt/sources.list.d/jenkins.list' command as shown below.

Step 6: Install Jenkins
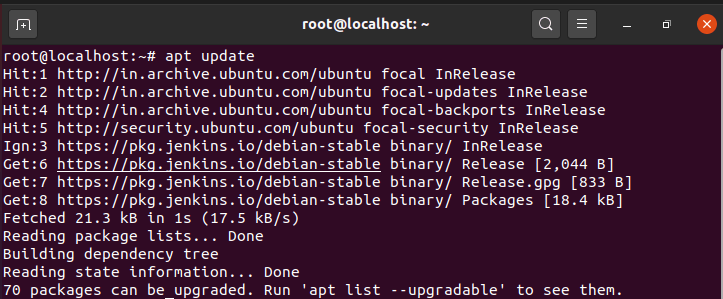
Now you need to run the apt update command again to refresh the Jenkins repository as shown below.
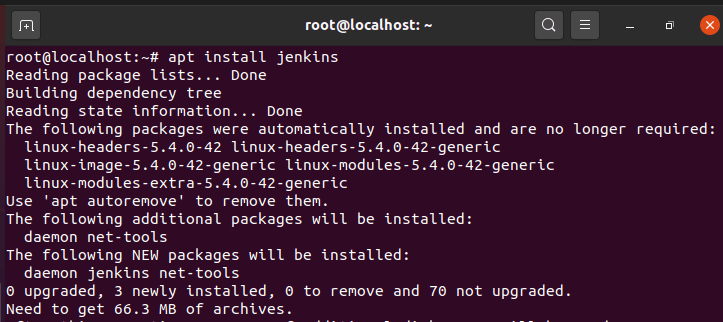
Then download the Jenkins using apt install jenkins command as shown below. This will download and install all the required packages from the repo as shown in the output.
Step 7: Restart Jenkins Service
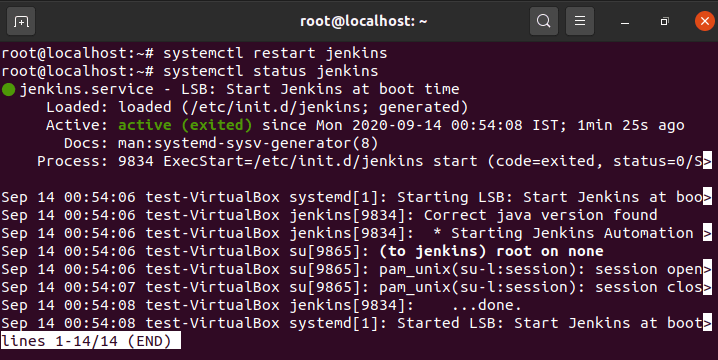
After successful installation of Jenkins you can check the Port number which you want to configure from /etc/default/jenkins file and then restart the service by using systemctl restart jenkins command as shown below. By default, Jenkins will use Port 8080. In this example, we are going to use default 8080 Port. You can then check the status of Jenkins service by using systemctl status jenkins command. Here you need to make sure there is no error and service is in active state.
Step 8: Setup Jenkins Web Interface
Now go to the browser and open http://localhost:8080 URL as shown below.
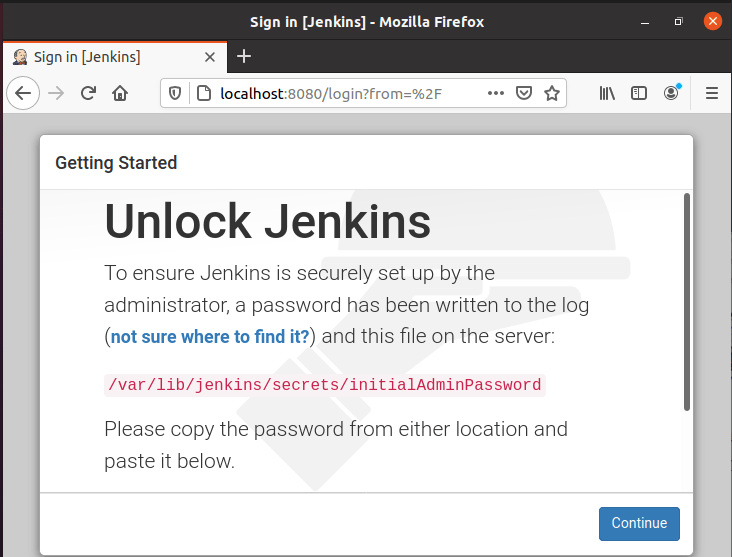
You can login using administrator password which will be given in /var/lib/jenkins/secrets/initialAdminPassword as shown below.

Once you provide this password and click on continue you will get another screen to Install Plugins. If you want you can follow the steps and setup the Jenkins or you can just close the window and setup later. Here I have closed my window and opened the Login Page again as explained in next step.
Step 9: Access Jenkins Web Portal
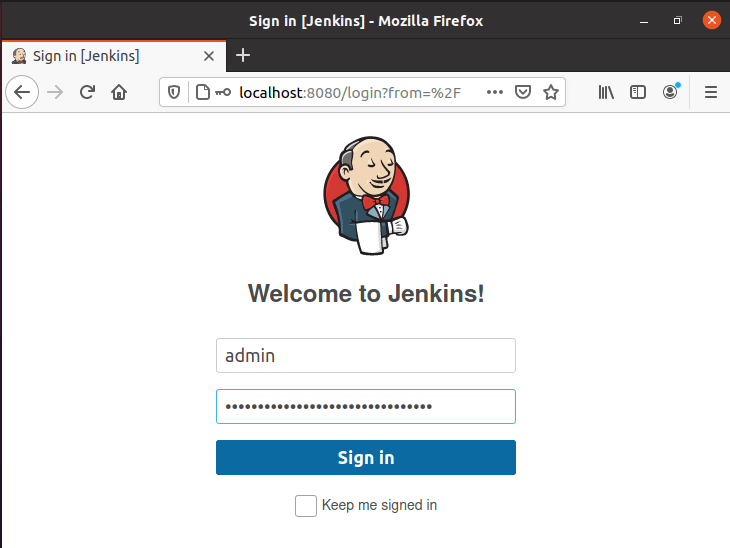
After setting up the Jenkins if you again go to the URL http://localhost:8080 then you will see below Login Page. Since we are using here default user admin and the password given in /var/lib/jenkins/secrets/initialAdminPassword so we will login using this credentials. This pretty much completes our Jenkins installation. You can now go ahead and install the required plugins if you want , Create a Job and perform other tasks as well.
Recommended Posts:-
How to Install Let's Encrypt(Certbot) on RHEL/CentOS 8 Using 10 Easy Steps
33 Practical Examples of ulimit command in Linux/Unix for Professionals
8 Easy Ways to check Ubuntu Version using Bash Command Line
5 Easy Steps to Install Openssh-Server on Ubuntu 20.04 to Enable SSH
15 Practical Bash For Loop Examples in Linux/Unix for Professionals
How to Install Rust Programming Language in Linux Using 6 Best Steps
10 Useful iproute2 tools examples to Manage Network Connections in Linux
How to Limit CPU Limit of a Process Using CPULimit in Linux (RHEL/CentOS 7/8)
6 Popular Methods to List All Running Services Under Systemd in Linux
Unix/Linux Find Files and Directories Owned By a Particular User(5 Useful Examples)