
Table of Contents
In this article, we will go through the steps to download and Install Jenkins on Windows 10. Jenkins is a free and open source automation software used for building, testing and deploying code to achieve the end goal of Continuous delivery and Continuous Integration. It provides faster and efficient code deployment on multiple environments. Jenkins support a wide range of plugins due to which it can deploy almost any kind of code to any environment.

Steps to Download and Install Jenkins on Windows 10
Also Read: How to Download and Install WinSCP on Windows 10
Step 1: Prerequisites
a) You should have a running Windows 10 Server.
b) You should have the latest Java software installed as a prerequisite.
b) You should have access to install Software on Windows 10 Server.
Step 2: Download Jenkins
First you need to download the latest Jenkins software from Download Page. At the time of writing this article, Jenkins 2.289.3 is the latest version. This might be different for you.
Step 3: Install Jenkins
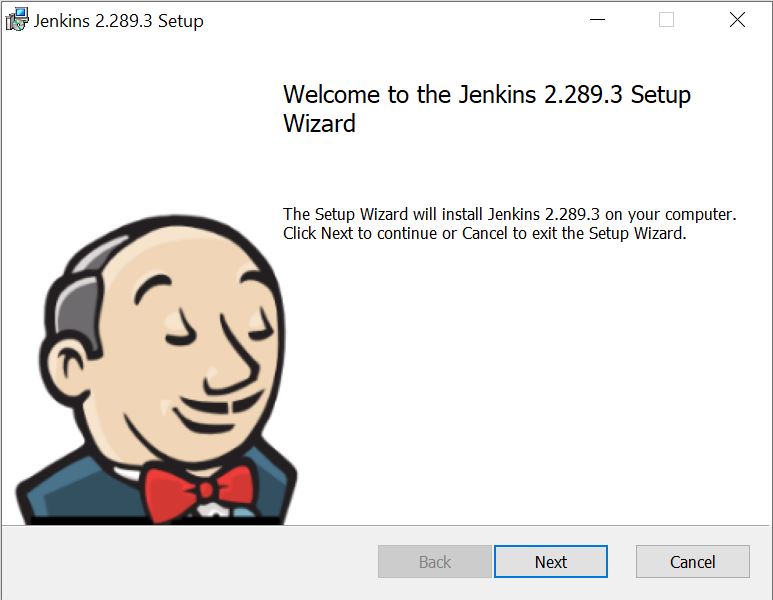
a) Setup Jenkins
To start the installation, you need to double click on downloaded file which will bring you first to below Welcome Window. Then Click on Next.
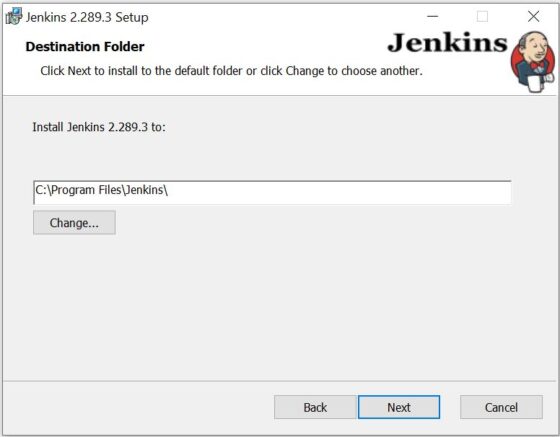
b) Set Destination Folder
In the next step you need to select the Destination Folder where you can install Jenkins Software. We will use the default selected location C:\Program Files\Jenkins\ as you can see below.
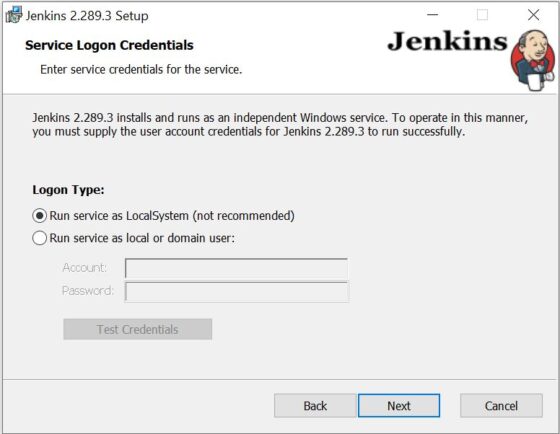
c) Service Logon
You need to provide user account credentials to run Jenkins as Independent Windows Service. These can be done using two different ways - run service as LocalSystem or run service as local or domain user. Usually it is recommended to use a local or domain user to run the Jenkins Service but here we will run service as LocalSystem. Then Click on Next.
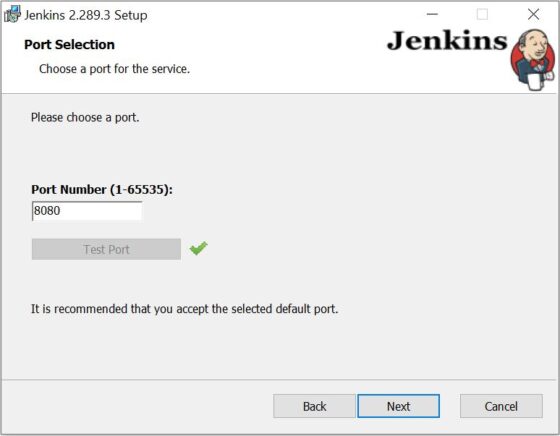
d) Choose Your Port
By default Port 8080 will be used for running Jenkins Service but you can always change this port as per your need. Once port detail is given you can quickly check its availability by clicking on Test Port. If testing goes successful then Click on Next.
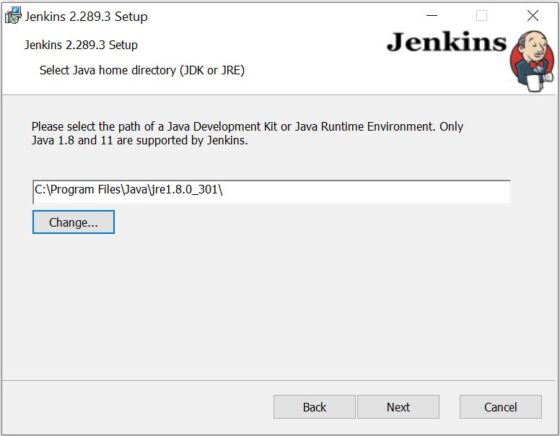
e) Select Java Home Directory
Since Jenkins requires Java Runtime Environment to run so here you need to provide the JRE path to proceed with the installation. In my case I have installed Java on C:\Program Files\Java\jre1.8.0_301\ so I am providing below path here.
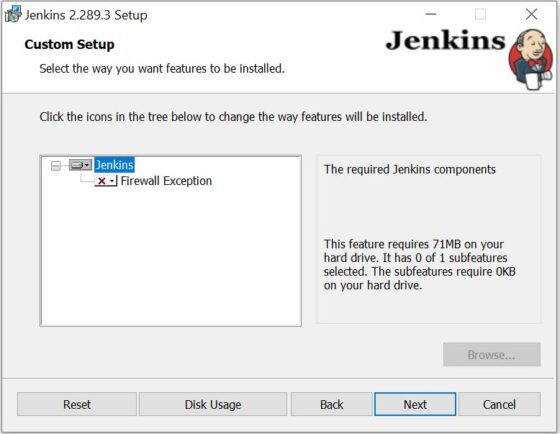
f) Custom Setup
If you want to install any other features during the installation process then you can select it from here and click on Next. You can also select and install other features post Jenkins Installation.
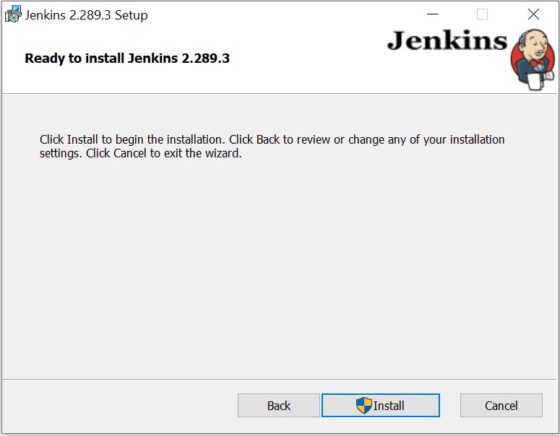
g) Ready to Install
If you see below window then it means Jenkins is finally ready to install. You can now just click on Install to begin the Installation process.
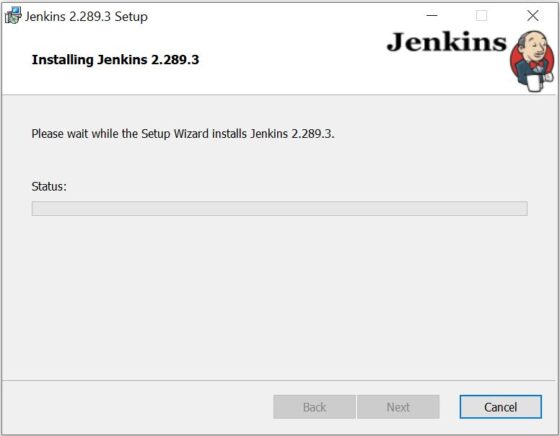
h) Installing Jenkins
You can track the installation status from below window and wait till it gets completed.
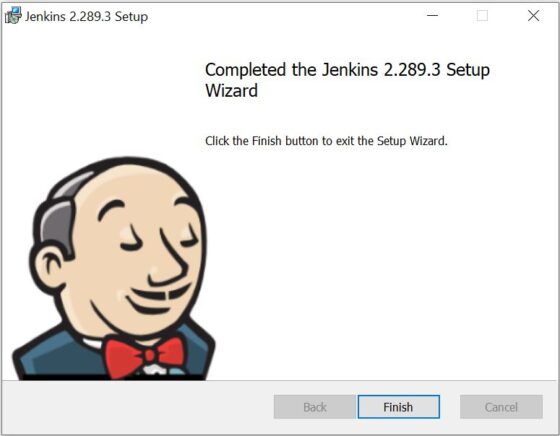
i) Installation Completed
Once the Installation successfully completes, you will see below Window. Click on Finish.
Step 4: Unlock Jenkins
To ensure Jenkins started securely by an administrator account, a password written on C:\Windows\system32\config\systemprofile\AppData\Local\Jenkins\.jenkins\secrets\initialAdminPassword file needs to be given here to Continue.

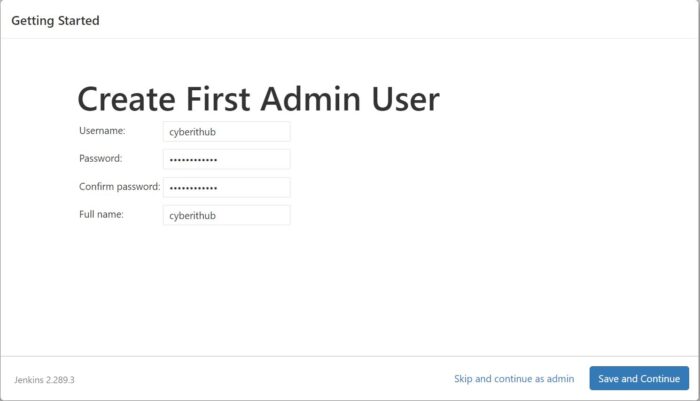
Step 5: Create an Admin User
You can also create an admin user account in case you don't want to proceed as admin. Here we are creating an user cyberithub and going to use the same for accessing Jenkins Server. In case you don't want to create any user, you can click on Skip and continue as admin.
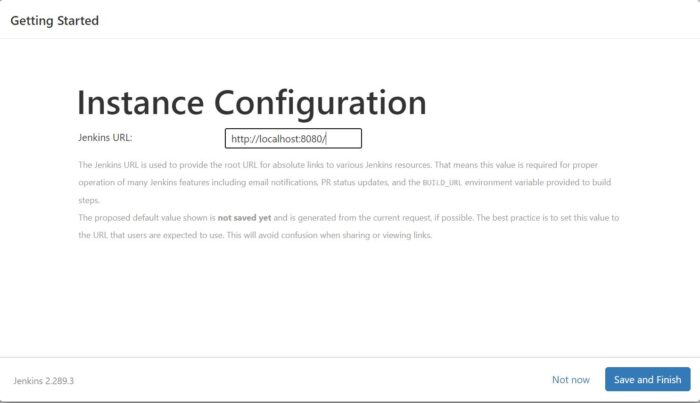
Step 6: Instance Configuration
Then you need to setup the Jenkins URL in below Window. Here we will use the below default URL. So we leave it as it is and then Click on Save and Finish.
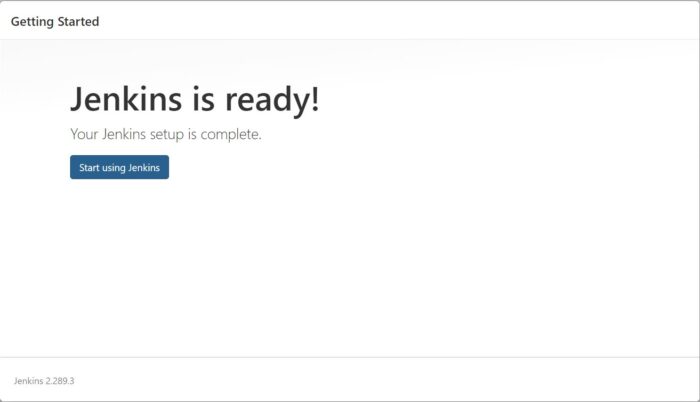
Step 7: Start Using Jenkins
If everything goes well, then you will see below window with the message "Jenkins is ready" and now you are ready to use the Jenkins Service.
Step 8: Using Jenkins
You will see a Jenkins Dashboard like below logged in with cyberithub account and now you can start creating your Job.
