
Table of Contents
In Jenkins, We can build all our applications on a single server. As the requirement grows and changes, we will come cross many issues like what if there are thousands build which needs to be done, what if different builds need to be done on different flavor of OS. In such cases the master-slave architecture comes in picture which takes care of all such odd requirements. More on Jenkins docs.
For example there might be an application which needs to be build on Ubuntu. There is another application that needs to be build on CentOS. As a solution we can have two slave nodes(one with Ubuntu installed and another with CentOS installed) and build the respective applications on these servers.
Slave is a java executable which receives the build instructions from the central master node. Let's do the Master-Slave Configuration on GCP by following below steps and instructions.
-
- Create project
"Jenkins-ms" - Create instance
"Master-node" - Connect to the VM via SSH.
- Create project
Step by Step Guide to Configure Jenkins Master-Slave Setup on GCP
Let's now install Jenkins and some pre-requisite packages on the VM.
Step 1: Install Openjdk-8-jdk on the VM
First you need to install Java on your Linux VM. If you are using Ubuntu Based Server, then you need to use sudo apt-get install openjdk-8-jdk command and if you are using RHEL/CentOS based VM then you need to use sudo yum install openjdk-8-jdk command. After successful installation, if you now check the Java version using java -version command, then it will show something like below.
cyberithub@jenkins-master-slave:~$ java -version
openjdk version "1.8.0_292"
OpenJDK Runtime Environment (AdoptOpenJDK)(build 1.8.0_292-b10)
OpenJDK 64-Bit Server VM (AdoptOpenJDK)(build 25.292-b10, mixed mode)
Step 2: Install Jenkins on the VM
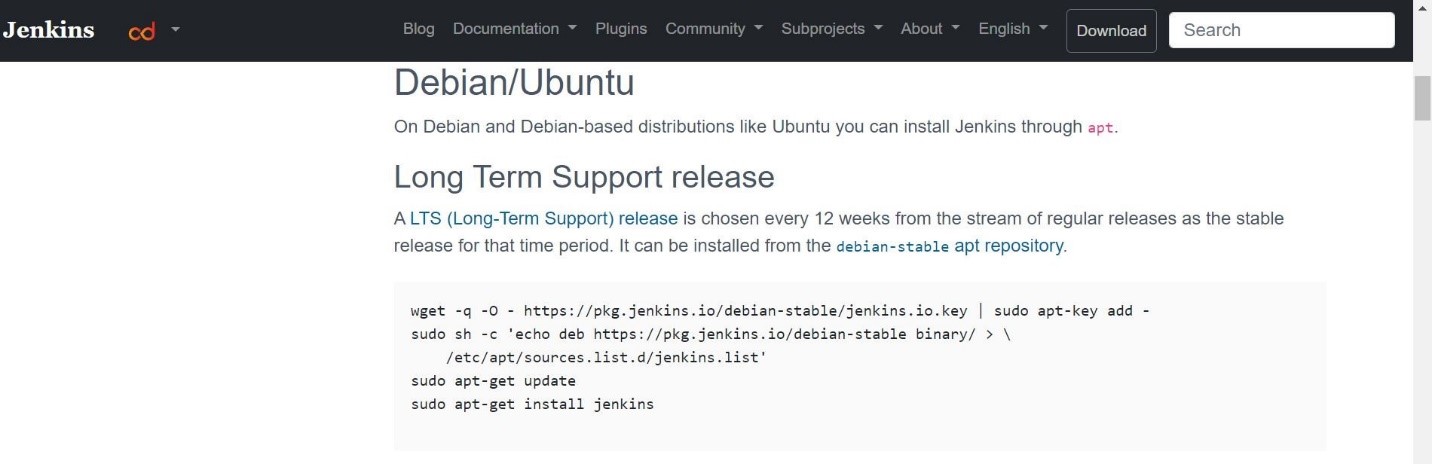
- Go to
"https://www.jenkins.io/" - Click on
Documentation->Installing Jenkins->Linux->Debian/Ubuntu - Run the commands in
"Image1"in sequential order.
Verify Jenkins install by checking if Jenkins folder got created under path "/var/lib". Below files will get created inside the folder:-
cyberithub@jenkins-master-slave:/var/lib/jenkins$ ls
config.xml jenkins.install.InstallUtil.lastExecVersion logs  secret.key  users credentials.xml  jenkins.install.UpgradeWizard.state  nodeMonitors.xml  secret.key.not-so-secret  workflow-libs
hudson.model.UpdateCenter.xml jenkins.model.JenkinsLocationConfiguration.xml nodes secrets workspace hudson.plugins.git.GitTool.xml  jenkins.telemetry.Correlator.xml  plugins
updates identity.key.enc  jobs queue.xml.bak userContent
Step 3: Setup Jenkins
By default Jenkins runs on Port 8080. so Let's add a FIREWALL RULE to add this port.
a) Click on VM instance "master-node".
b) Go to "Network Interfaces" section and click on "default"(of Network column).
c) Click on "FIREWALL RULES".
d) Click "ADD FIREWALL RULES".
- Name: jenkins-port
- Target tags: jenkins-port
- Source IP Ranges: 0.0.0.0/0
- Check tcp: 8080
e) Click "Create".
Step 4: Launch Jenkins
Now that the rule is created. Let's launch the Jenkins URL on Port 8080. Go back to VM instances and launch URL by clicking "External IP". Modify the URL to "http://<External IP>:8080".
Wow we can see the Home Setup page. Enter the asked detail and install the Jenkins. Once installed, it will open a Dashboard like below.
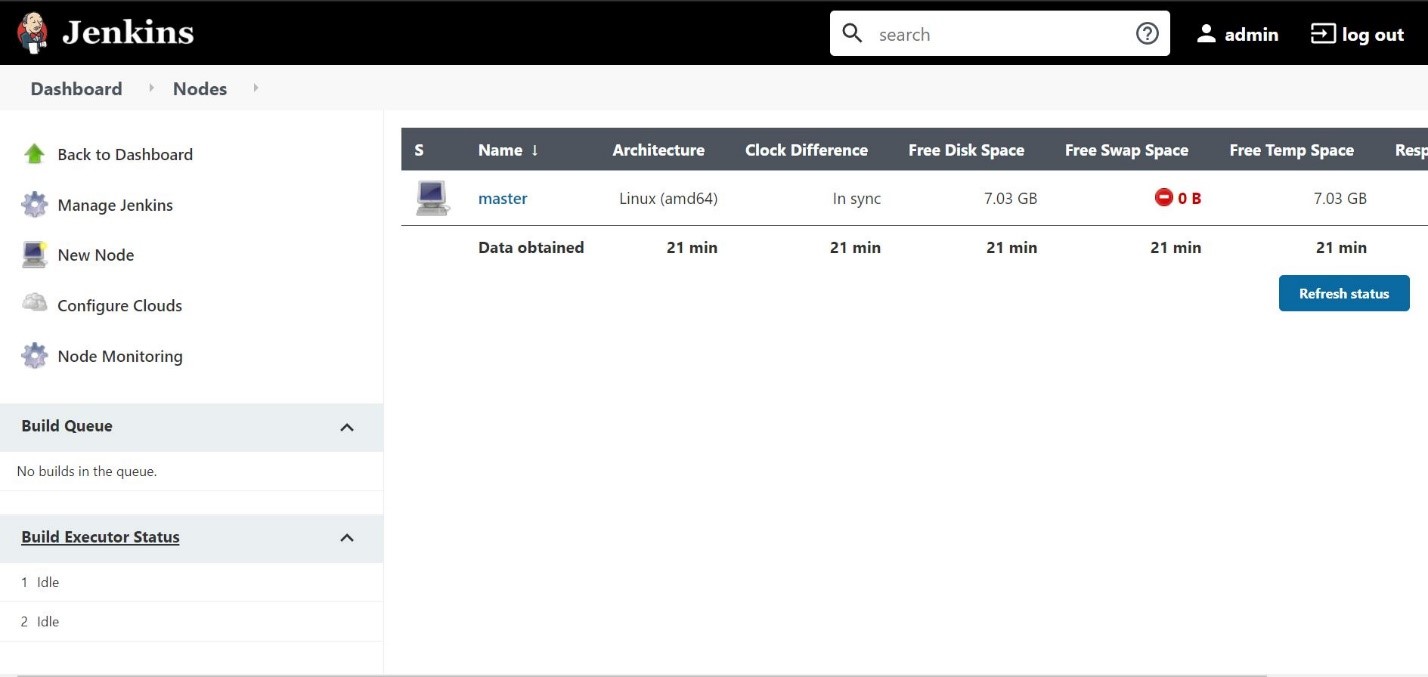
To verify, Go to Jenkins. Under “Build Executor Status” option, see the created node is by default named as master.
Step 5: Create New VM Instance
Create another VM instance by repeating all the above steps and install the java by following the same set of steps which we followed on master node setup and name the VM instance as "slave".
Step 6: Generate SSH Key Pair
We will now add the slave-node in Jenkins. Let’s first generate the key pair on slave-node which will be needed while adding this node on Jenkins. First SSH to VM instance named as "slave".
cyberithub@slave:~$ cd ~/.ssh
cyberithub@slave:~/.ssh$ ssh-keygen -t rsa -f key_rsa
Generating public/private rsa key pair.
Enter passphrase (empty for no passphrase):
Enter same passphrase again:
Your identification has been saved in key_rsa.
Your public key has been saved in key_rsa.pub.
The key fingerprint is:
SHA256:H+0wqwoFjCxSCIW6QxfUhJnkoO0Zf9XkqMoO6EZH/w8 cyberithub@slave-node
The key's randomart image is:
+---[RSA 2048]----+
|o==o*.    .      |
|++oB .   =       |
|= =.+   o o      |
|o+ * . o   .     |
|..= o + S + .    |
|oo o =   . *     |
|o.o + .E  o .    |
|.. o . ...       |
|..  . ..o.       |
+----[SHA256]-----+


cyberithub@slave:~/.ssh$ ls -lhtr
total 8.0K
-rw-r--r-- 1 cyberithub cyberithub  410 Apr 27 18:16 key_rsa.pub
-rw------- 1 cyberithub cyberithub 1.8K Apr 27 18:16 key_rsa
cyberithub@slave:~/.ssh$ cat key_rsa
Step 7: Add Node in master-slave architecture
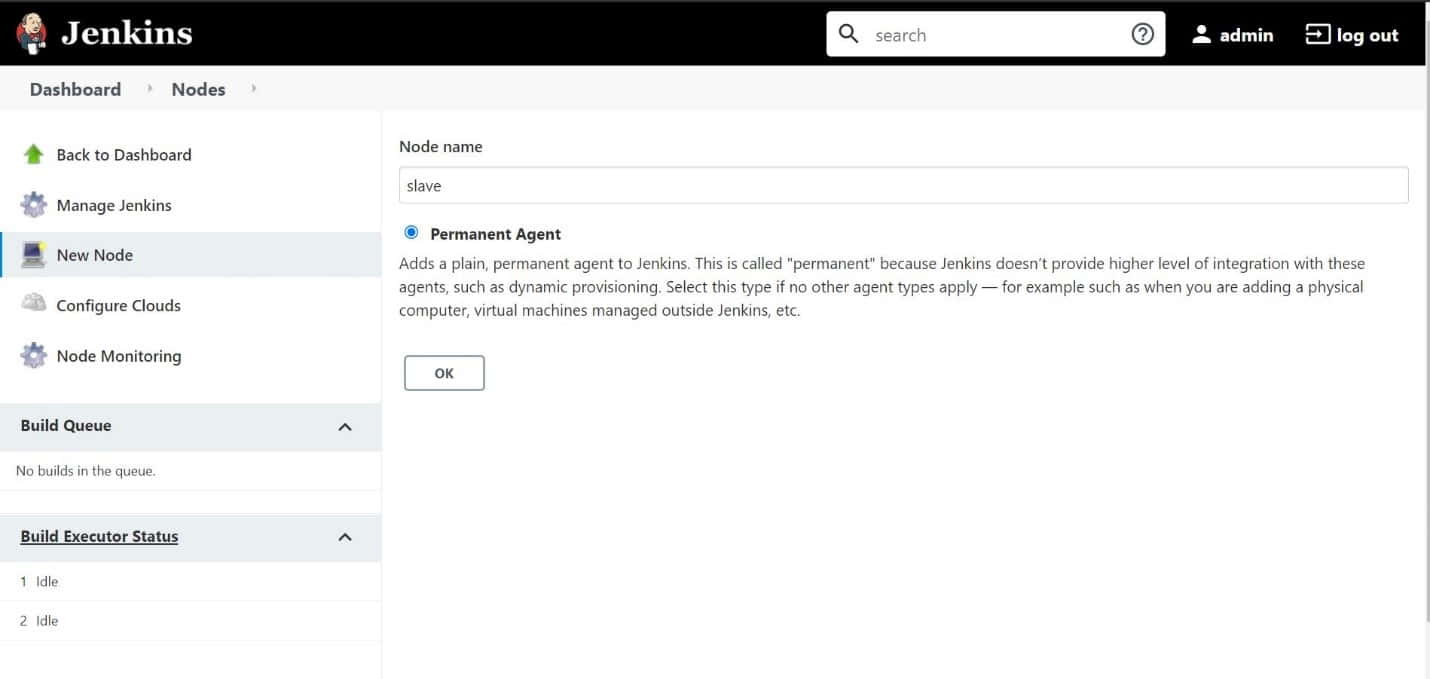
a) Click "Build Executor Status".
b) Click "New Node" and Create the node.
c) Fill in the columns to complete the node creation.
- Name: slave
- Remote root directory: /
- Label: slave
- Launch method: Launch agents via SSH
- Host: 34.69.125.39(External IP)
- Credentials: ADD
- Kind: SSH Username with private key
- Scope: System(Jenkins and nodes only)
- Username, ID: slave-node(user created during VM instance creation)
- Host Key Verification Strategy: Manually trusted key Verification Strategy.
Save the file. Launch this agent from "Build Executor Status" option. Once connected, we can now run our jobs on this node.