
Table of Contents
In this article, we will go through step by step guide to setup terraform in PyCharm on Windows 10. Terraform is an open source Infrastructure as Code (IaaC) software tool which is used for building, maintaining, changing and versioning infrastructure in safely and efficiently way. Because of it’s simple and easy to understand syntax, Terraform has become so popular. It works against multiple clouds.

Step by Step Guide to Setup Terraform in PyCharm on Windows 10
In this tutorial we will perform below steps to setup Terraform in our Windows 10 environment and in PyCharm IDE where we can easily code our configuration files.
Step 1: Prerequisites
a) You should have a running Windows 10 machine.
b) You should have access to install new plugin.
c) You should have PyCharm installed in your local machine.
Step 2: Install Terraform Plugin In PyCharm
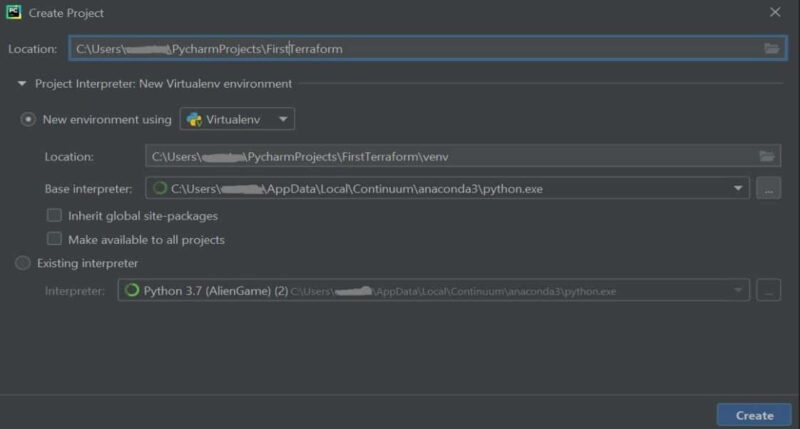
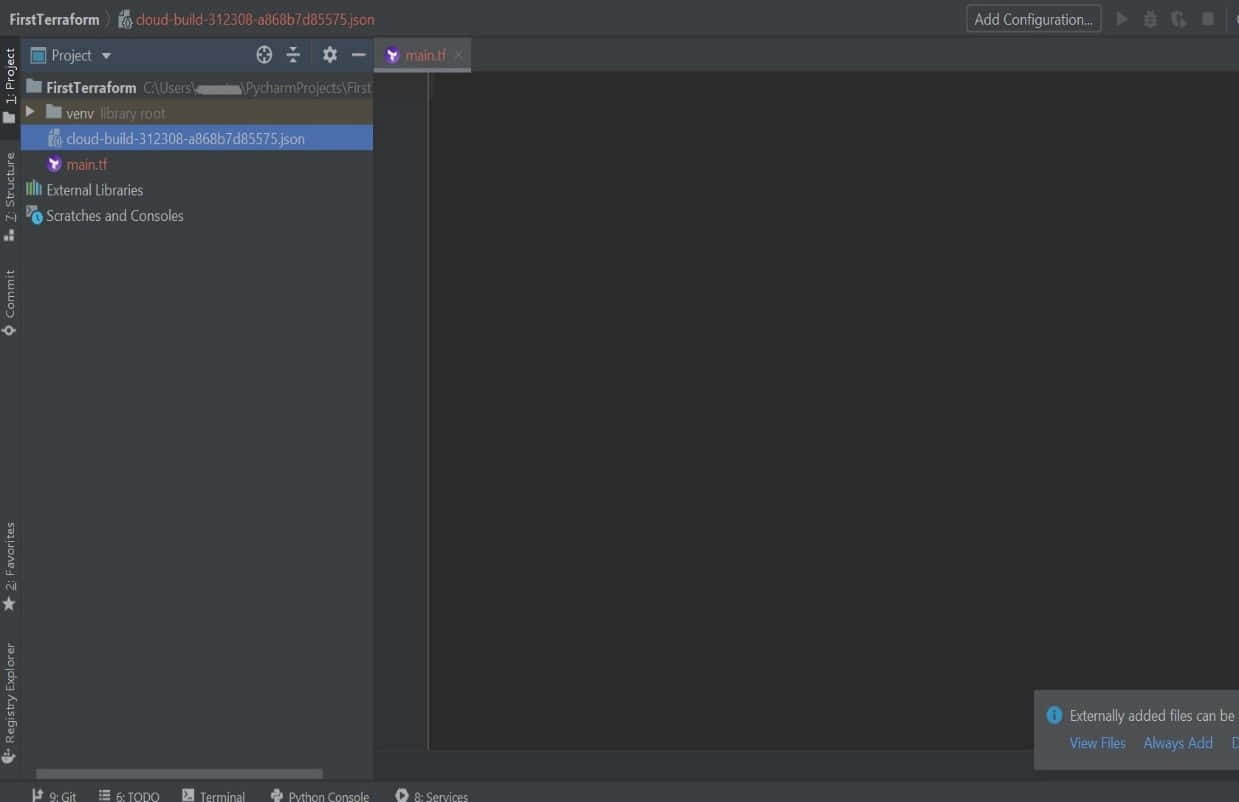
a) Create a normal project in PyCharm. Here name it as “FirstTerraform”.
b) Install Terraform plugin from File -> Settings -> Plugins. Search for terraform/hashicorp and install the plugin.

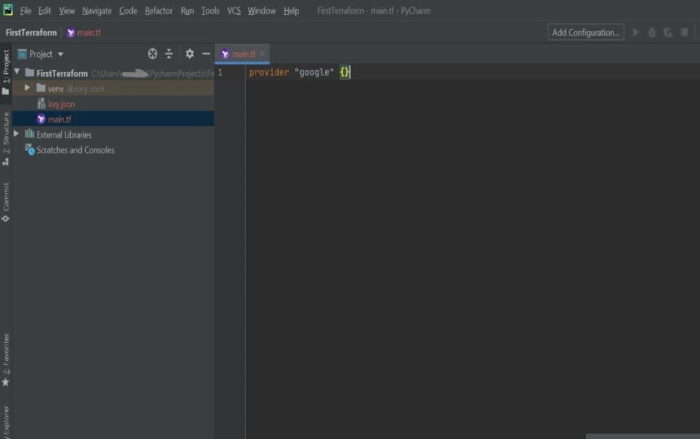
c) To verify if plugin is installed and working properly, create a file named “main.tf”. Try to insert few statement following terraform syntax. If it auto shows the suggestion, we are good with the plugin.
Step 3: Set up Terraform in Windows 10
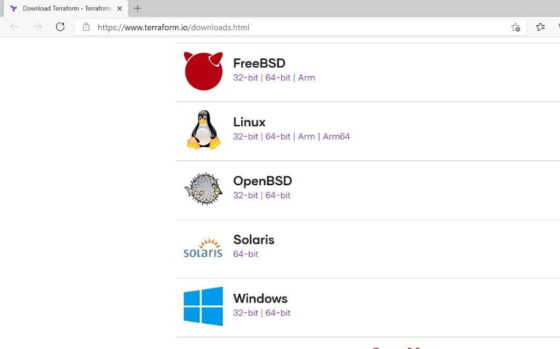
a) Download the terraform zip file from Download page. Since we are doing the set up on windows, we will install windows version of zip file.
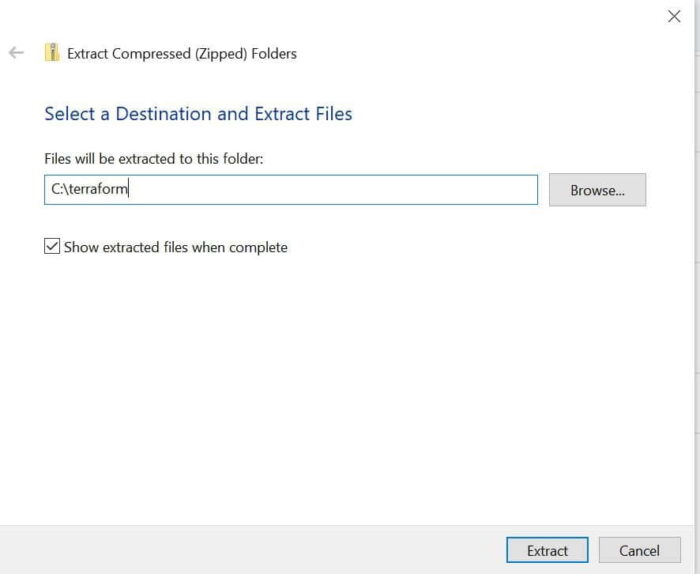
b) Extract the zip file in C drive
c) Modify the system environment variable to add the terraform exe file path.
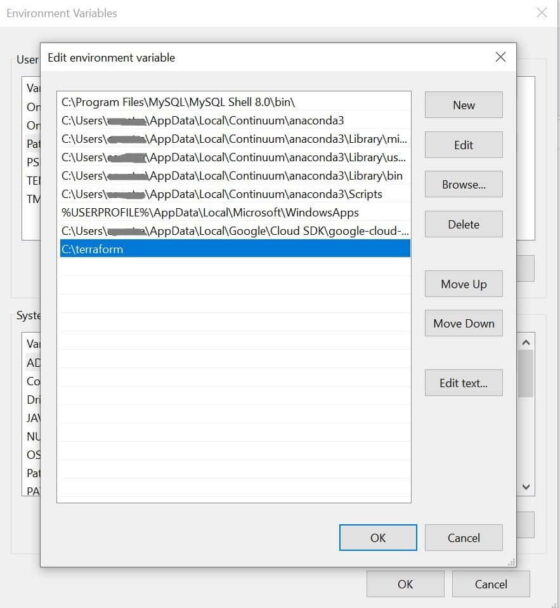
d) To verify if path is set properly and system can find the terraform exe, open the Powershell and run command “terraform --version”. If it gives output like below, we are good with the set up.
PS C:\Users\cyberithub> terraform --version
Terraform v0.15.4
on windows_amd64
Step 4: Connect Google Cloud With PyCharm IDE
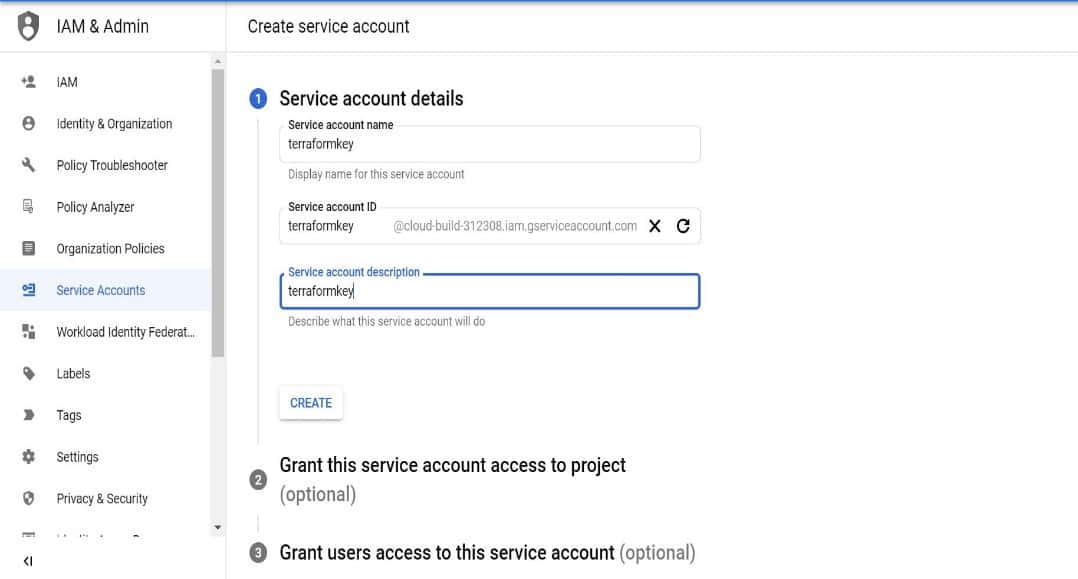
a) Create a new project on Google cloud or take the existing one. We will create a new service account for this project and set up the key. Go to IAM and Admin -> Service accounts -> Create a new service account as shown below.
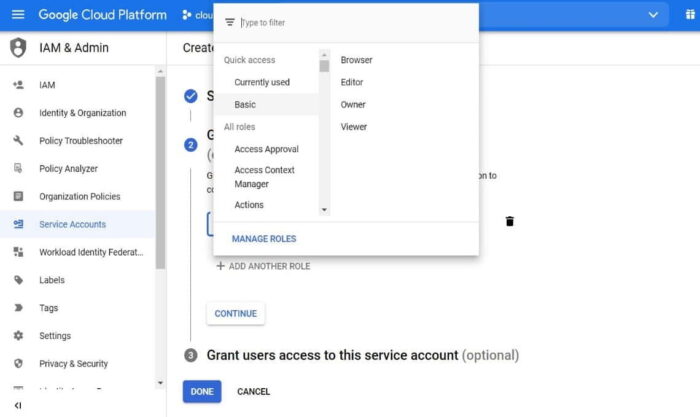
b) Select a role for the account. Avoid giving owner role to be on safer side. Let’s assign editor role for now.
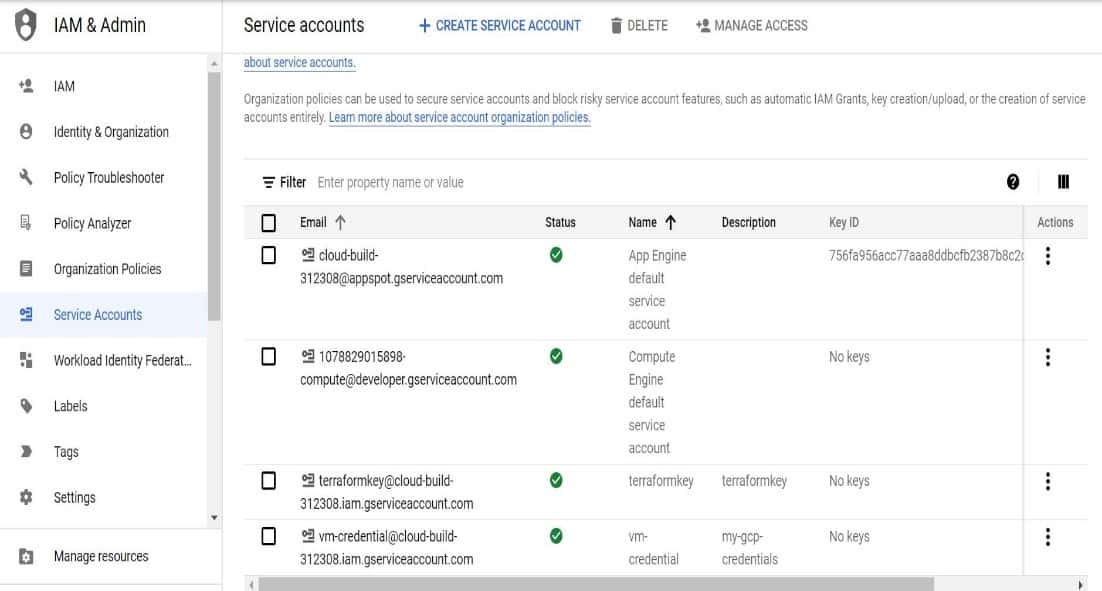
Once service account is created, it should be shown in the list like below.
c) Next, we will generate a new key for the service account. To do so, click on 3 dots and select “Manage Keys”.
d) Click on “Create new key”.
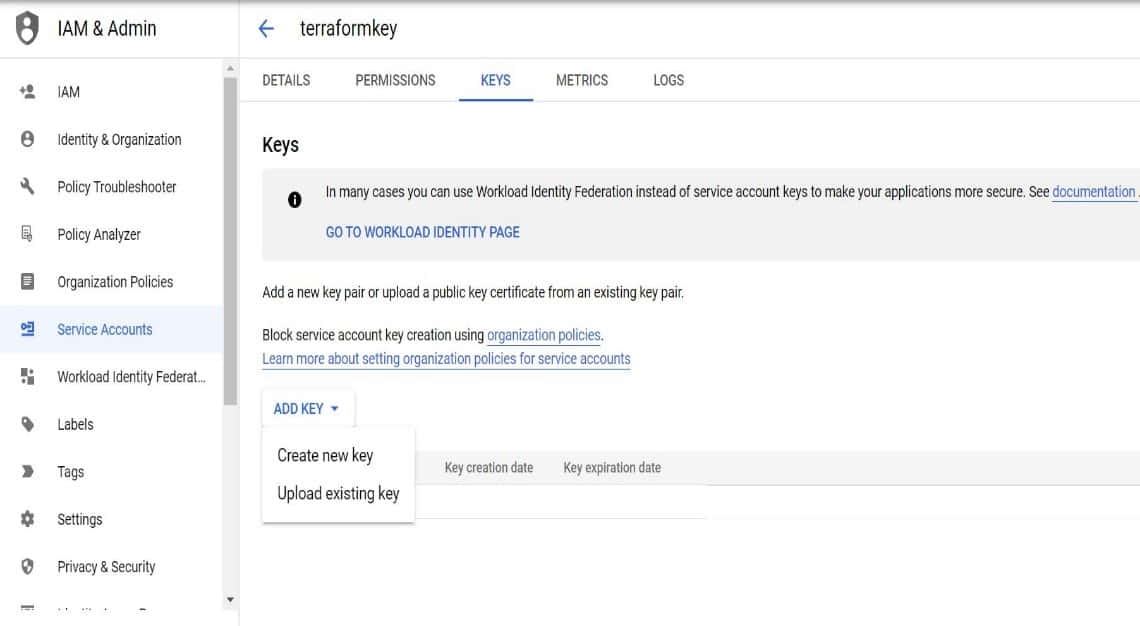
e) Select the format in which you want the key to be generated. Let’s select JSON format . Once selected, key will get generated and downloaded in your local machine.
f) Place the downloaded key in the same folder where you have created your “main.tf” file.
You are all set to write your first terraform configuration file.
Terraform CLI Commands
To know all available cli commands, run “terraform” in Powershell with no arguments. It will list all the cli commands supported.
PS C:\Users\cyberithub> terraform
Usage: terraform [global options] <subcommand> [args]

The available commands for execution are listed below.
The primary workflow commands are given first, followed by
less common or more advanced commands.

Main commands:
init Prepare your working directory for other commands
validate Check whether the configuration is valid
plan Show changes required by the current configuration
apply Create or update infrastructure
destroy Destroy previously-created infrastructure

All other commands:
console Try Terraform expressions at an interactive command prompt
fmt Reformat your configuration in the standard style
force-unlock Release a stuck lock on the current workspace
get Install or upgrade remote Terraform modules
graph Generate a Graphviz graph of the steps in an operation
import Associate existing infrastructure with a Terraform resource
login Obtain and save credentials for a remote host
logout Remove locally-stored credentials for a remote host
output Show output values from your root module
providers Show the providers required for this configuration
refresh Update the state to match remote systems
show Show the current state or a saved plan
state Advanced state management
taint Mark a resource instance as not fully functional
test Experimental support for module integration testing
untaint Remove the 'tainted' state from a resource instance
version Show the current Terraform version
workspace Workspace management

Global options (use these before the subcommand, if any):
-chdir=DIR Switch to a different working directory before executing the
given subcommand.
-help Show this help output, or the help for a specified subcommand.
-version An alias for the "version" subcommand.
Main Commands With Usage
init : terraform init [options]
plan : terraform plan [options]
apply : terraform apply [options] [plan file]
destroy : terraform destroy [options]
Hi,
In Step-1 b , Install Terraform plugin from File -> Settings -> Plugins. Search for terraform/hashicorp and install the plugin.
When I search for terraform/hashicorp , i don't see the plugin. What are the other alternatives to add it.
Hi AJ,
Could you please check if you have any firewall or proxy configured that stopping you from searching the plugin ?
Thanks
CyberITHub
I just created file with contents above
provider "google" {}
Got tip icon (lamp) which suggested me to install plugin...
terraform and HCL