Table of Contents
In this article, we will look on how to Link a Google Cloud Project to a Billing Account using 4 Easy Steps. You might have seen an instance where you are trying to use Google Cloud Services but you are unable to because it is always asking to Link your Google Cloud Project to a Billing Account first. This is a very general problem faced by lot of Google Cloud Beginners or sometimes by professionals as well. So to deal with this situation, you need to follow 4 simple steps given below.
How to Link Google Cloud Project to a Billing Account
Also Read: How to Create a Virtual Machine in Google Cloud(SDK v272.0)
Step 1: Prerequisites
a) You need to have a Valid Google Email ID and Password.
b) You should have access to the Project which you are going to Link to a Billing Account.
c) You should have a valid Credit or Debit Card.
Step 2: Open Google Cloud Dashboard
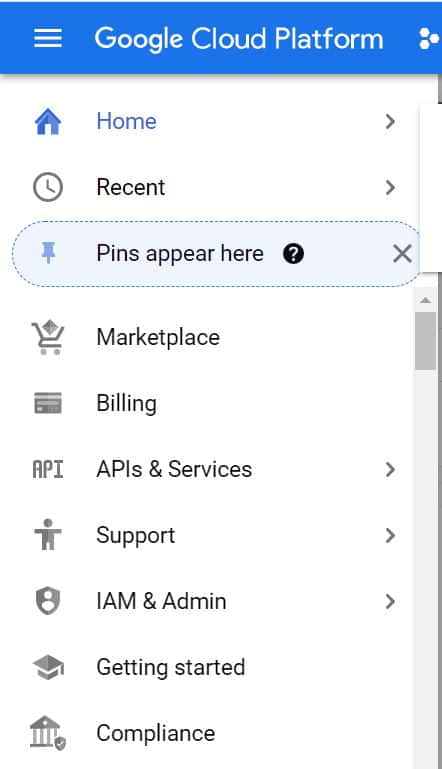
In the First step, you need to login to Google Cloud Account using Google Email ID and Password. By default, after successful authentication you will land to Google Dashboard Page as shown below. Here you will need to Click on Billing Option as shown below.
Step 3: Go to Billing Page
Once you clicked on Billing option, you will see below pop up to link your project to a billing account. You need to click on Link a Billing Account option.
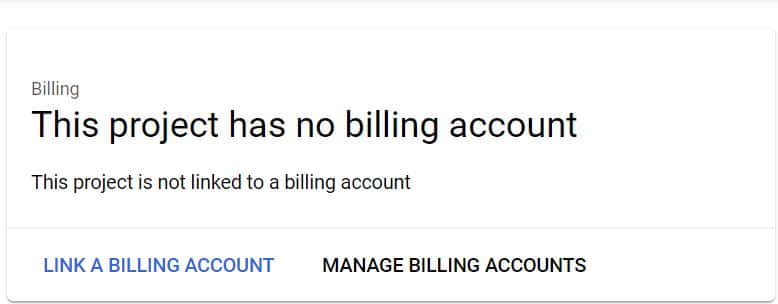
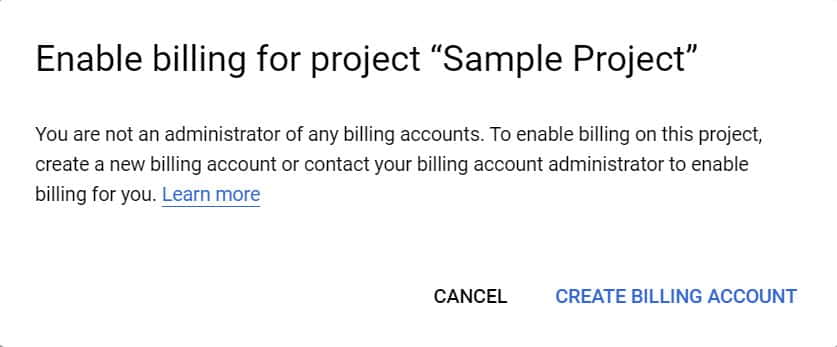
After clicking on Link a Billing Account, you will get an option to enable the Billing Account for a Specific Project. Since in this Case our Project is Sample Project so it will ask to enable account for Sample Project. If you are not an administrator of any billing accounts, then either you need to create a Billing Account or you need to contact your Administrator to enable billing for you. In this case we are going to create a Billing Account by clicking on Create Billing Account.
Step 4: Provide Account Information
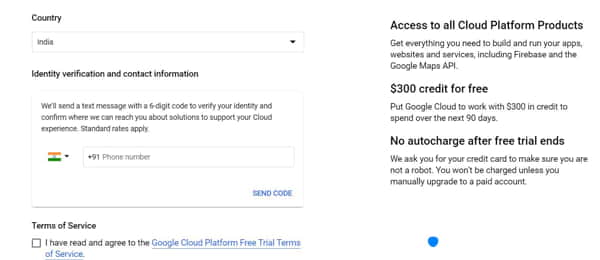
Once you click on Create Billing Account option, you will get redirected to Account page where you need to fill your Phone number and other details. Once filled, you need to click next and in second page you need to fill your Card details. It could either your valid Credit Credit Card or Debit Card. This is just to confirm that you are not a Robot.
NOTE:
Once you fill and click on Submit, Rs1(depend on your local currency) will be deducted from your Card which will later be returned so you need not to worry about it. That's it. Your project is now linked to a billing account and it will be activated with $300 Credit which you can spend over next 90 days. You can now start using your Google Cloud Services.