Table of Contents
In this article, we will see how to install Claude desktop on Windows 10/11. Claude AI is a product from Anthropic widely known for solving complex problems, processing large amount of data, assisting developers in generating text and code for their projects, assisting wide range of professionals in their day to day task. It was originally designed as an AI assistant with whom you can partner with to accomplish tasks. Claude can explain concepts, write business emails, provide brainstorm ideas, analyze and process documents and can do whole lot of things in a very minimal amount of time.
It consists of a family of AI models such as Sonnet, Haiku, Opus which can be chosen to perform variety of tasks. Depending on use case, one can choose the model which works best for that specific use case. More can checked on official website. Claude can be easily installed on multiple platforms including Windows based system. Here we will see how to install Claude desktop application on Windows 10/11 based systems.

How to Install Claude Desktop on Windows 10/11
Also Read: Solved "Token can not be verified: Full authentication is required to access this resource"
Step 1: Prerequisites
a) You should have a running Windows 10/11 System.
b) You should have a working internet connection in your System.
c) You should have access to install application in your Windows 10/11 based System.
Step 2: Download Claude
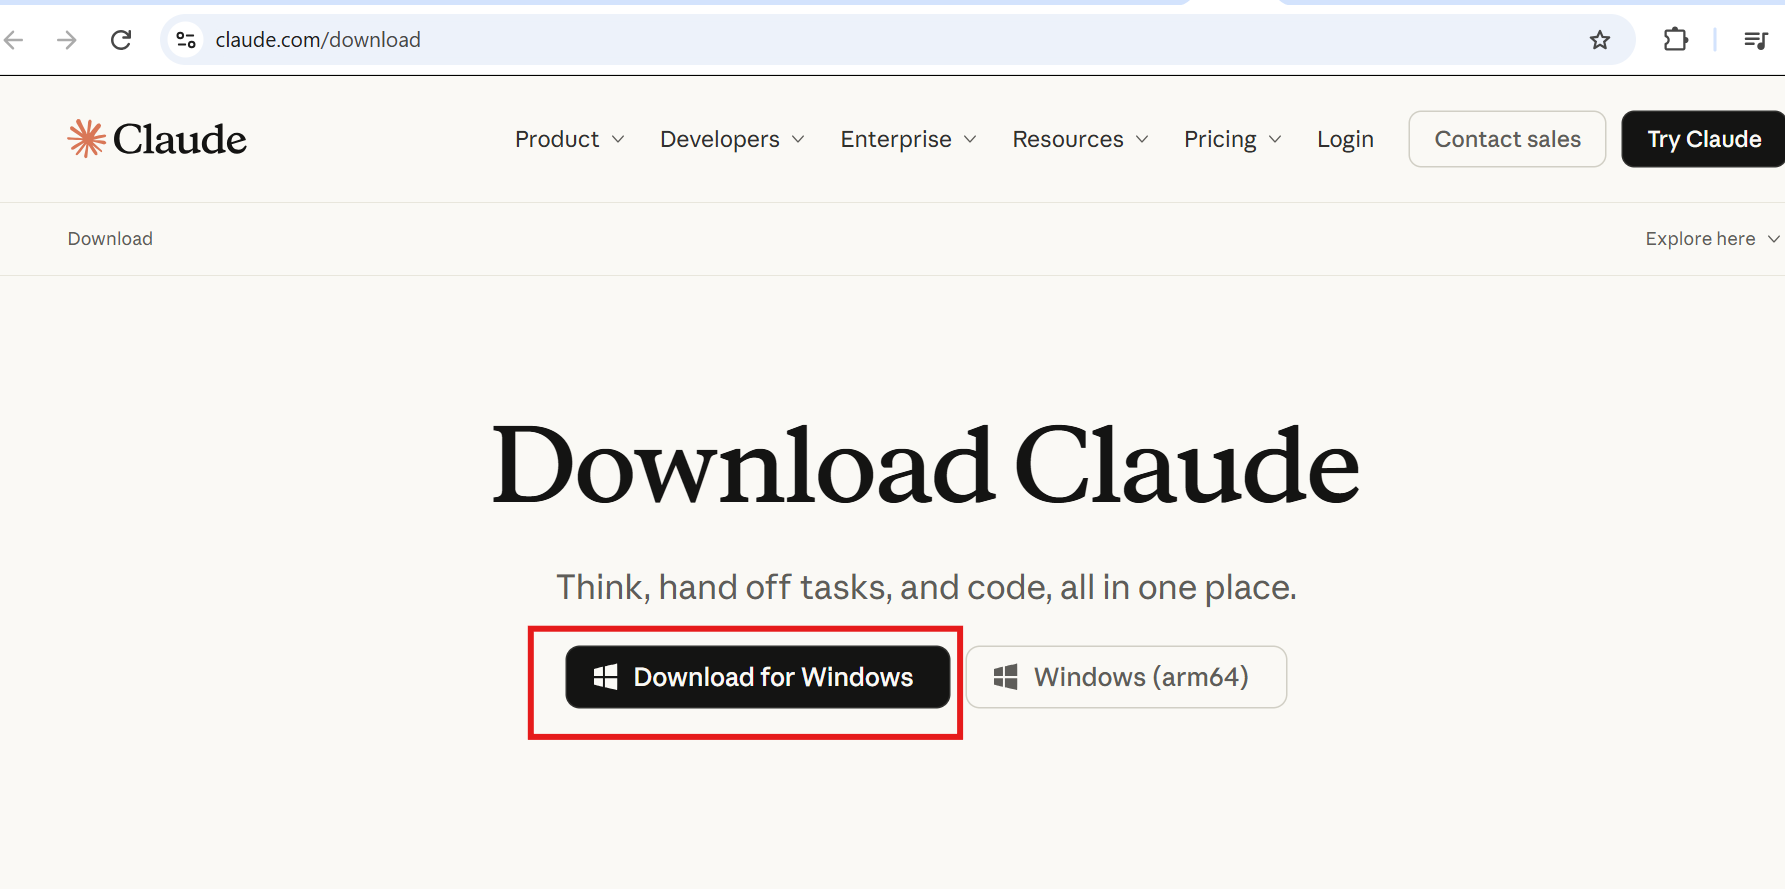
Go to Claude download link and download the setup from below highlighted link.
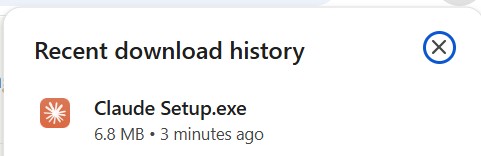
It will download the Claude setup file in local download folder as below.
Step 3: Install Claude Desktop
Double click on Claude setup file to start the installation.
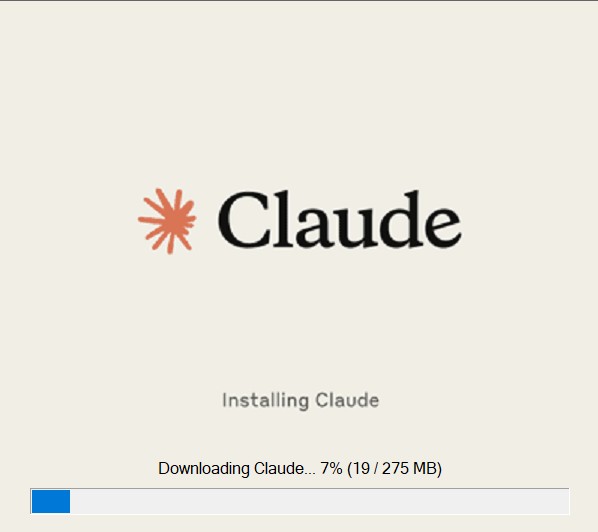
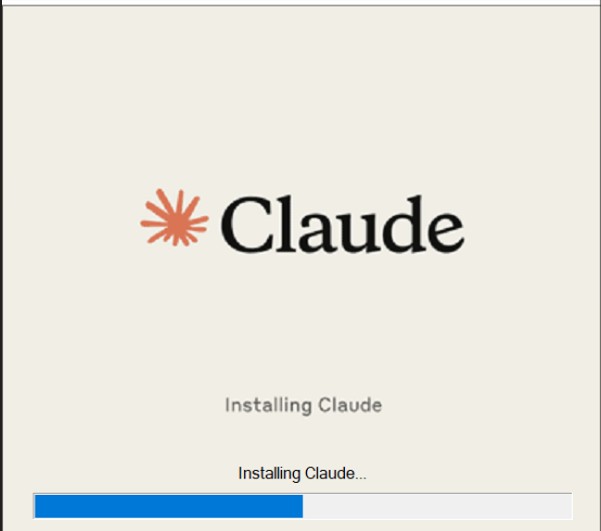
It will start installing the application after downloading complete software as shown below.
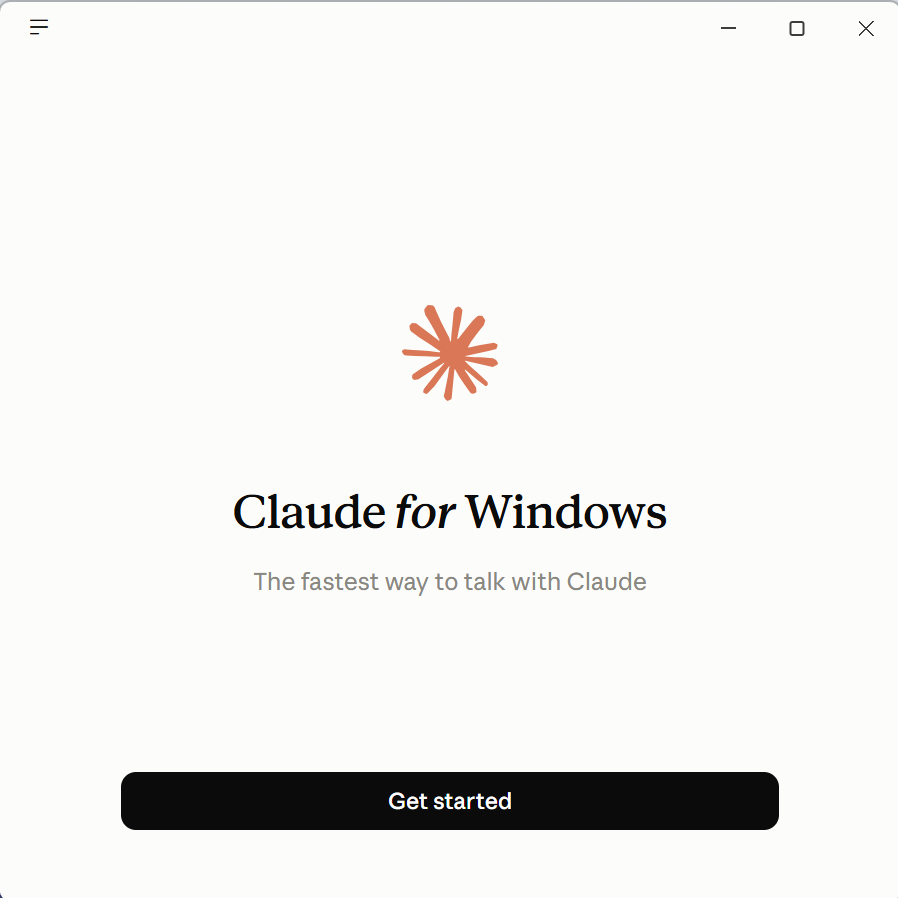
During installation, below screen will pop up. Click on Get Started.
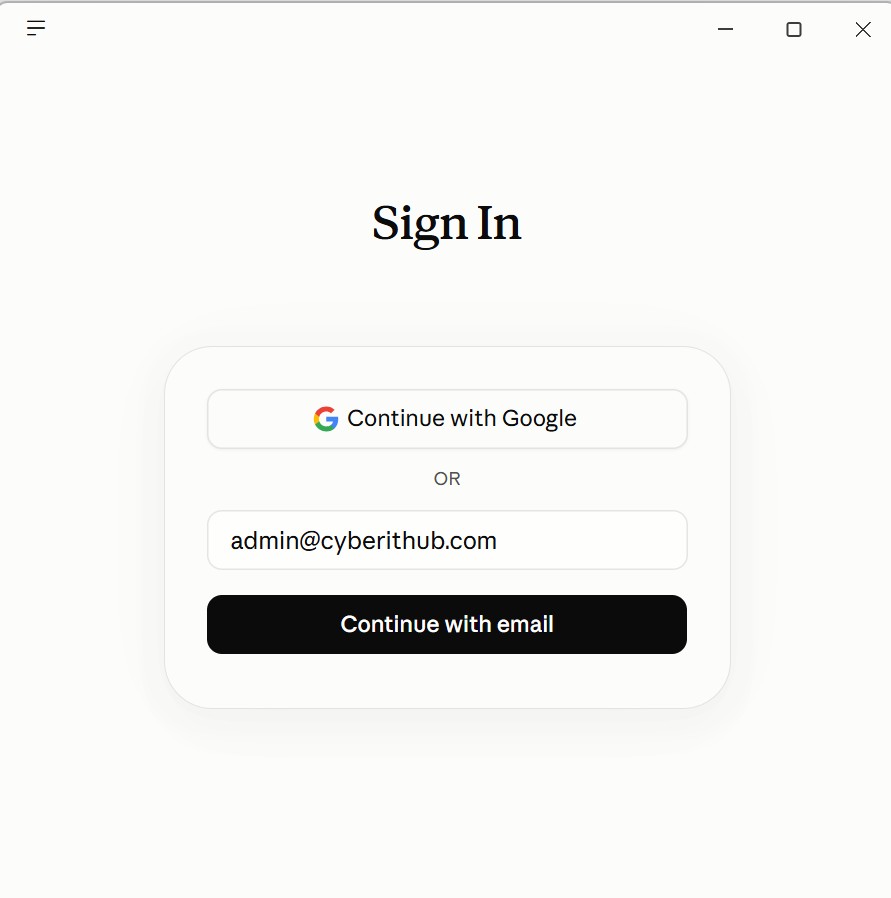
It will then ask to enter email id. You can either sign in with your gmail id or enter email id through which you would like to sign in. Once provided, click on Continue with email.
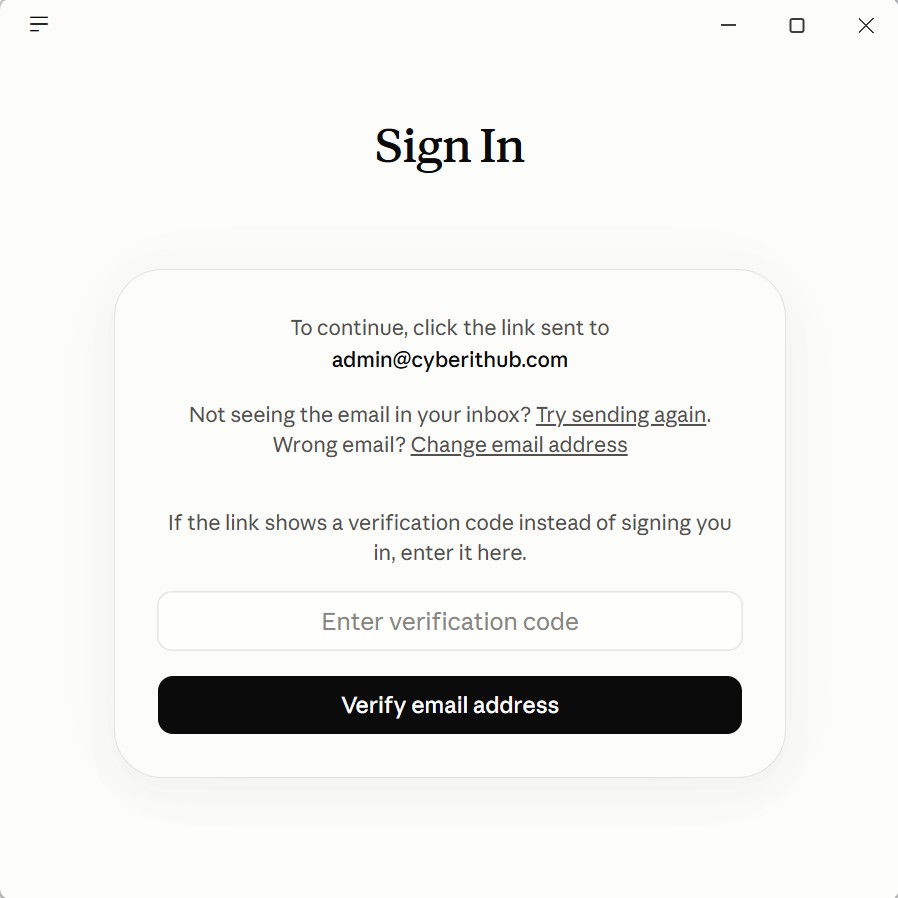
It will send you a verification link to given email id. You have to click on that verification link to start with the signing process.
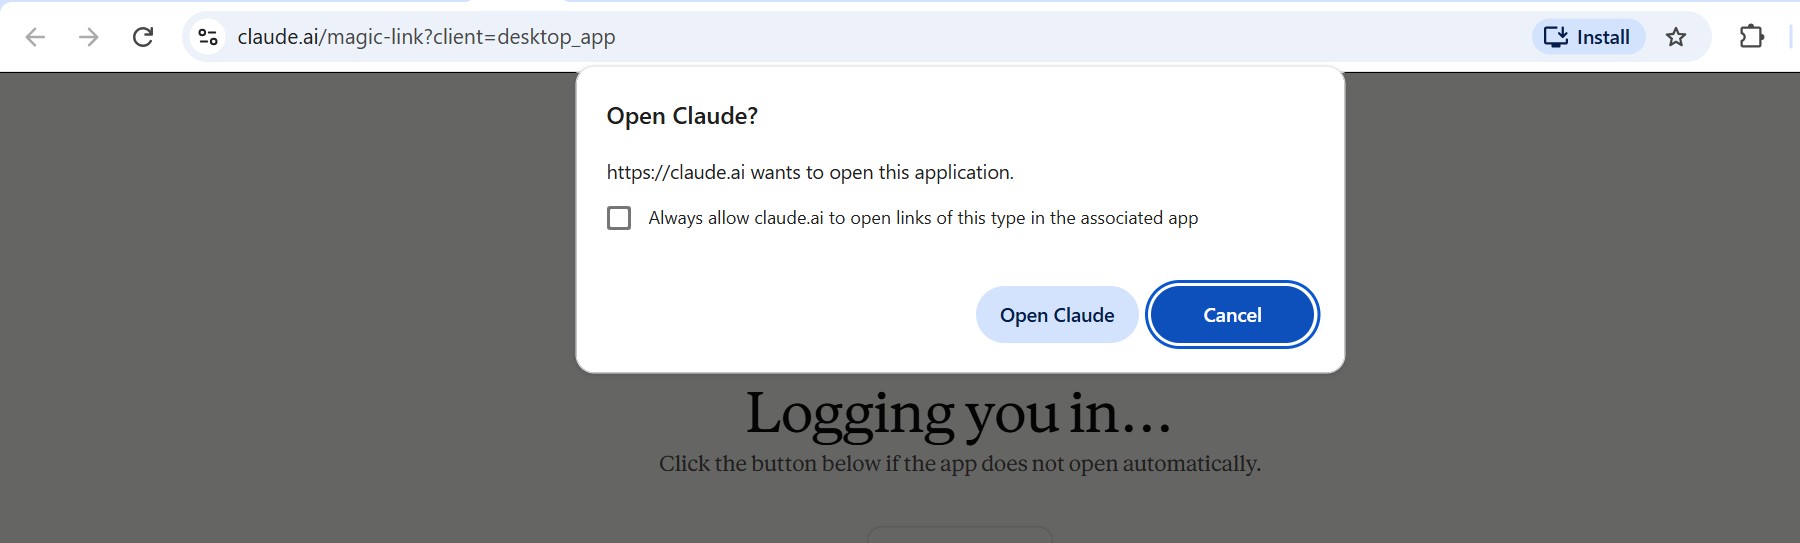
Once you click on verification link, it will show you below pop up to launch the application by redirecting link in your default browser as shown below. Click on Open Claude to proceed.
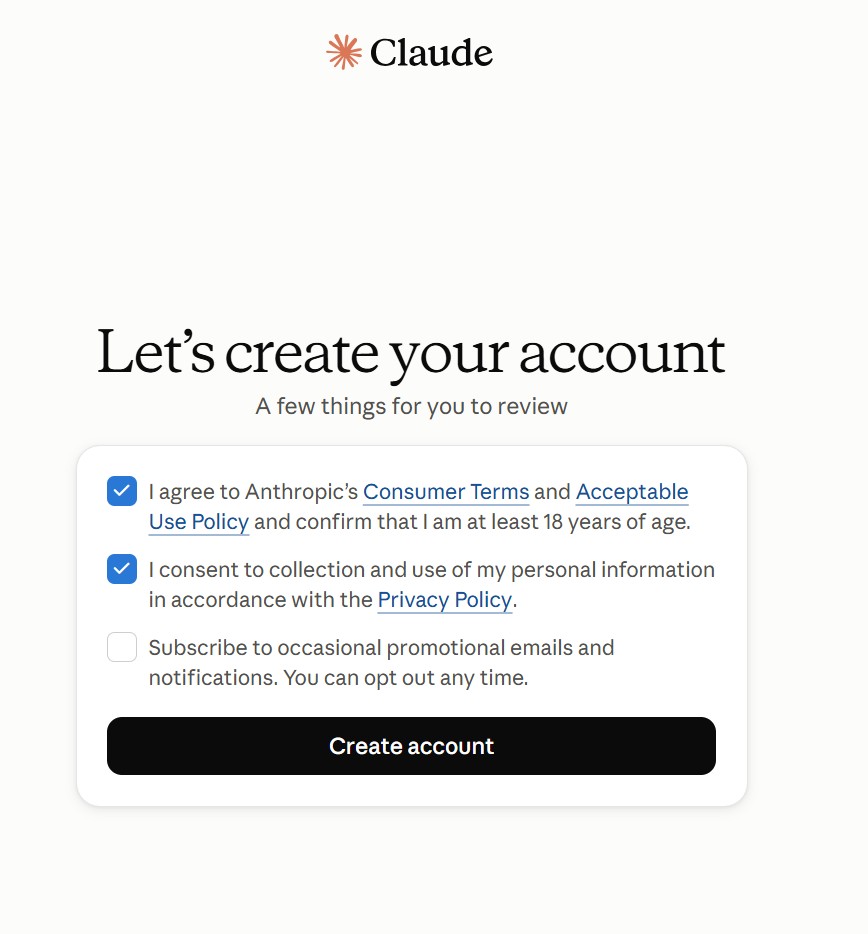
Once it opens, tick mark on below check box and click on Create account.
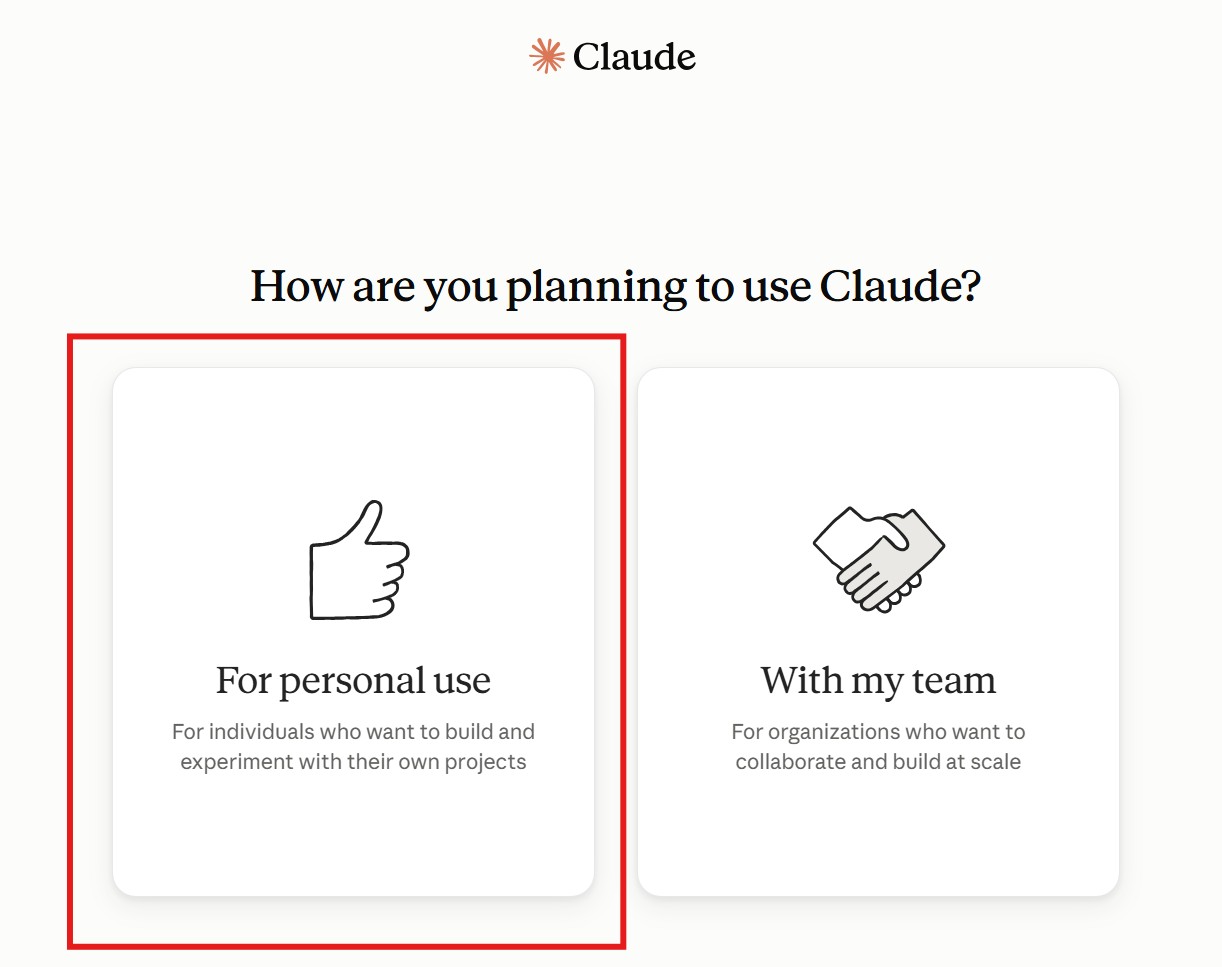
Next it will ask you to choose how are you planning to use Claude. For our demo purpose. I have selected For personal use. You can choose With my team if you are planning to use within your organizations for large scale project building and other purposes.
Next it will ask you select the right plan which suits your need. For the moment, I have selected Free plan which can later be upgraded. You can also choose Pro or Max plan depending on your requirements.
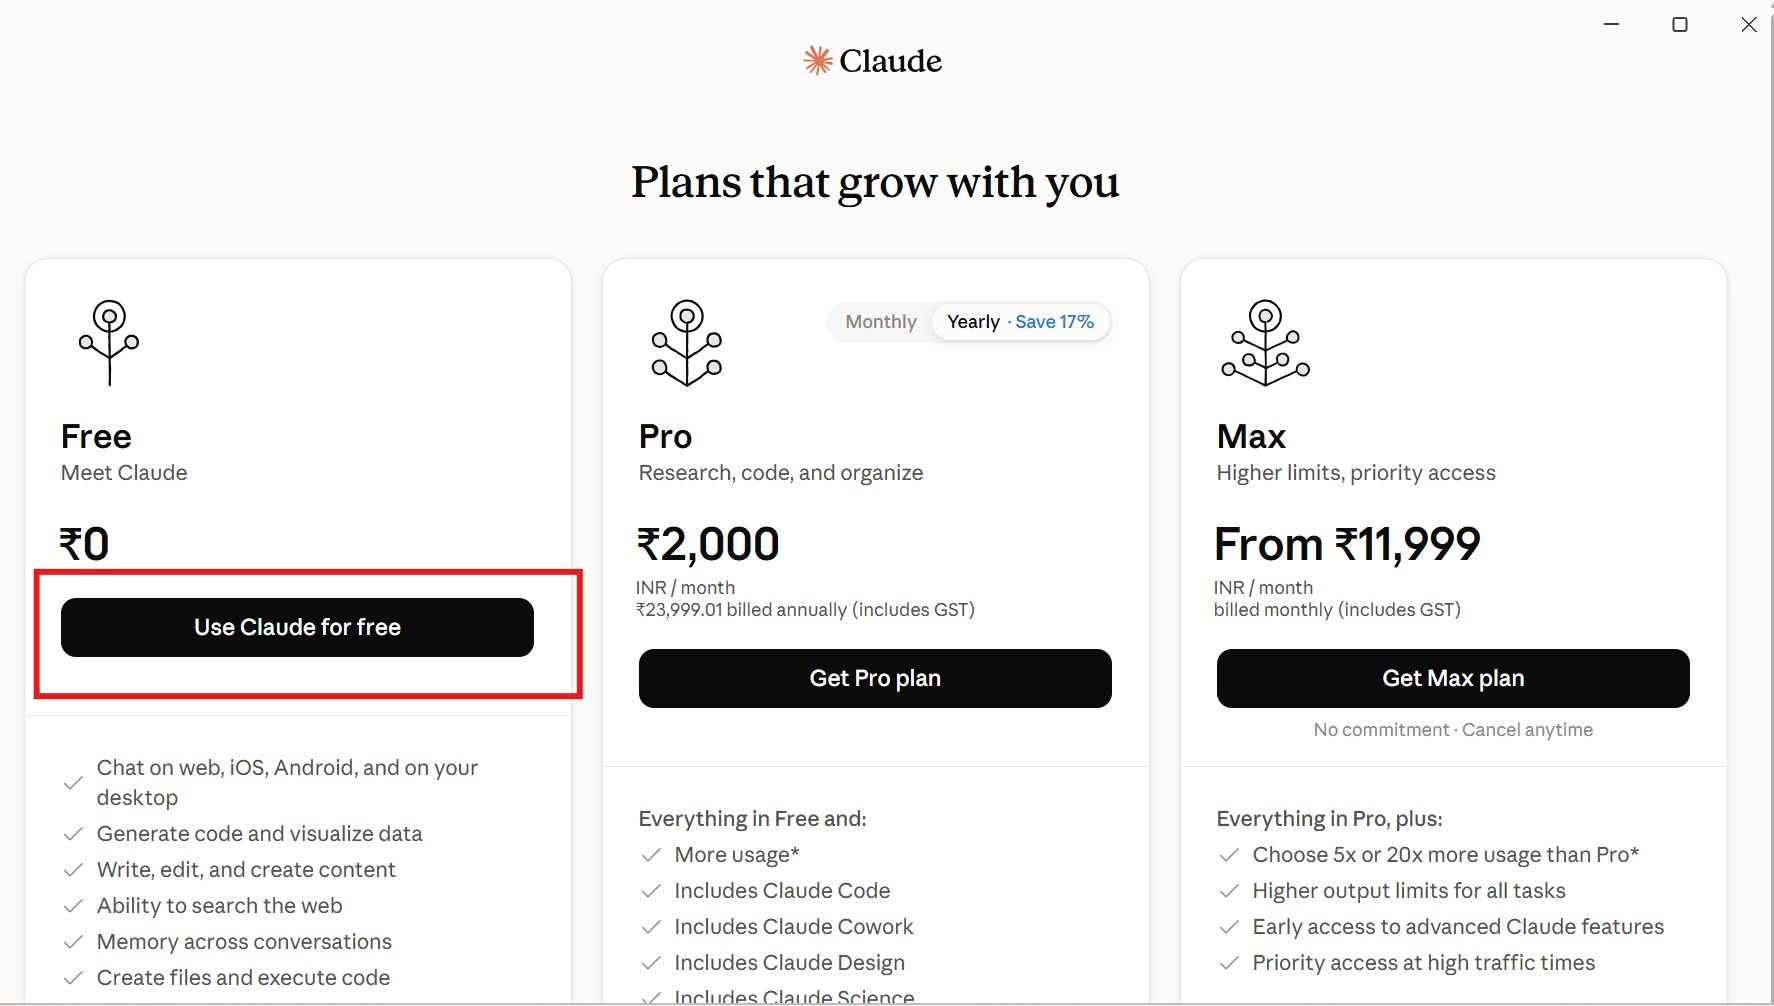
Once you click on Use Claude for free, it will ask to select or unselect Help improve our AI models. For the moment, I have disabled this option but you can keep this option selected if you would like to improve model based on your chat discussion and input. Then click on Continue to proceed.

Next, it will ask you to provide your name. You can provide any name you would like and then click on Continue.
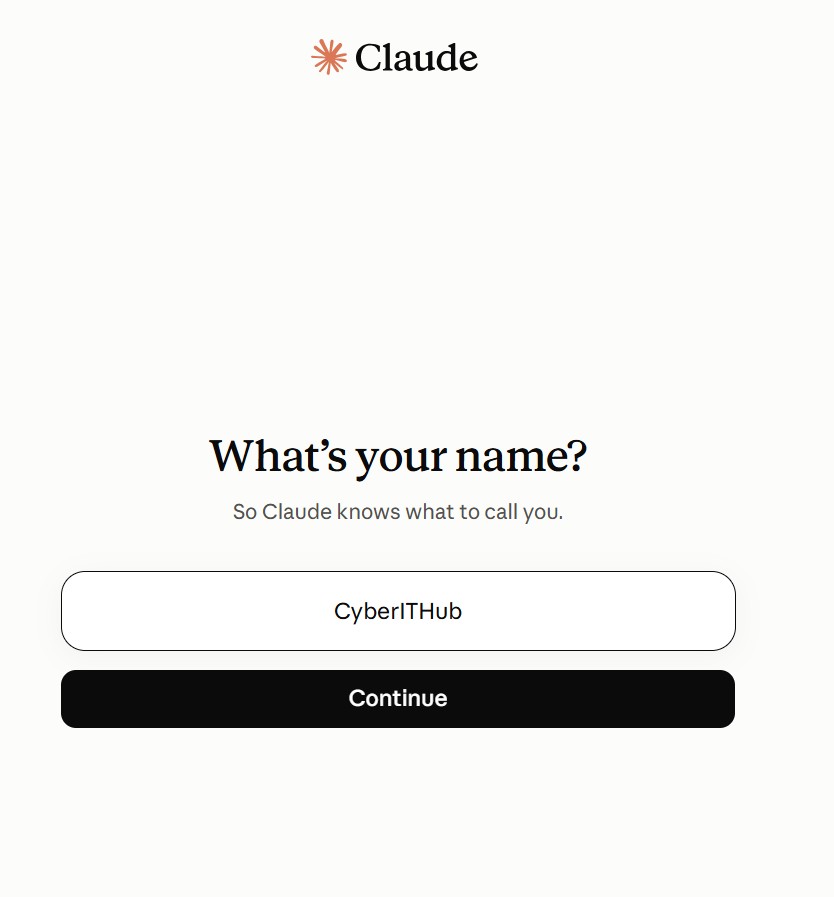
Next, it will ask you to select a role. You can either select it now or select it later. Since I decided to select it later, I clicked on Set up later.

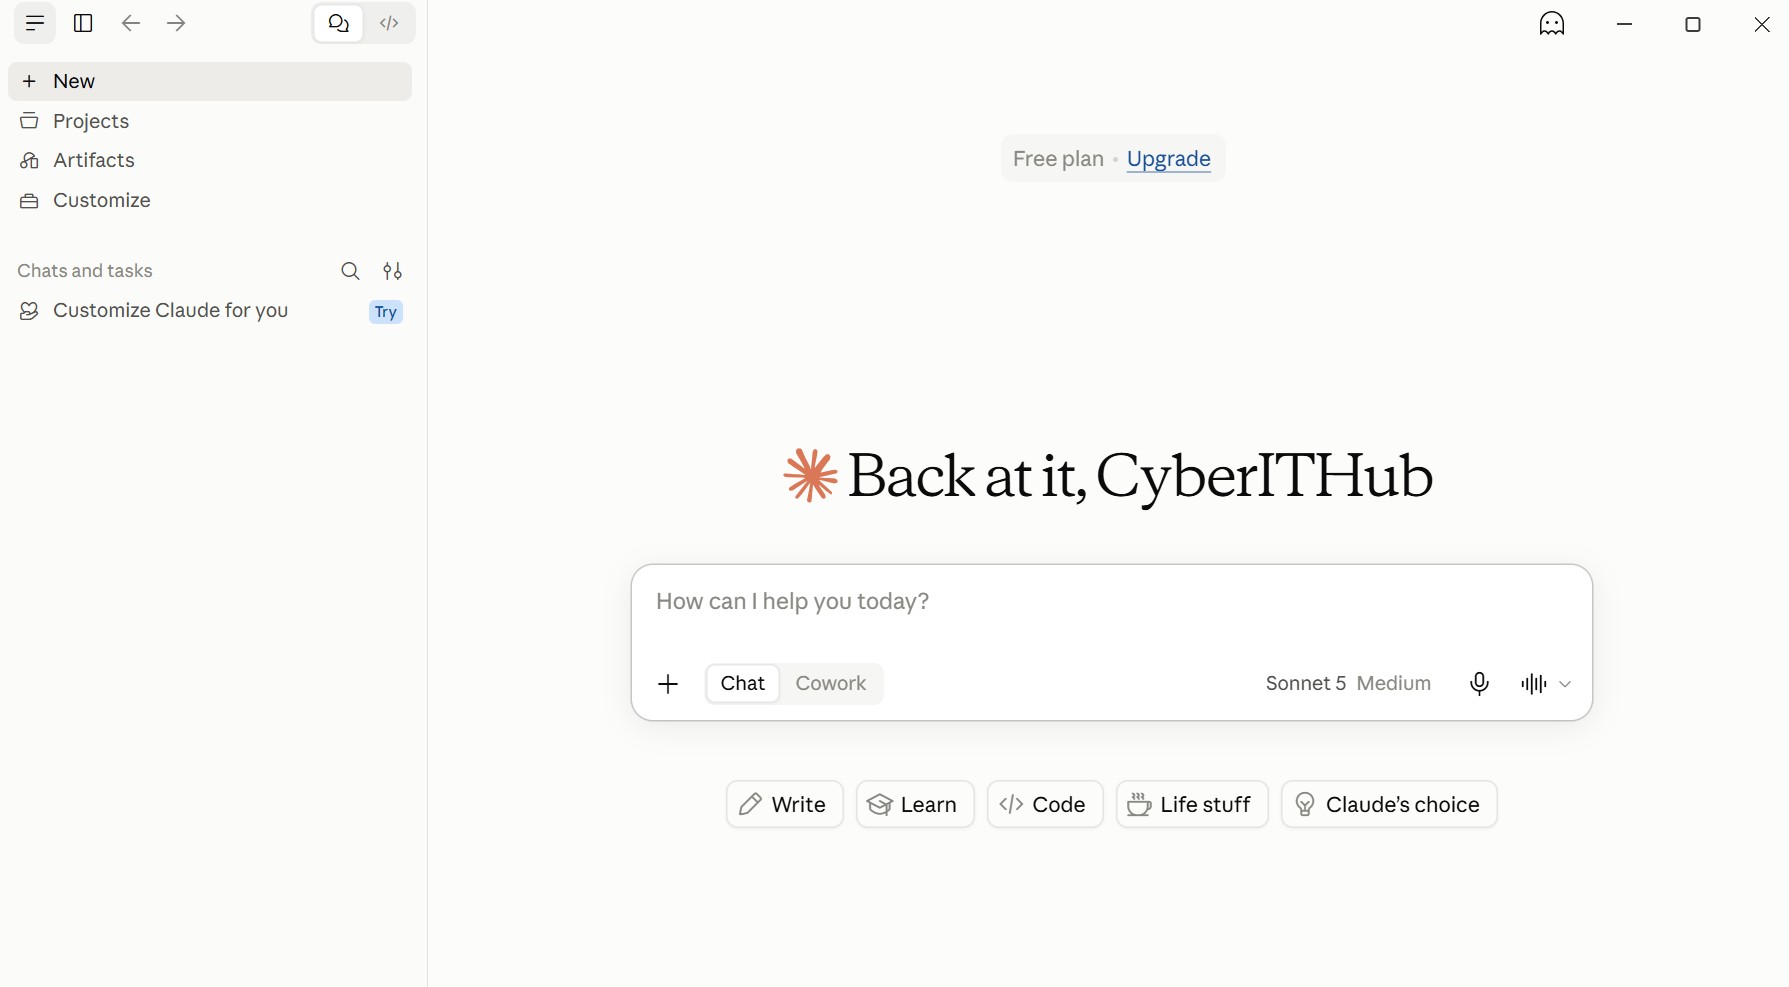
Finally, you will see application setup gets completed and it would open like below. It is now ready for use.
Step 4: Using Claude
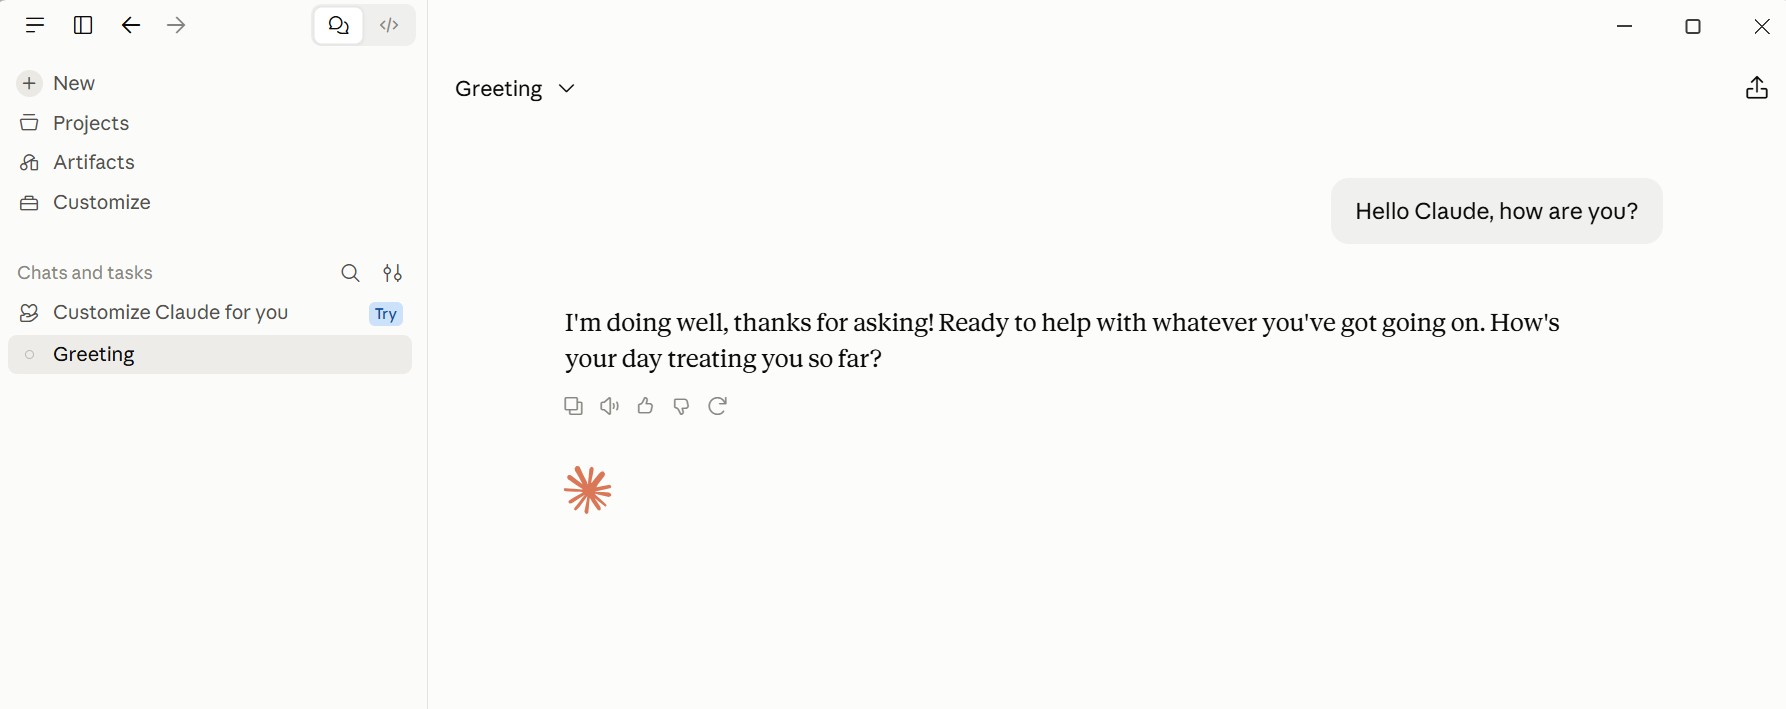
You can start chat with Claude by entering your query in chat box as shown below.
Step 5: Create a New Project
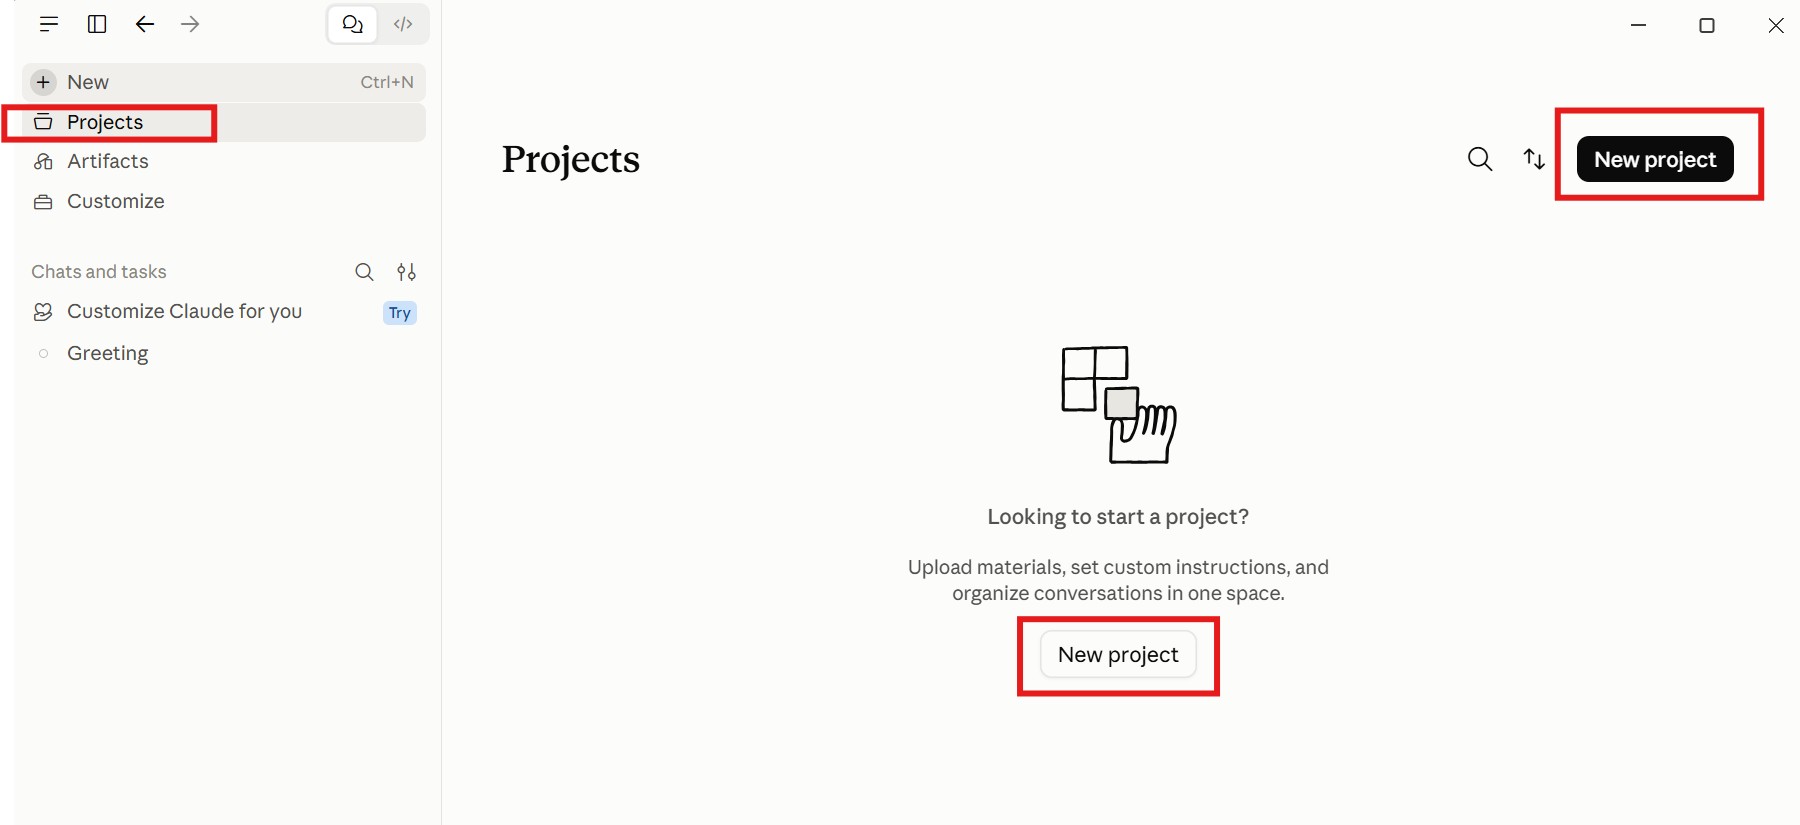
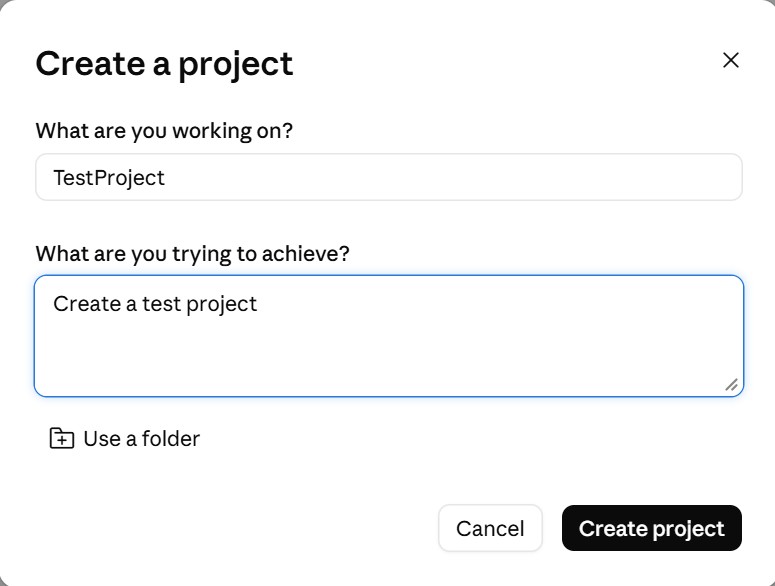
You can also choose to create a new Project by clicking on New Project as shown below.
You can provide the project name and description and click on Create project.
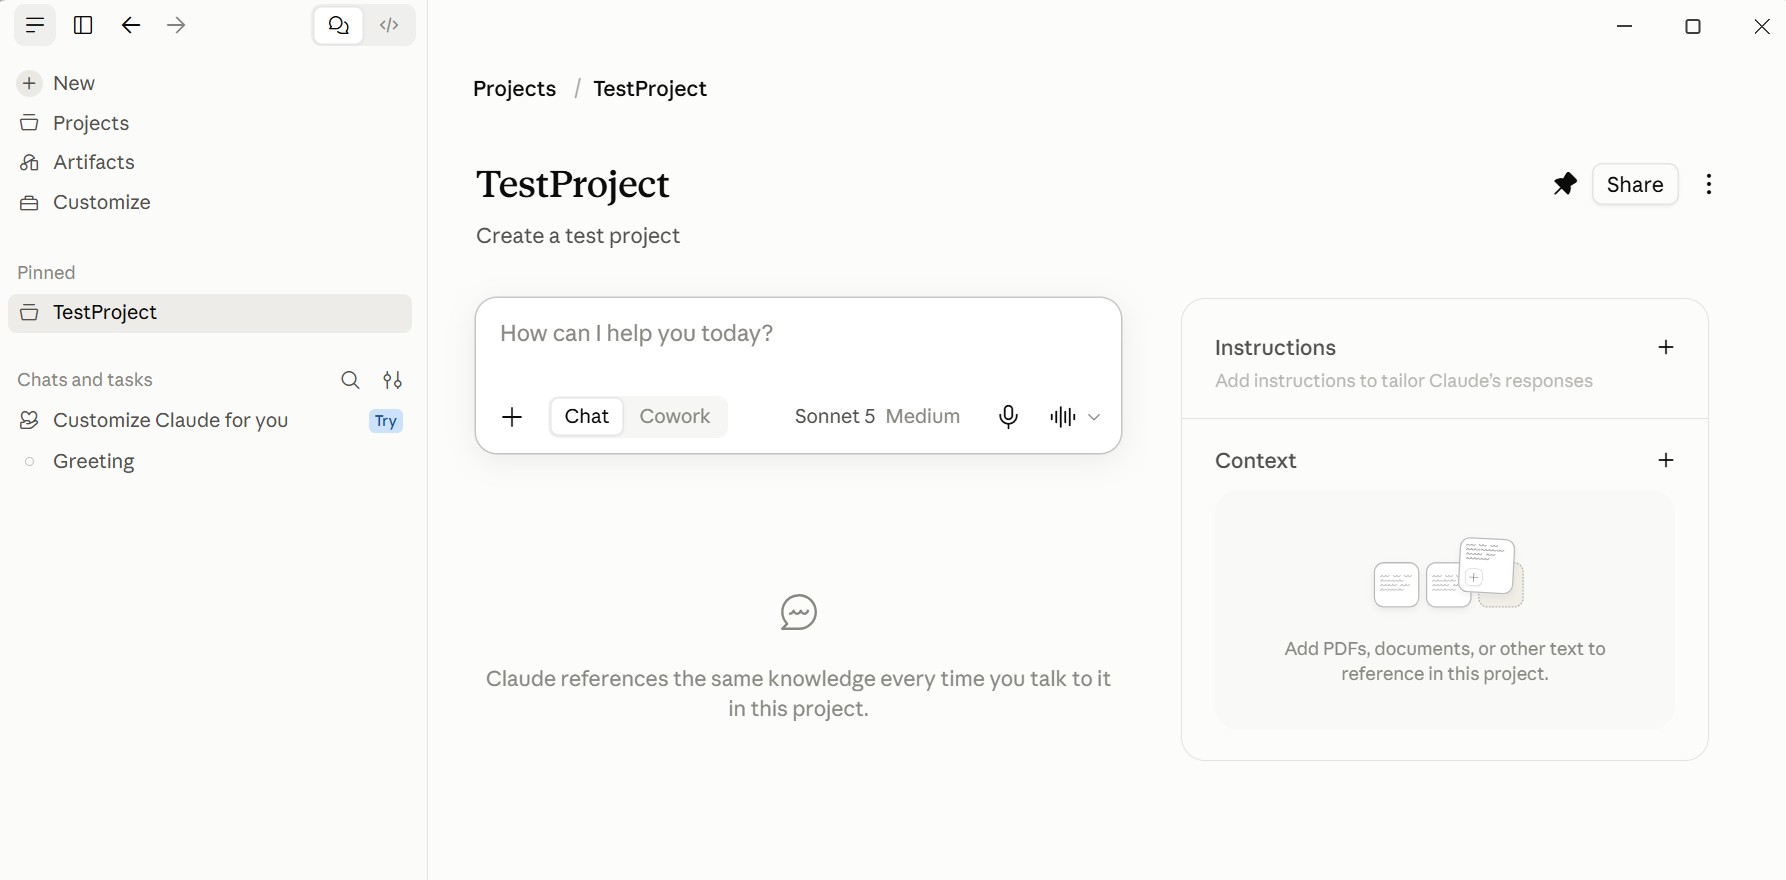
It will be created as shown below.