Table of Contents
In this article, we will go through the steps to download and install visual studio code on Windows 10. Visual Studio Code is a free source code editor from Microsoft. It is fully supported on Windows, Linux and Mac Operating System. It is widely recognizable due to its advanced features like debugging, syntax highlighting, code completion, snippets and other important tons of features.
Steps to Download and Install Visual Studio Code on Windows 10
Also Read: How to Install Azure CLI on Windows 10
Step 1: Prerequisites
a) You should have a running Windows 10 Server.
b) You should have Internet Access to download the Software.
c) You should have access to Install software in your System.
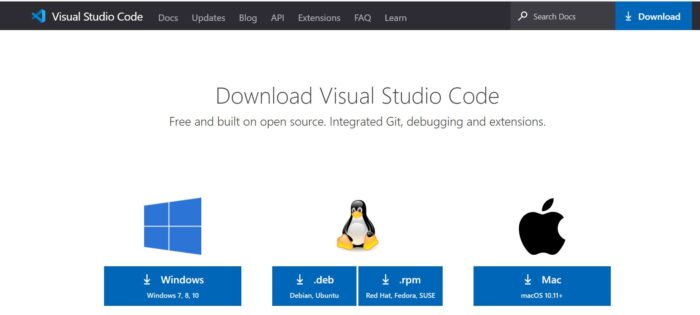
Step 2: Download Visual Studio Code
First you need to download Visual Studio Code for Windows from Official Download Page as shown below. Once you Click on Windows, it will start downloading in your local default download folder.
Step 3: Install Visual Studio Code
Once it is downloaded, you can just double click it to start installing the software.
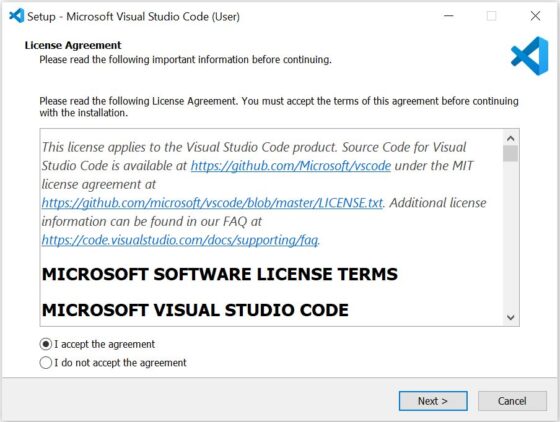
a) Accept License Agreement
The first window that you get is of License Agreement where you need to click on I accept the agreement after going through the entire agreement points. Then Click on Next.
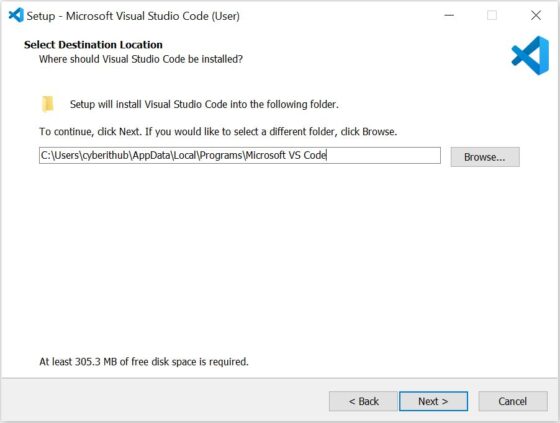
b) Select Destination Location
Then the next window will ask you to select your destination installation location. I will leave this as default and then Click on Next.
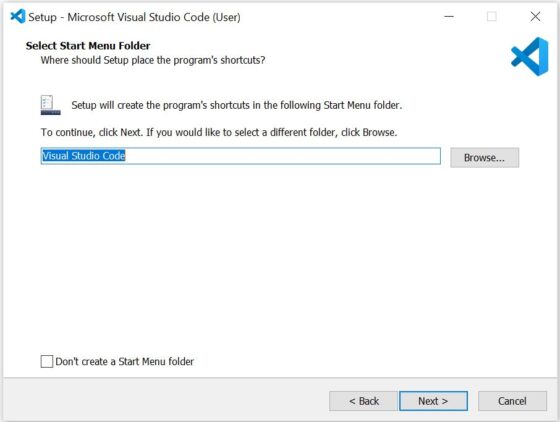
c) Select Start Menu Folder
Here it will ask to setup the program shortcuts location. I will leave this as default. If you want to set different location then you can click on Browse and change the location. In case you don't want to create a Start Menu folder then you can click this option as well on the bottom of the screen as shown below. Then Click on Next.
d) Select Additional Tasks
Then the next screen is to set the additional tasks like Register code as an editor for supported file types, create a desktop icon, Add "Open with Code" action to Windows Explorer file context menu etc. For now, I am using the default selection, so I will just click on Next.

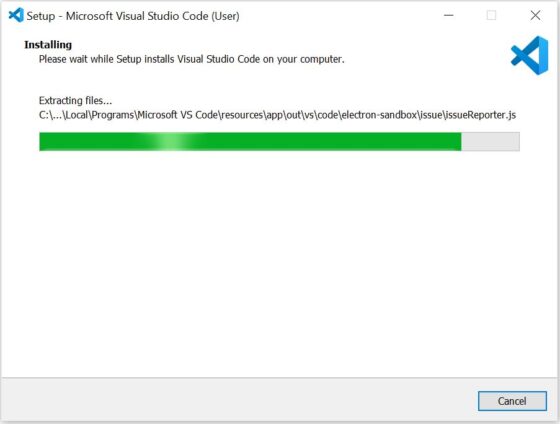
e) Ready to Install
Once you click on Install, it will start installing and you can track the progress below.
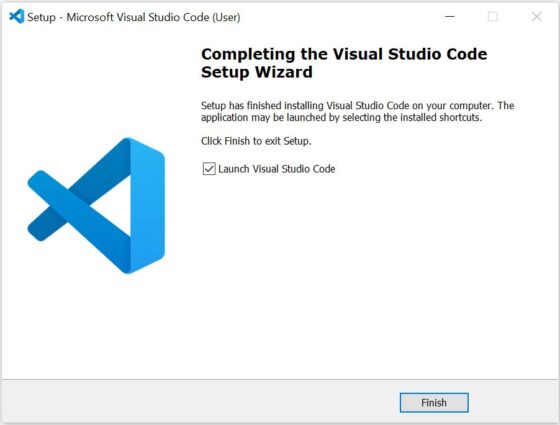
f) Setup Finish
If everything goes well then you will see below completion setup wizard where you can just click on Finish to finish up the installation. Also as you can notice here I have clicked on Launch Visual Studio Code, so as soon as I click on finish it will start the Visual Studio Code Graphical Interface.
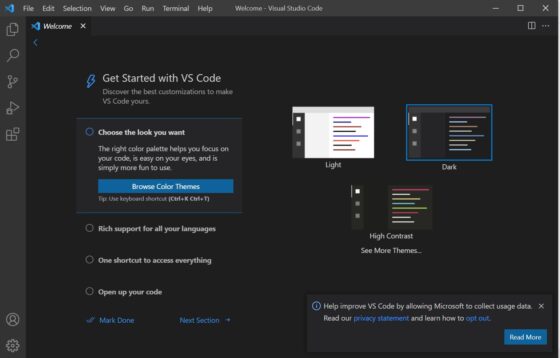
g) Choose your theme
When you start Visual Studio Code for the first time, it will ask you select your theme as shown below. You can select your theme or you can use the default one. This pretty much completes the Installation of Visual Studio Code.