
Table of Contents
In this article, we will go through the steps to download and install Git on Windows 10. Git is a free and open source version control system used by programmers and developers around the world. It is basically designed to handle small to very large projects with speed and efficiency. Multiple developers can check in and manage their project code in parallel branches with high level of efficiency. There are tons of other features that git provides which makes it one of the easy to use SCM tool. More on git official documentation.

How to Download and Install Git on Windows 10
Also Read: How to Download and Install Visual Studio Code on Windows 10
Step 1: Prerequisites
a) You should have a running Windows 10 Server.
b) You should have access to Install Software in your System.
c) You should have Internet Access to download Git software.
Step 2: Download Git
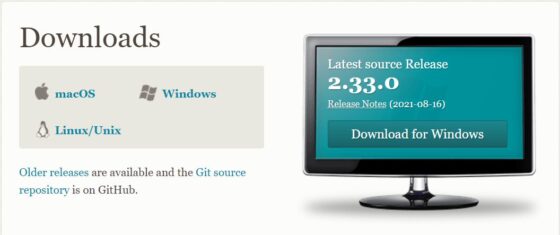
Firstly you need to download the latest Git software for Windows from official Download Page. At the time of writing this article, 2.33.0 is the latest Git version. You need to Click on Download for Windows to download this software.
Step 3: Install Git
From the default download location, you can start installing this application by double clicking it.
a) Accept GNU License
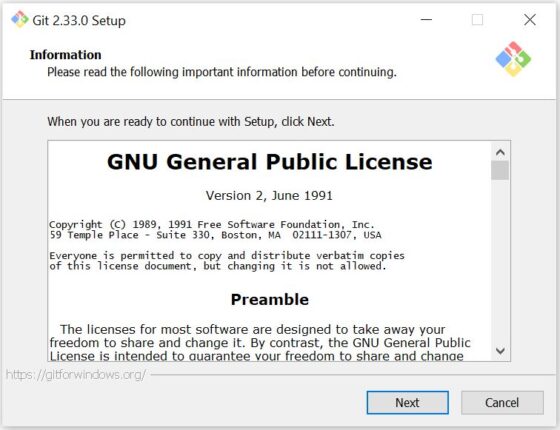
The first window that you see is of GNU General Public License. You need to go through the License and Click on Next to proceed.
b) Select Destination Location
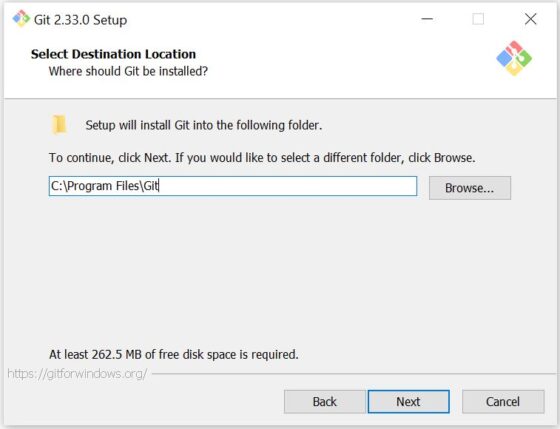
Then you need to choose the destination location where you want to install your software. By default, it will install in C:\Program Files\Git location. You can also change this location by Clicking on Browse and selecting your destination location. Here I will use the default location so I will just click on Next.
c) Select Components
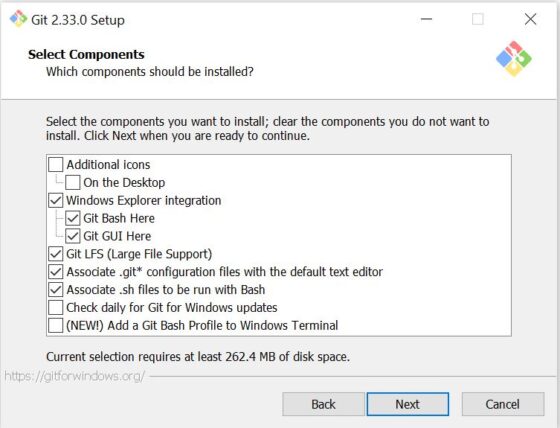
In the next window, you need to select the components to install. By default, you will see below components auto selected. I will leave the selected components as it is and Click on Next.
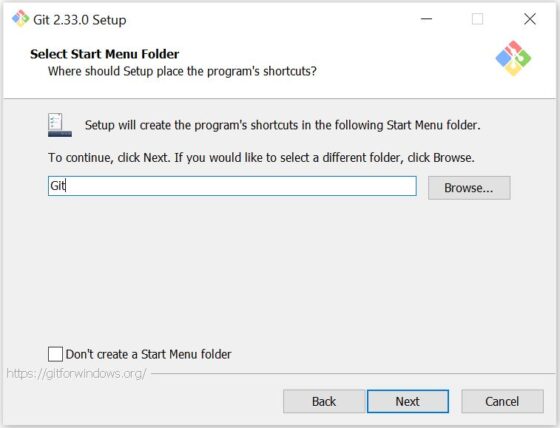
d) Select Start Menu Folder
Here you need to provide the menu folder. By default it will create Git as Start Menu Folder. If you choose to not create any Start Menu folder then you need to select Don't create a Start Menu Folder option as shown below. Then Click on Next.
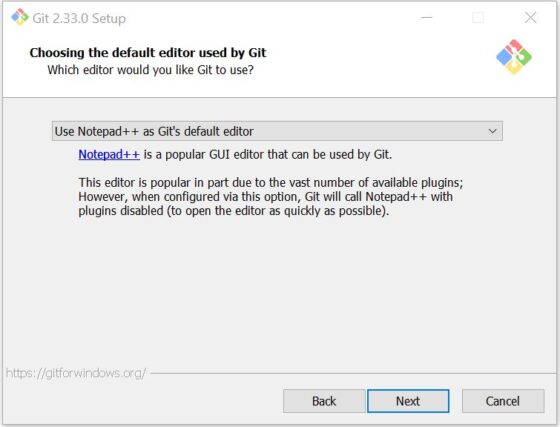
e) Choose Default Editor
Next window will ask you select the default editor used by Git. By default vim will be selected as the default editor but I will change this to Notepad++ as you can see below. You can choose as per your convenience and then Click on Next.
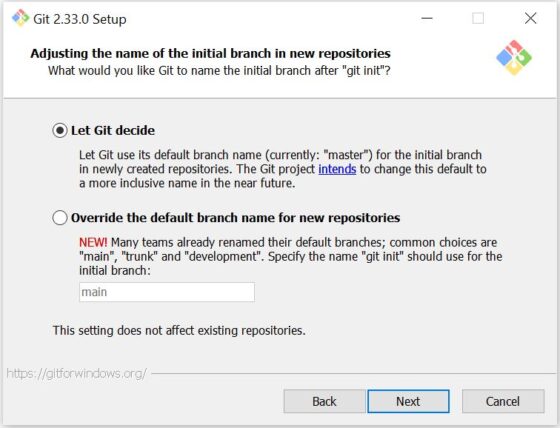
f) Name Initial Branch
In the next window, you need to choose the initial branch name in new repositories. I will Let Git decide this so I will just click on Next without changing anything here.
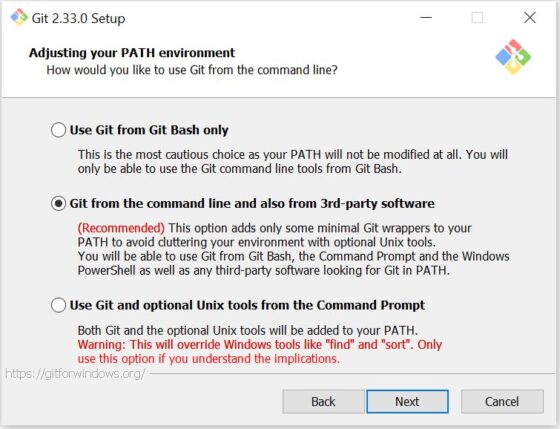
g) Adjust Path Environment
Then you need to adjust your PATH environment to start your Git application. Here I will use the recommended option i.e Git from the command line and also from 3rd-party software as you can see below. Then Click on Next.
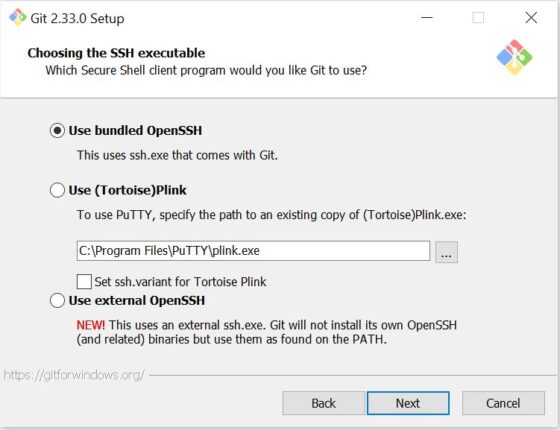
h) Choosing SSH Executable
Then in the next step you need to choose the ssh executable that you want to use with Git. Here I will use bundled OpenSSH with comes with Git so I will select Use bundled OpenSSH option and click on Next.
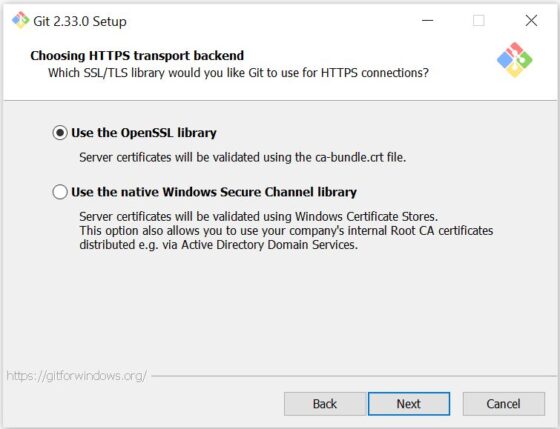
i) Choosing HTTPS Backend
Next step is to choose the SSL/TLS library that you would like to use for https connections. You can either use the OpenSSL Library or native Windows Library as shown below. I will select OpenSSL library and Click on Next.
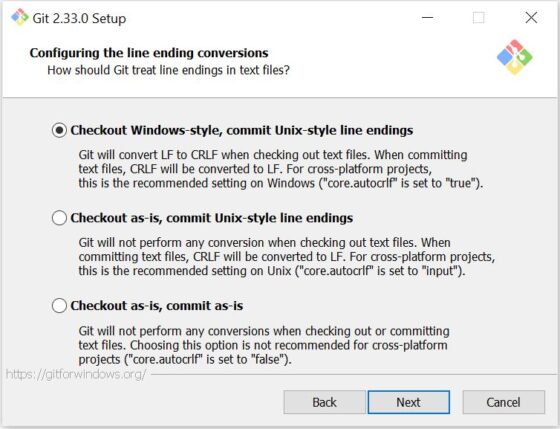
j) Configure the Line Ending Conversions
Then the next step is about configuring the line ending conversions. It basically means how should Git treat the line endings in text files. Here I will select Checkout Windows-style, commit Unix-style line endings as this is the recommended option in Windows as you can see below. Then Click on Next.
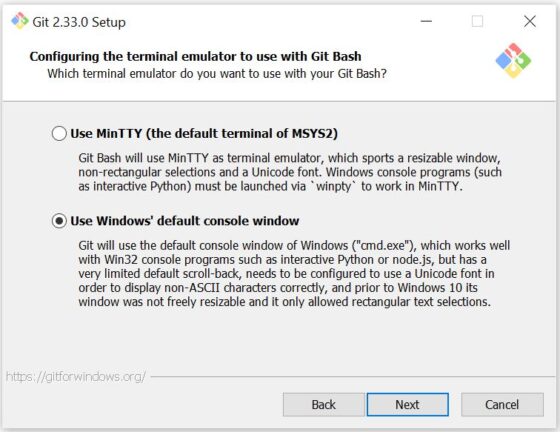
k) Configure Terminal Emulator
Then you need to configure Terminal Emulator that you want to use with Git Bash. I will use the default console window i.e cmd.exe so I will select Use Windows default console window option as shown below. Then Click on Next.
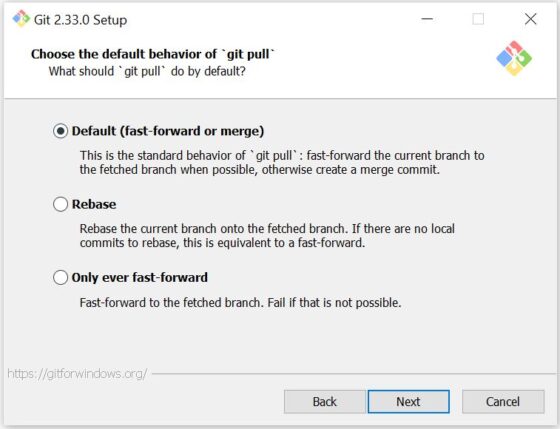
l) Choose default behavior of "git pull"
In the next window you need to choose the default behavior of git pull. It basically means what Git should do when you request a git pull operation. I will use the default git behavior so I will select Default(fast-forward or merge) option as shown below. Then Click on Next.
m) Choose a Credential Helper
Next window will ask you to choose a Credential Helper. You can either choose a credential helper or select none in case you don't want to use a credential helper. I will go with the Git Credential Manager Core for our purpose so I will select this option and Click on Next.

n) Configure Extra Options
In the next window you will get some extra options to configure. You can select and enable any of the given features you want and then click on Next.

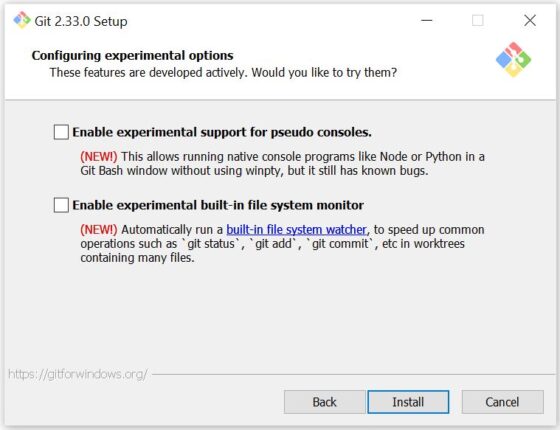
o) Configure Experimental Options
Then you will have some experimental options to use which is newly added in Git. I will not use any of these features and will move ahead by Clicking on Install.
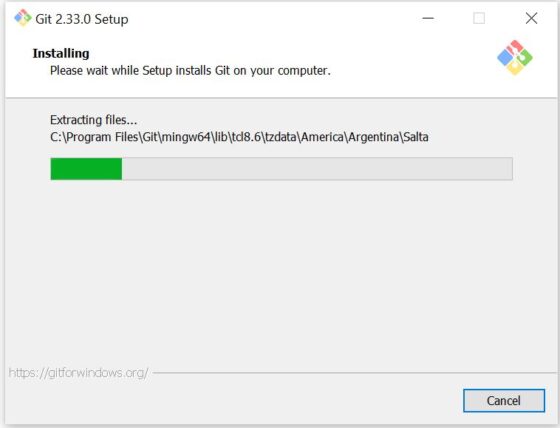
p) Checking Progress
Once installation started you can track the progress as shown below and then wait for it to finish completely.
q) Complete Git Setup
After a while you will see below Completion wizard which indicates the completion of Git installation. Finally you can click on Finish to close this wizard.

Step 4: Launch Git Bash
Now you can go to Windows Icon on bottom left of your screen and then Search for Git Bash to Launch your Git Application. You will see a CMD based terminal launched on your System.