Table of Contents
In this article, we will see how to install Linux Mint 21 on VirtualBox. Linux Mint is an Ubuntu based easy to use and fast operating system for Desktop and Laptop computers. It is designed to work out of the box and comes fully equipped with multimedia, games and productive apps. Almost all its components are open source. It is so easy to use that whenever someone switches from any other operating system to Linux Mint then it is very hard for them to go back. It is very easy to install in almost any kind of hardware architecture. Here we will see the steps to install Linux Mint on VirtualBox.
Important Features
- Easy to Use
- Free of Cost
- Safe to Use
- Centralized software updates
- Requires very little maintenance
- Unique Update Manager
- Contains more than 7800 Games with Steam
- Minimum configuration required
- Almost no extra application needed to install
- Excellent user work experience
- LibreOffice's complete office suite
- Enjoy Music, watch TV and movies
- Draw or Edit Pictures in Gimp
- Inkscape for vector graphics
- Work in 3D with Blender and many more.

How to Install Linux Mint 21 on VirtualBox (Step by Step)
Also Read: How to Install Filezilla on Ubuntu 20.04 LTS (Focal Fossa)
Step 1: Prerequisites
a) You should have VirtualBox installed and running in your System.
b) You should have active Internet connection to download Linux Mint 21 ISO Image.
c) You should have access to install Linux Mint 21 in VirtualBox.
Step 2: Download ISO Image
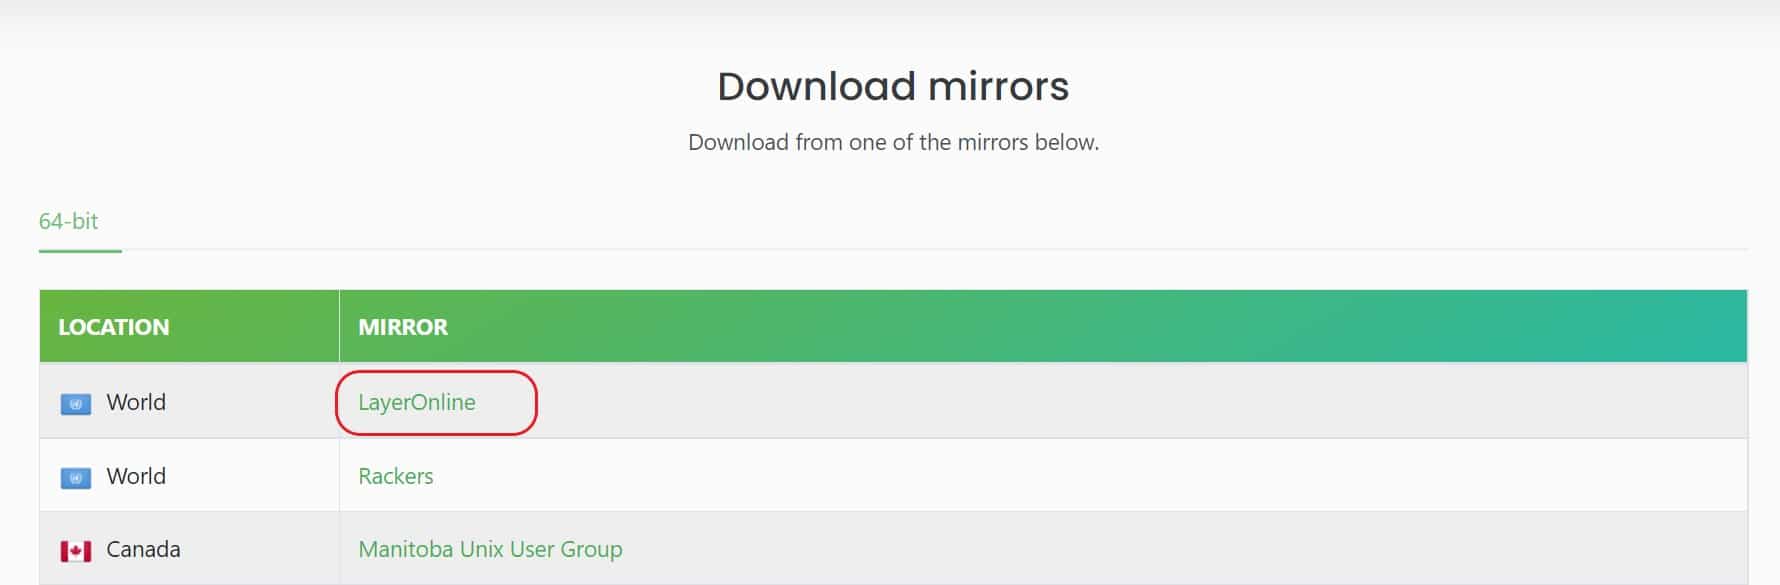
You need to visit Linux Mint official website and download the 64-bit ISO Image from any of the below mirror.
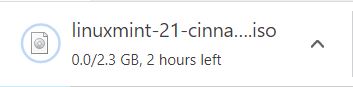
Once you click on the above download link, it will start downloading the image in local Download folder as shown below.
Step 3: Install Linux Mint
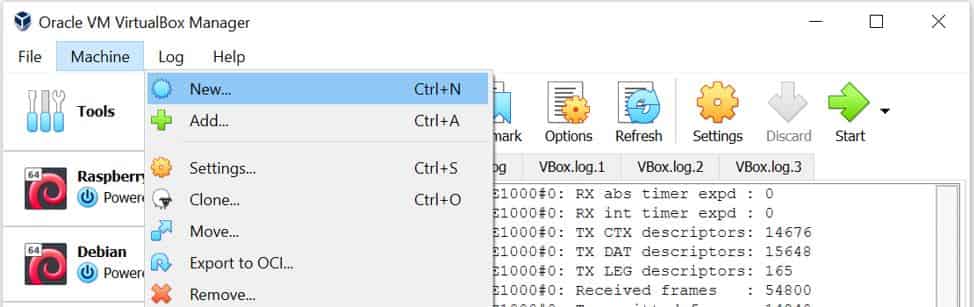
Open VirtualBox and Click on Machine->New as shown below.
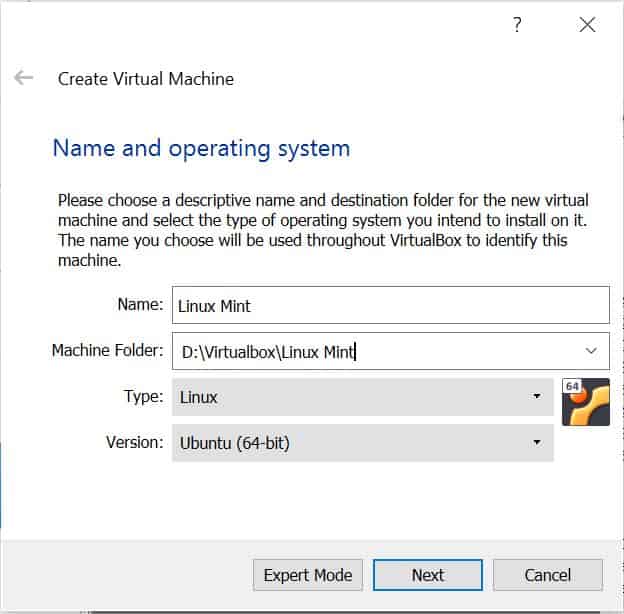
Provide the Virtual Machine Name, Folder location, Type and Version as shown below and then click on Next.
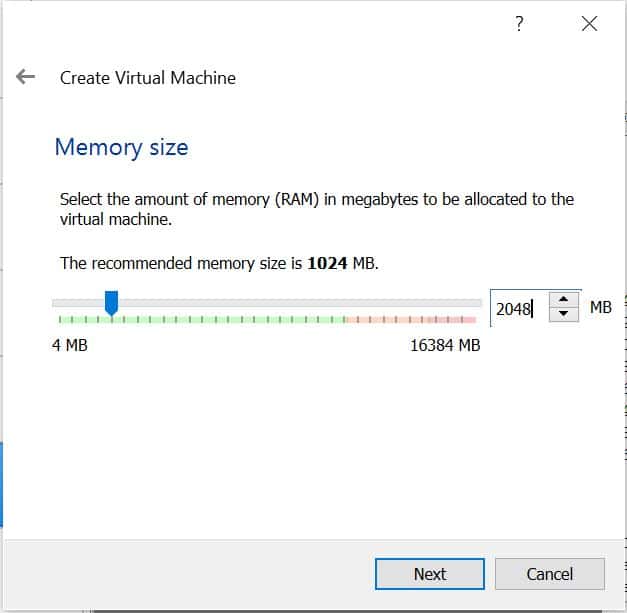
Provide the memory size to atleast 2 GB or 2048 MB as shown below.
Select Create a virtual hard disk now option from below and then click on Create.

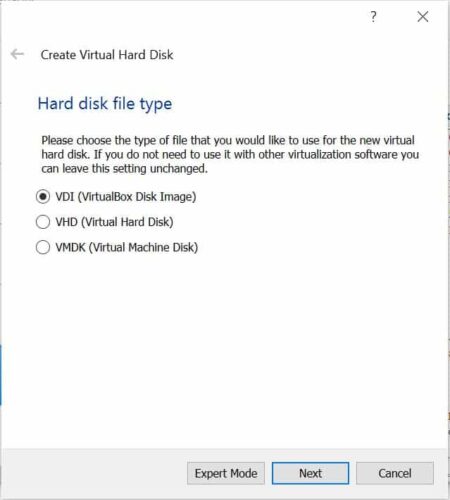
Select VDI(VirtualBox Disk Image) from below option. You can also choose other hard disk file type like VHD or VMDK depending on your requirement. By default, VDI would be selected. Click on Next to continue.
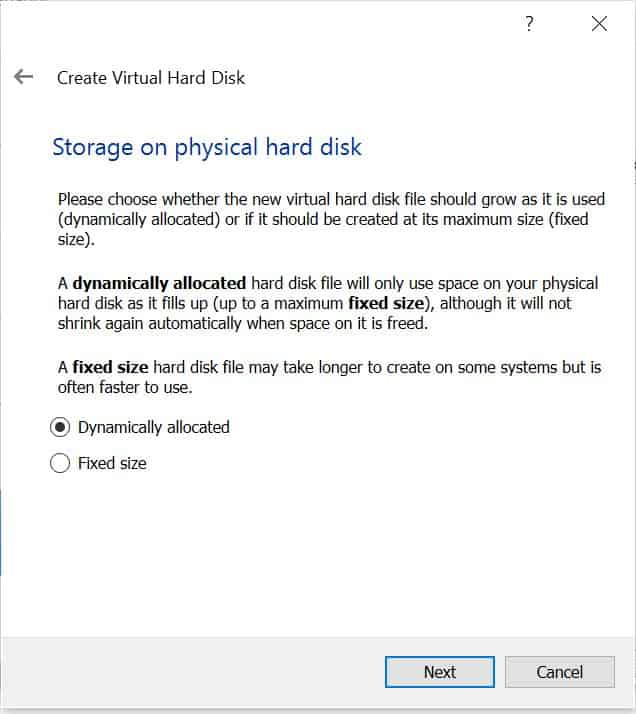
Select the type of storage you want to create. You will see the option to choose either Dynamically allocated or Fixed size storage disk. A dynamically allocated disk will only use the space it fills up on your physical disk and a fixed size hard disk may take longer to create on some systems but is usually faster to use. By default, Dynamically allocated option will be selected. Click on Next to continue.
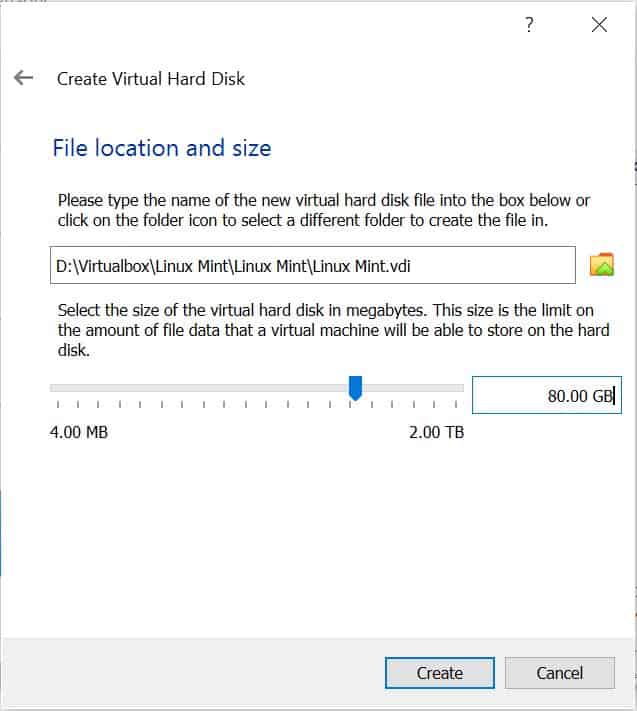
Provide the location where you want to store the virtual hard disk and select the size of the storage. Then Click on Create.
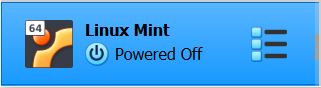
You will see the image created on your VirtualBox as shown below.
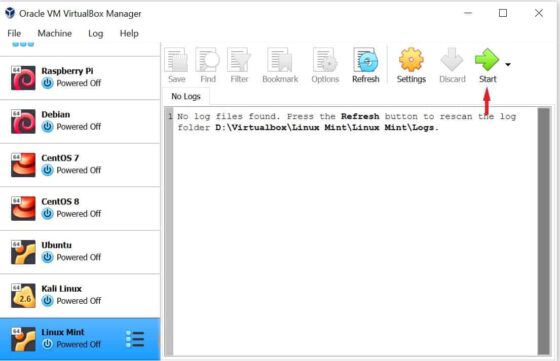
Select the image and click on Start as highlighted below.
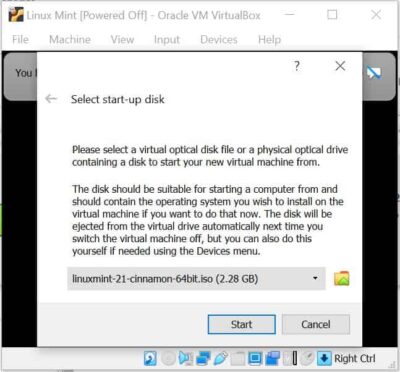
Here you need to browse to the location where you kept the Linux Mint ISO Image and choose the Image. Then click on Start.
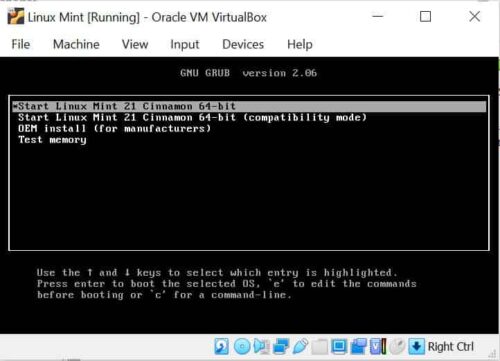
You will see the Boot Loader Screen as shown below. Press Enter to proceed.
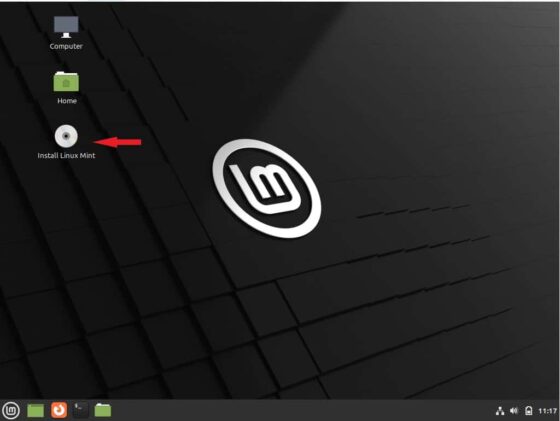
After a while you will see below Desktop where you need to double click on Install Linux Mint as highlighted below.
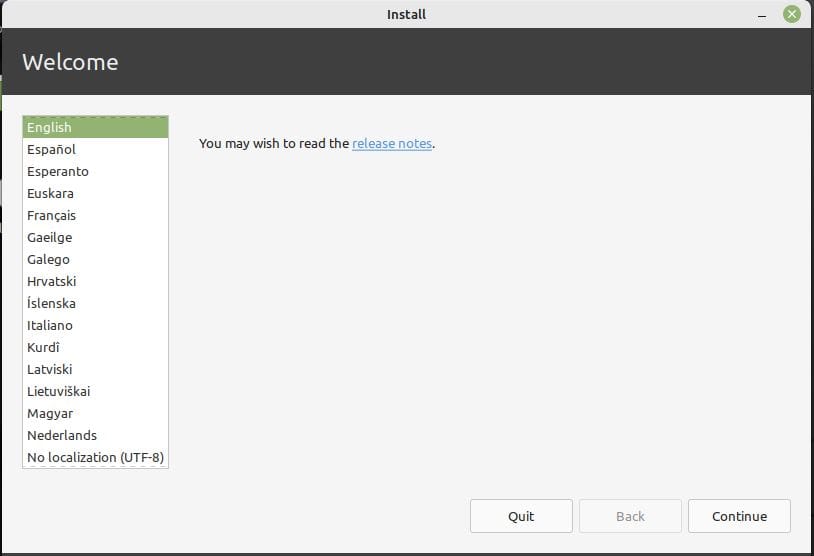
Select your language and click on Continue. By default English language will be selected.
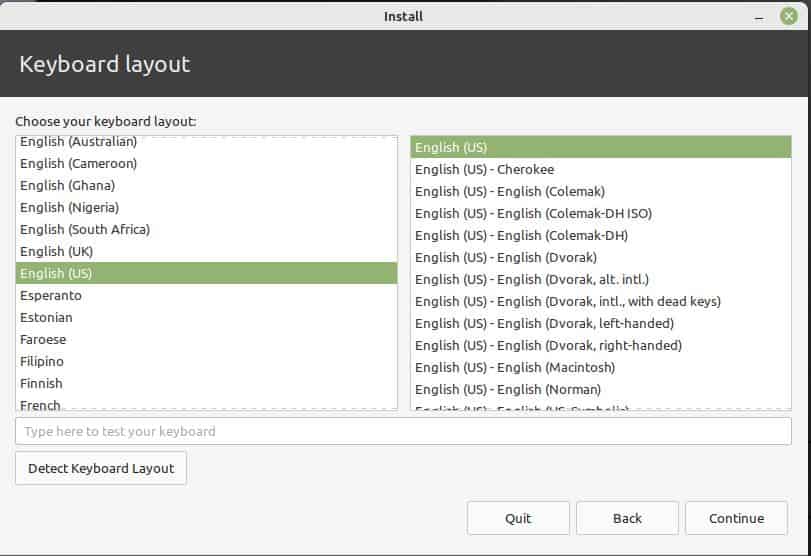
Select keyboard layout and then click on continue. By default English(US) will be selected.
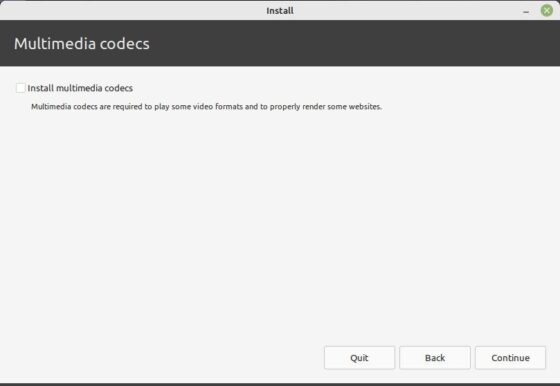
If you would like to install multimedia codecs then select Install multimedia codecs option and click on Continue. Otherwise, you can continue without selecting the install multimedia codecs option.
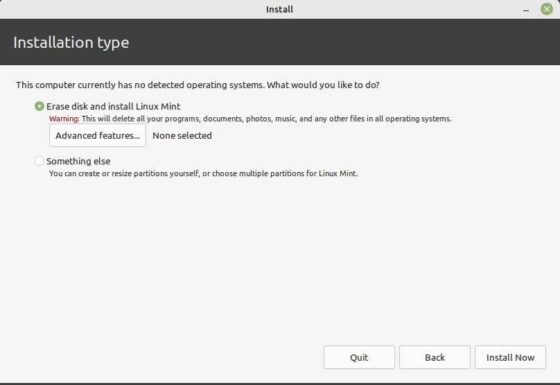
In the installation type, you can either create default partitions by selecting Erase disk and install Linux Mint option or create partitions yourself by selecting Something else option. For simplicity, we are selecting Erase disk and install Linux Mint option to create default partitions. Once selected, click on Install Now.
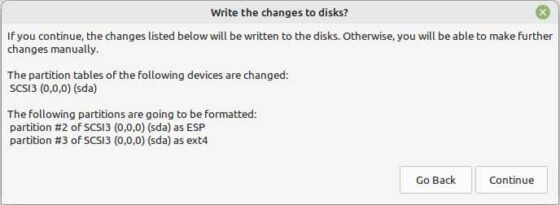
You will see a dialog box to confirm the changes to disks. Click on Continue to start formatting the disks.
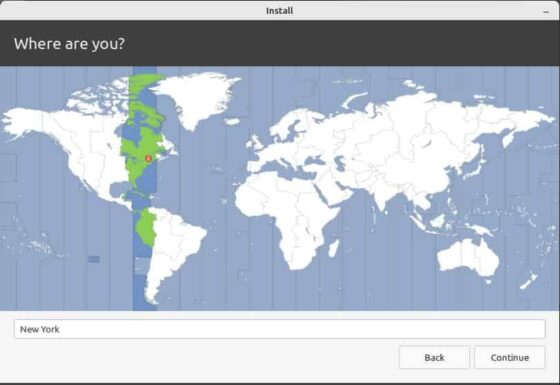
Select your local time zone and click on Continue.
Here your need to provide your name, computer's name, username and password. You can also select Log in automatically option to avoid asking for password to authenticate. Then click on Continue to proceed.

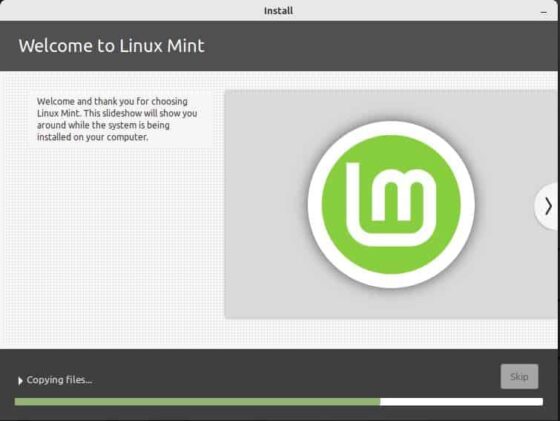
You will see all the files will start getting copied and the installation started as shown below.
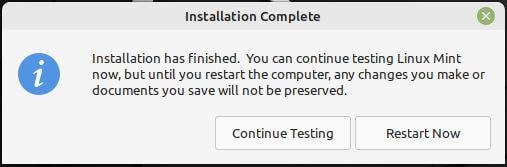
Once the installation is finished, it will ask you to restart the System to take the changes as shown below.
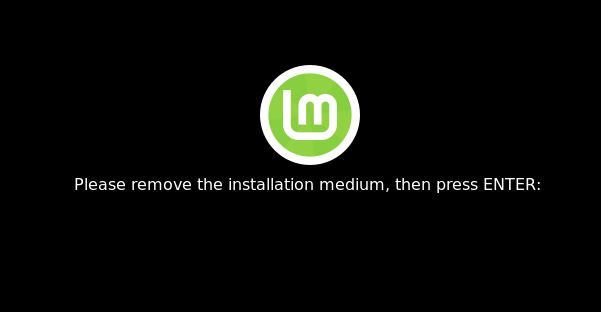
While restarting, it will ask you to remove the installation medium and then press Enter.
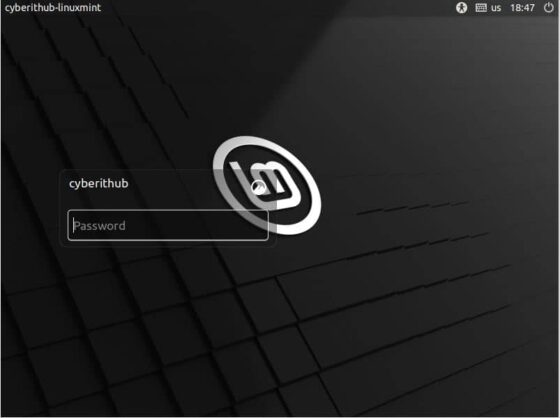
After successful restart, it will prompt for authentication as shown below. You need to provide the password to login.
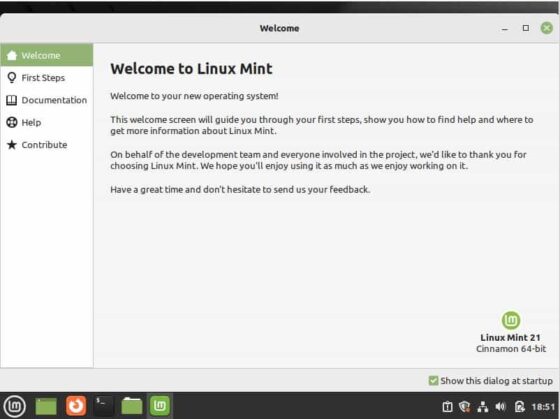
After successful login, the first thing you will see is the below Welcome screen. If you want to prevent this screen to show up every time you login then unselect Show this dialog at startup option showing on the bottom right. This pretty much completes the installation of Linux Mint 21 in VirtualBox.