
Table of Contents
In this article, I will take you through step by step guide to install GNOME Desktop(GUI) on Rocky Linux 8. If you are looking to install GUI software in your system, then primarily you have three best option available in Linux - GNOME, XFCE and KDE. While all three of them are really nice but I always prefer to use GNOME Desktop environment due to its simplicity, accessibility and ease of localization. If you are non-programmer and habitual of using Windows GUI kind of environment then GNOME might be the best option to use here.
According to Official documentation, GNOME, originally known as GNU Network Object Model Environment is a free and open source Desktop environment for Linux Operating Systems. GNOME has a unique interface and provide variety of desktop applications with minimal resource usage.

How to Install GNOME Desktop(GUI) on Rocky Linux 8
Also Read: How to Check the Permission of Current Logged In User in Linux
Step 1: Prerequisites
a) You should have a running Rocky Linux 8 Server.
b) You should have sudo or root access to run privileged command.
c) You should have yum utility available in your System.
Step 2: Update Your Server
First check for any available updates yum update command. This will sync the installed packages with the latest available stable version. If any package needs to be upgraded then upgrade it by using yum upgrade command.
[root@cyberithub ~]# yum update
Last metadata expiration check: 2:41:38 ago on Sun 23 Jan 2022 02:32:26 AM EST.
Dependencies resolved.
=============================================================================================================================================================
Package Architecture Version Repository Size
=============================================================================================================================================================
Installing:
kernel x86_64 4.18.0-348.12.2.el8_5 baseos 7.0 M
Upgrading:
adcli x86_64 0.8.2-12.el8 baseos 117 k
bind-export-libs x86_64 32:9.11.26-6.el8 baseos 1.1 M
binutils x86_64 2.30-108.el8_5.1 baseos 5.8 M
ca-certificates noarch 2021.2.50-80.0.el8_4 baseos 389 k
crypto-policies noarch 20210617-1.gitc776d3e.el8 baseos 62 k
crypto-policies-scripts noarch 20210617-1.gitc776d3e.el8 baseos 82 k
..............................................
Step 3: Check Package Groups
You can check all the available package groups using yum group list command. Here you can see a package group called "Server with GUI" on the output. This is the one we need to install here.
[root@cyberithub ~]# yum group list
Last metadata expiration check: 0:26:59 ago on Sun 23 Jan 2022 01:36:43 AM EST.
Available Environment Groups:
Server with GUI
Minimal Install
Workstation
KDE Plasma Workspaces
Virtualization Host
Custom Operating System
Installed Environment Groups:
Server
Installed Groups:
Headless Management
Available Groups:
Container Management
.NET Core Development
RPM Development Tools
Development Tools
Graphical Administration Tools
Legacy UNIX Compatibility
Network Servers
Scientific Support
Security Tools
Smart Card Support
System Tools
Fedora Packager
Xfce
Step 4: Install GNOME Desktop(GUI)
So to install this package group, you need to use yum groupinstall "Server with GUI" command as shown below.
[root@cyberithub ~]# yum groupinstall "Server with GUI"
Last metadata expiration check: 2:37:14 ago on Sun 23 Jan 2022 02:32:26 AM EST.
Dependencies resolved.
=============================================================================================================================================================
Package Architecture Version Repository Size
=============================================================================================================================================================
Upgrading:
nftables x86_64 1:0.9.3-21.el8 baseos 320 k
Installing group/module packages:
ModemManager x86_64 1.10.8-4.el8 baseos 922 k
NetworkManager-adsl x86_64 1:1.32.10-4.el8 baseos 143 k
NetworkManager-bluetooth x86_64 1:1.32.10-4.el8 baseos 169 k
NetworkManager-wifi x86_64 1:1.32.10-4.el8 baseos 189 k
NetworkManager-wwan x86_64 1:1.32.10-4.el8 baseos 175 k
PackageKit-command-not-found x86_64 1.1.12-6.el8 appstream 26 k
PackageKit-gstreamer-plugin x86_64 1.1.12-6.el8 appstream 16 k
..............................................
Step 5: Enable GUI
To set GNOME GUI as the default GUI, you need to run systemctl set-default graphical command as shown below.
[root@cyberithub ~]# systemctl set-default graphical
Removed /etc/systemd/system/default.target.
Created symlink /etc/systemd/system/default.target → /usr/lib/systemd/system/graphical.target.
Step 6: Reboot System
Finally restart the system by running reboot or init 6 command as shown below.
[root@cyberithub ~]# reboot
Step 7: Setup GNOME Desktop(GUI)
If everything installed properly then after restart you can see that GUI screen will start showing up just like below.

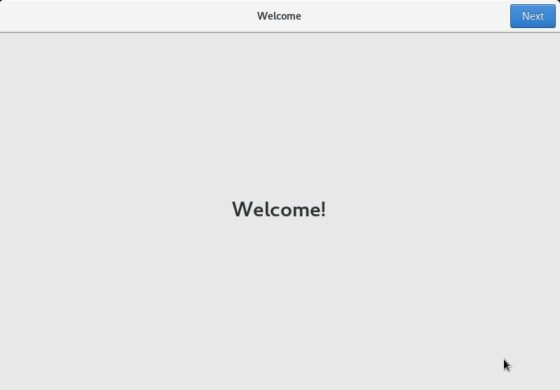
And then after a moment you will see below Welcome screen in your System. Here you just have to click on Next.
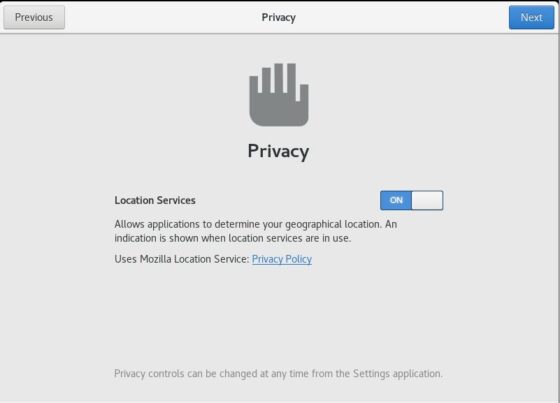
Next screen will take you to the below Privacy setting where you need to set your Location Services ON or OFF. Then Click on Next.
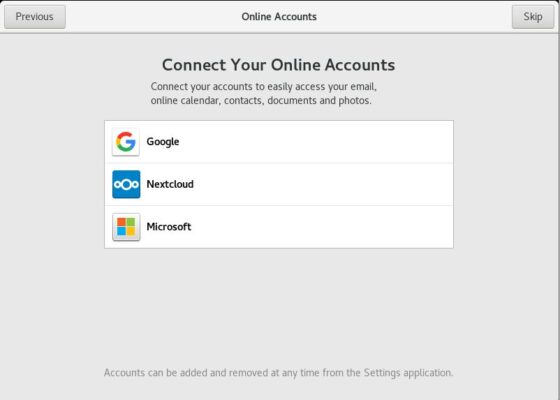
Here you will be asked to provide your online account details to easily access your email, online calendar, contacts, documents and photos. You can either provide or Click on Skip to get to the next screen.
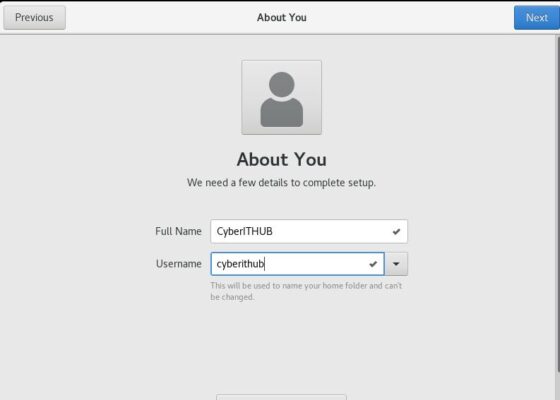
Here you will be asked to provide Full Name and Username. Essentially, when you type your Full Name then Username will also be filled accordingly. You are free to provide any name here. Then Click on Next.
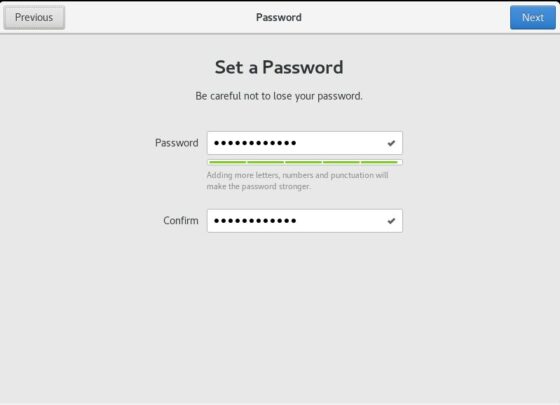
Now you have set the GUI account password. Provide some strong password here and then confirm it again. Once done, Click on Next.
So now you are completely done and ready to use GUI mode. Finish this setup by clicking on "Start Using Rocky Linux". That's it !!

Step 8: Uninstall GNOME Desktop(GUI)
Another important aspect that you might be interested in knowing that how to uninstall GNOME Desktop GUI. Well, this is also as easy as installation. Although I would not recommend but in case you want to completely remove the GNOME Desktop GUI packages then you need to use yum groupremove "Server with GUI" command. I would urge you to please be cautious while running this command in any of the Production Boxes.
[root@cyberithub ~]# yum groupremove "Server with GUI"
Dependencies resolved.
=============================================================================================================================================================
Package Architecture Version Repository Size
=============================================================================================================================================================
Removing:
ModemManager x86_64 1.10.8-4.el8 @baseos 3.3 M
NetworkManager-adsl x86_64 1:1.32.10-4.el8 @baseos 36 k
NetworkManager-bluetooth x86_64 1:1.32.10-4.el8 @baseos 102 k
NetworkManager-wifi x86_64 1:1.32.10-4.el8 @baseos 167 k
NetworkManager-wwan x86_64 1:1.32.10-4.el8 @baseos 134 k
PackageKit-command-not-found x86_64 1.1.12-6.el8 @appstream 48 k
PackageKit-gstreamer-plugin x86_64 1.1.12-6.el8 @appstream 21 k
...................................................................