Table of Contents
In this article, I will take you through the steps to install Fedora 37 on VirtualBox using 3 easy steps. Fedora is known to be an ideal Linux system for developers and testers to test all the application and features before releasing it finally for the wider Linux audience. With the release of Fedora 37 Server edition, a whole lot of new features has been added which can be checked on its official website. While it is easy to install Fedora 37 on almost any architecture, here we will see the steps to install Fedora 37 Server on VirtualBox with the help of step by step process.
How to Install Fedora 37 Server on VirtualBox Using 3 Easy Steps
Also Read: How to Install TablePlus Database Management Tool on Linux
Step 1: Prerequisites
a) You should have a running System with VirtualBox installed.
b) You should have access to launch VirtualBox and create a virtual machine.
c) You should have an active Internet Connection on your System.
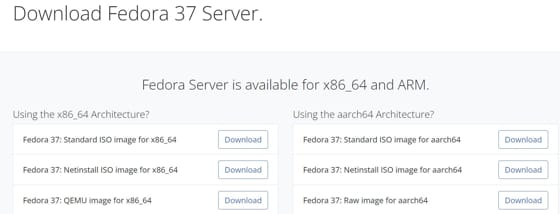
Step 2: Download Fedora 37
First you need to go to Fedora official website and download the Standard ISO image for x86_64.
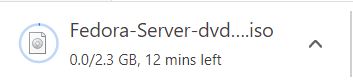
It will start downloading into your local system as shown below.
Step 3: Install Fedora 37 on VirtualBox
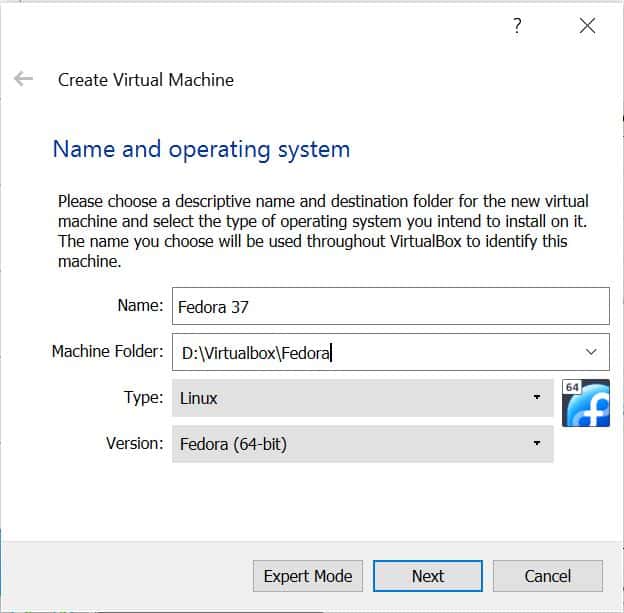
Now Open VirtualBox and click on Machine -> New to create a Virtual Machine. Here you need to provide a Name then select the Machine Folder where you would like to save all the virtual machine files. Select the type as Linux and Version as Fedora(64-bit). Then click on Next to continue.
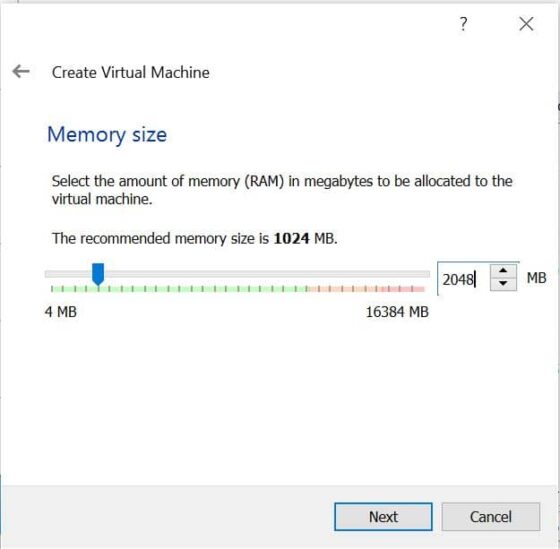
Here you need to allocate a minimum of 2GB or 2048 MB memory size as shown below. Then click on Next to continue.
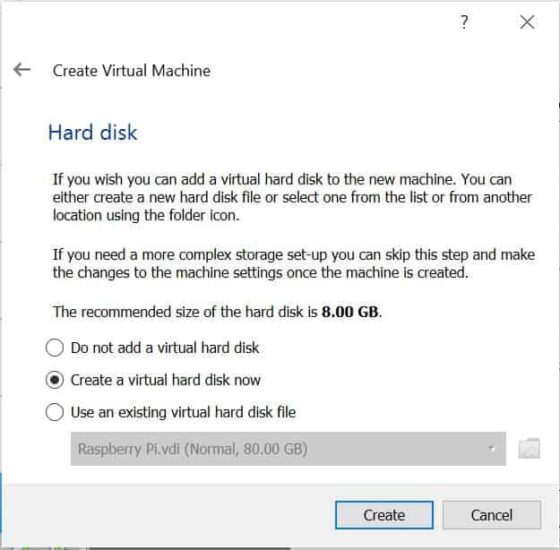
You can either create a new virtual disk or use an existing one depending on your requirement. Since here we are freshly installing Fedora 37 so we will select Create a virtual hard disk now option as shown below. Then click on Create to create a new virtual hard disk file.
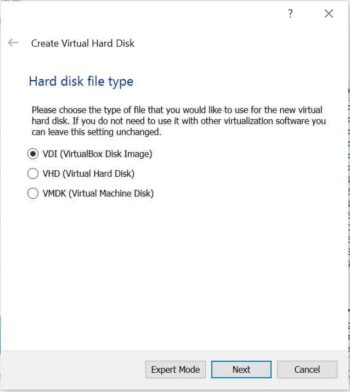
You also need to select the type of hard disk file you would like to create. There are different types of hard disk file available to select :-
- VDI (VirtualBox Disk Image)
- VHD (Virtual Hard Disk)
- VMDK (Virtual Machine Disk)
You can select the appropriate option as per your requirement. By default, VDI(VirtualBox Disk Image) option would be selected as shown below. Tap on Next to continue.
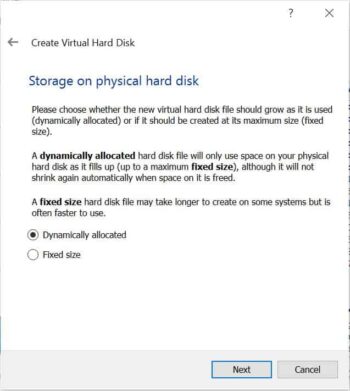
In the next screen, you need to choose whether hard disk file should grow dynamically or it should be created at its maximum size by selecting Fixed size. By default, Dynamically allocated will be selected as shown below. Tap on Next to continue.
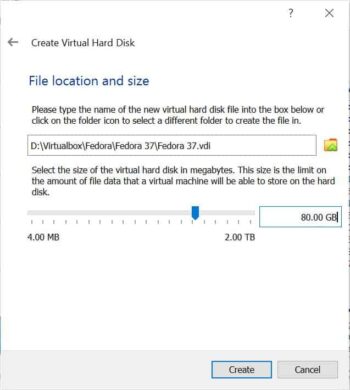
In the next screen, you need to specify the hard disk file location where you want to save the file and the size of the virtual disk. The minimum you can select is 4 MB and the maximum can be selected up to 2 TB. Once given, click on Create to complete the creation of virtual machine.
After successful creation, it should look like below. You need to power on the virtual machine to start with the installation.

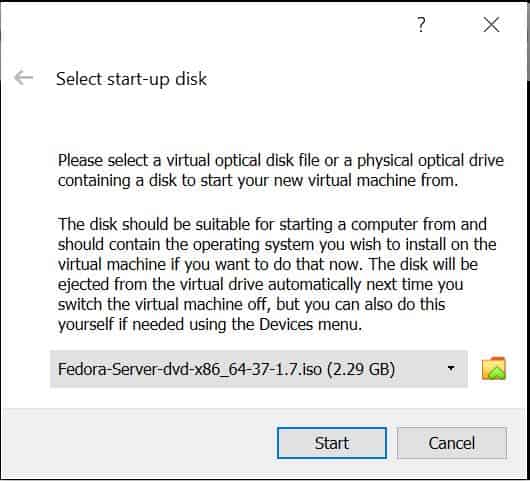
It will then ask you select the start-up disk. Here you need to select your ISO image by pointing to the location where you saved the image. Once selected, click on Start to proceed.
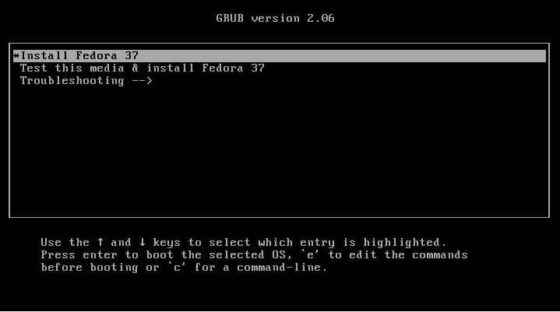
You will see below boot screen where you need to select Install Fedora 37 by moving your up/down arrow. Then press Enter to continue.
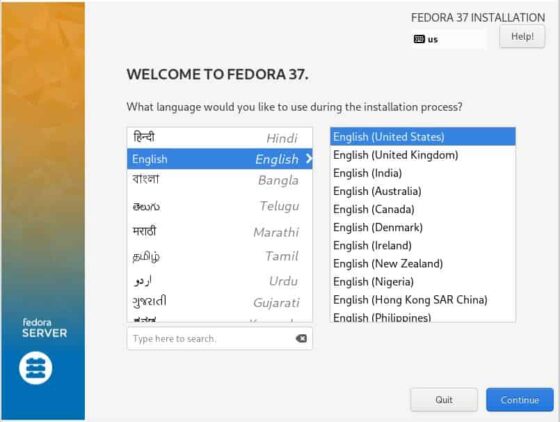
You will be asked to select the language to proceed with the Installation. Here we have selected English language. You can also select any language to use during the installation process. Then click on Continue.
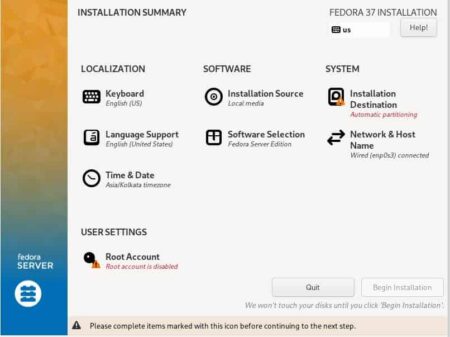
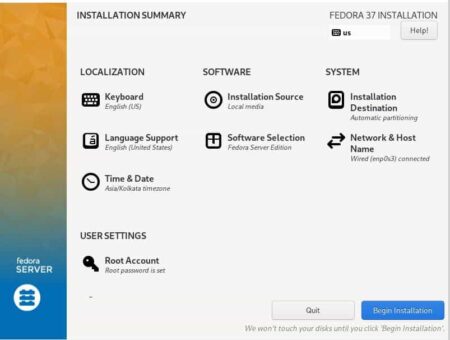
You can verify all the details in Installation summary as shown below. You will notice that by default, installation destination will be selected as Automatic partitioning and Root Account will be disabled. To proceed, you need to confirm both of them.
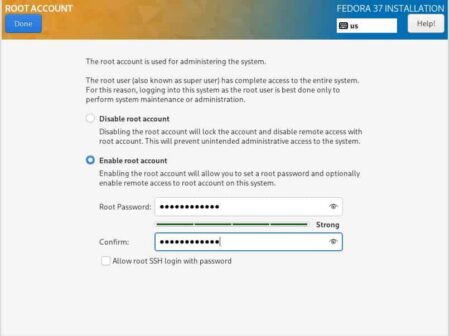
If you would like to keep the root account disabled then you can just click on Done. Otherwise, you can enable root account and provide the root password as shown below. You can select Allow root SSH login with password to allow the SSH login.
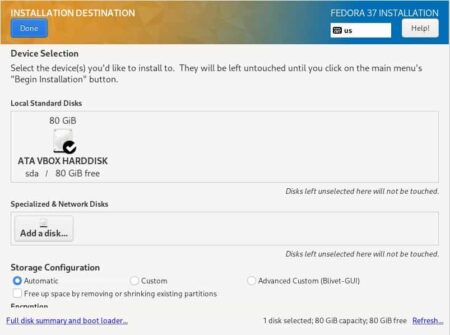
You can either use the Automatic partitioning or can also create your own partition by selecting Custom option. For now, we will use Automatic Partitioning which means system will create partitions on the selected virtual hard disk for us. Tap on Done to confirm the setting.
You are now ready to begin the Installation. After confirming all the given details, click on Begin Installation to proceed.
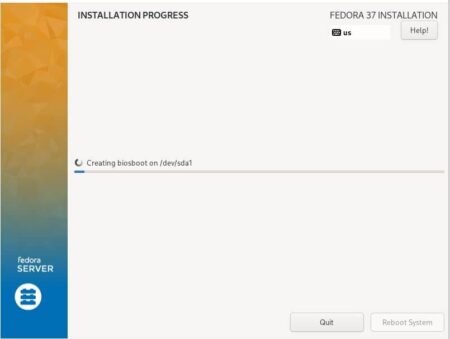
It will start creating all the partitions and the installation would progress like below.
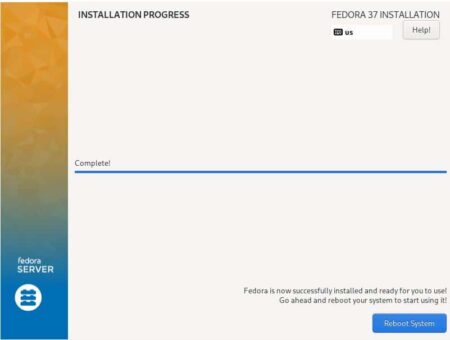
After a while, you will see the installation would be completed as shown below and it will ask you to reboot the system by selecting Reboot System.
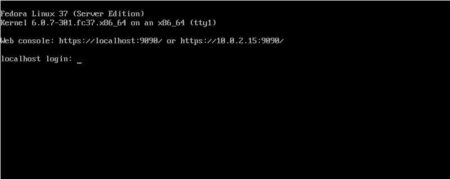
Once rebooted, you will see below login screen to authorize the user to proceed with the login. With this, the installation of Fedora 37 Server edition is completed now.