Table of Contents
In this article, we will see how to create an alert in Opsgenie Using 5 Easy Steps. Alerts are the main entities in Opsgenie which are meant to inform users and teams about any critical or major incidents happened with the business operations. Alerts are usually triggered as a result of an event occurred based on the data received from the monitoring solution. More on official website. Here we will see the steps to create an alert in Opsgenie Alert and On-Call Management tool in detail.
Alert Fields
The Opsgenie alert contains below important fields with having certain limitations:-
- Message: This is the only mandatory informational field. You can also format the messages value in HTML format. This field is limited to at most 130 characters. If required, the messages value can be updated later as well.
- Responders: These are the team members who needs to be notified about the alert.
- Alias: The user-defined identifier for the alert which is limited to at most 512 characters. Opsgenie will assign a unique value for this field while the alert is getting created if one is not specified by end user.
- Entity: This field is generally used to specify the domain that the alert is related to, such as name of the server or application which is limited to at most 512 characters.
- Actions: This alert field provides the list of custom actions that users can execute on the alert in addition to the default actions that Opsgenie provides. For a single alert, you can define at most 10 custom actions where each action is limited to at most 50 characters.
- Description: This field can be used to add all the important details about the alert like the impacted service or endpoint URL.
- Extra Properties: This field is used to keep additional key-value pairs of your choice related with the alert. Html formatting can be used for extra properties. The number of key-value pairs do not have any limitation; however, total length of the provided values cannot exceed 8000 characters.
State Fields
The state fields that Opsgenie keeps updating are:-
- Status: This state field contains the information of alert state. This field has the value Open/Unacked when the alert is created and Opsgenie keeps updating this field as long as status or acknowledged state of the alert are updated.
- Responders states: This state field shows the responder last actioned state on the alert. This field will keep getting updated as long as there is an update like receiving a notification, executing an action, etc. available.
- Activity Log: This state field is used to provide all the user or system activity performed on an alert along with the updated timestamp in a sequence. Some of those activities includes alert creation, user interactions including actions, notifying or skipping to notify a user and de-duplication events
How to Create an Alert in Opsgenie Using 5 Easy Steps
Also Read: How to Add a Team in Opsgenie Alerting and On-call Management Tool
Step 1: Prerequisites
a) You should have a valid email ID.
b) You should have an active Internet connection.
c) You should either have a trial account or valid Opsgenie account.
Step 2: Login to Opsgenie
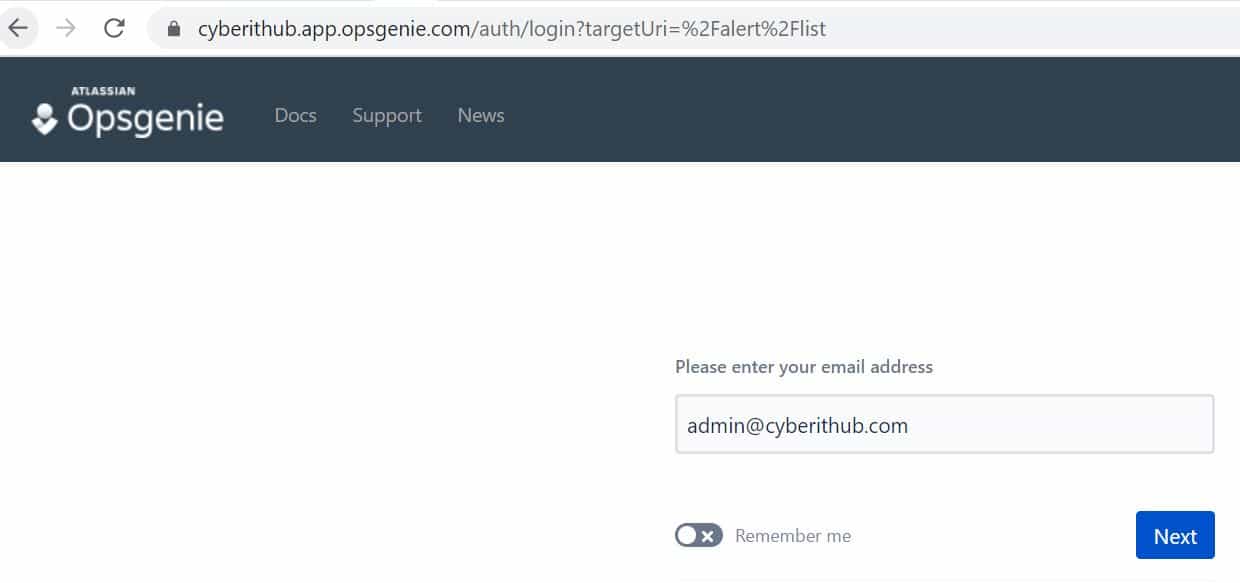
You can either login directly to Opsgenie or go to your site that you created during creation of your account. You can check more about this on How to Create an Account in Opsgenie Alerting Tool. Here you need to provide valid email address and then click on Next.
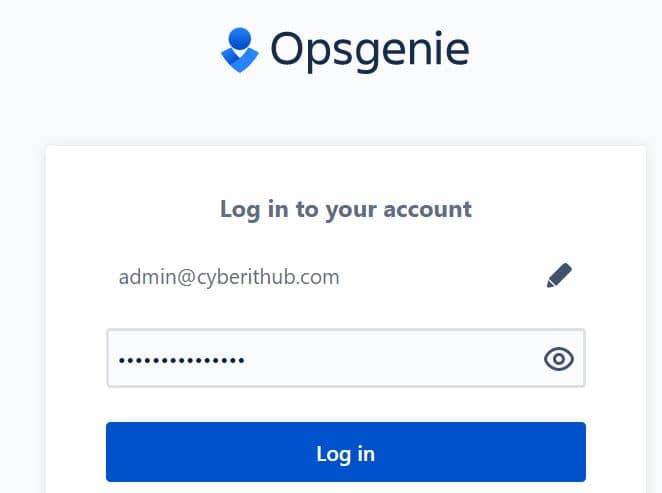
Then provide your password and click on Log in as shown below.
You will be successfully logged in to Opsgenie as shown below.
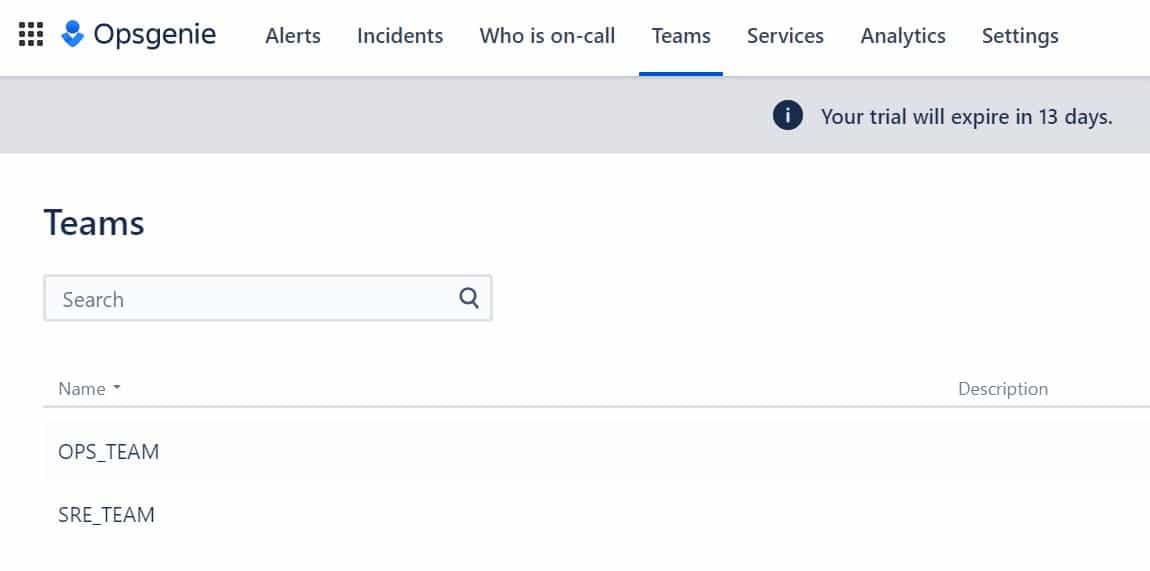
Step 3: Select Your Team
After successfully login to Opsgenie, you need to go to Teams and select the appropriate team from the list of teams as shown below. In our case, we have two teams - OPS_TEAM and SRE_TEAM. We are selecting SRE_TEAM here.
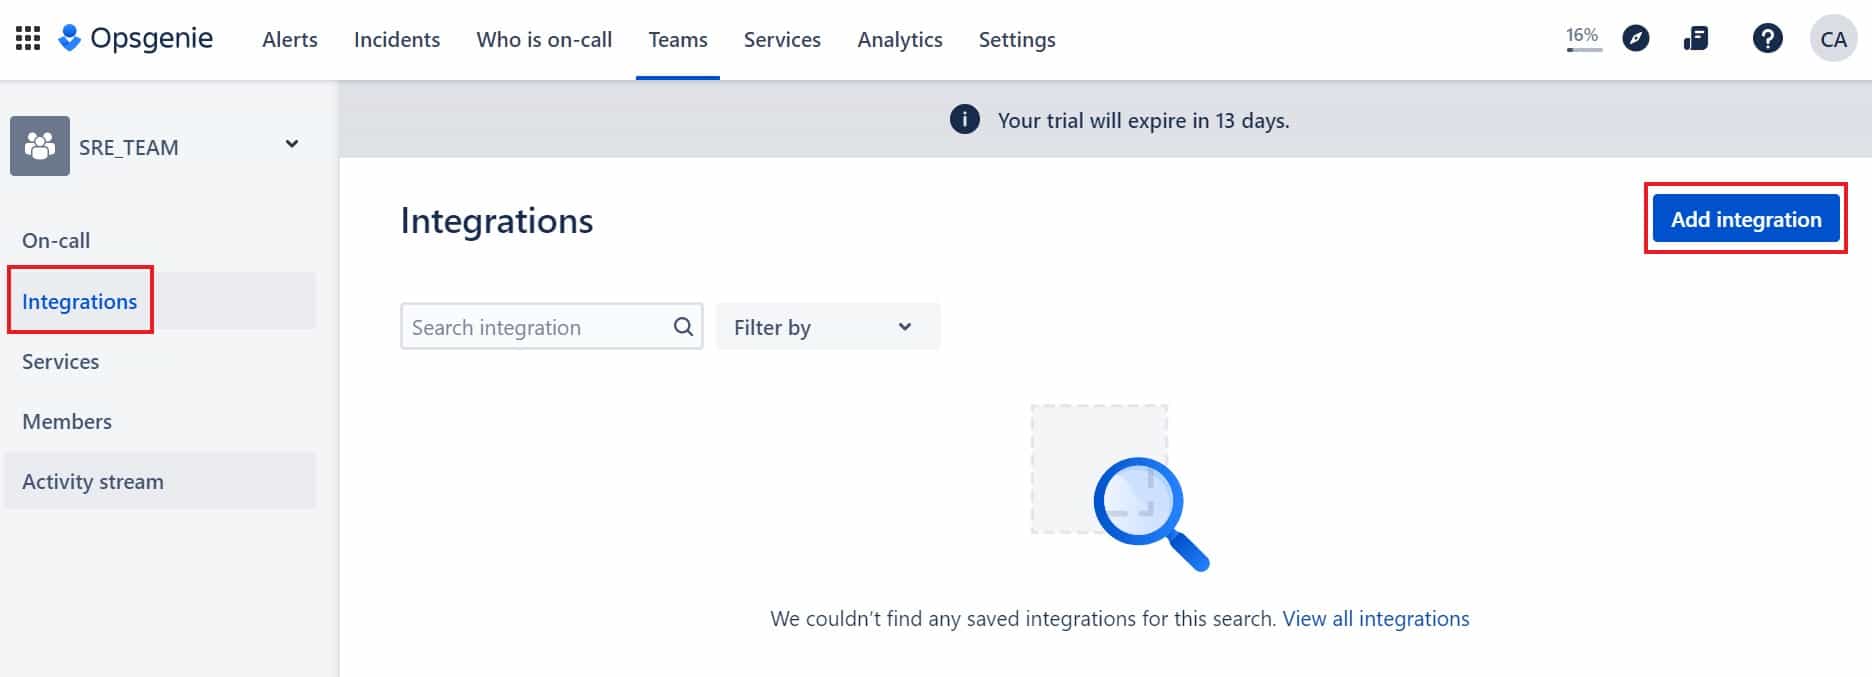
Once selected, it should look like below where you can manage different Teams operations like On-call, Integrations, Services, Members and Activity Stream.

Step 4: Add Integration
Next step is to integrate the monitoring source to Opsgenie to receive the alert data. Here we are going to take the example of Prometheus. For that, you need to first click on Add Integration.
Then search prometheus application in the search bar as shown below. Once it shows up, click on it to proceed with the integration.

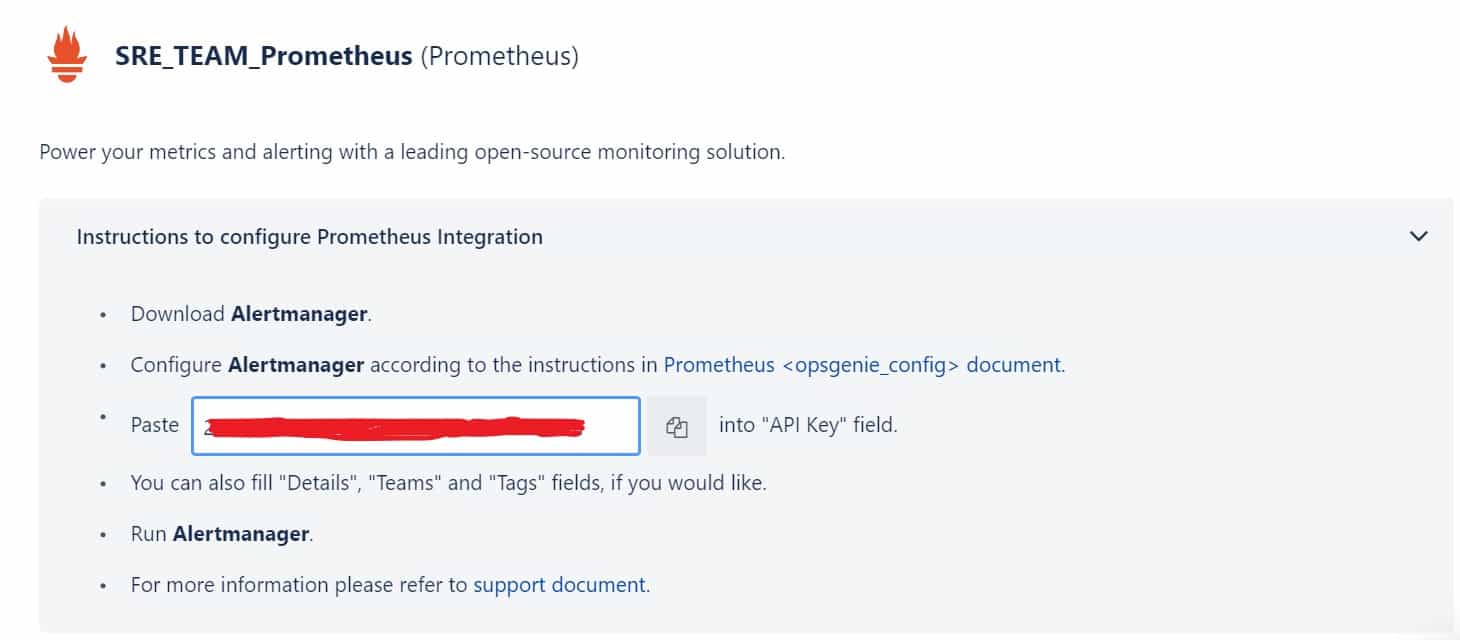
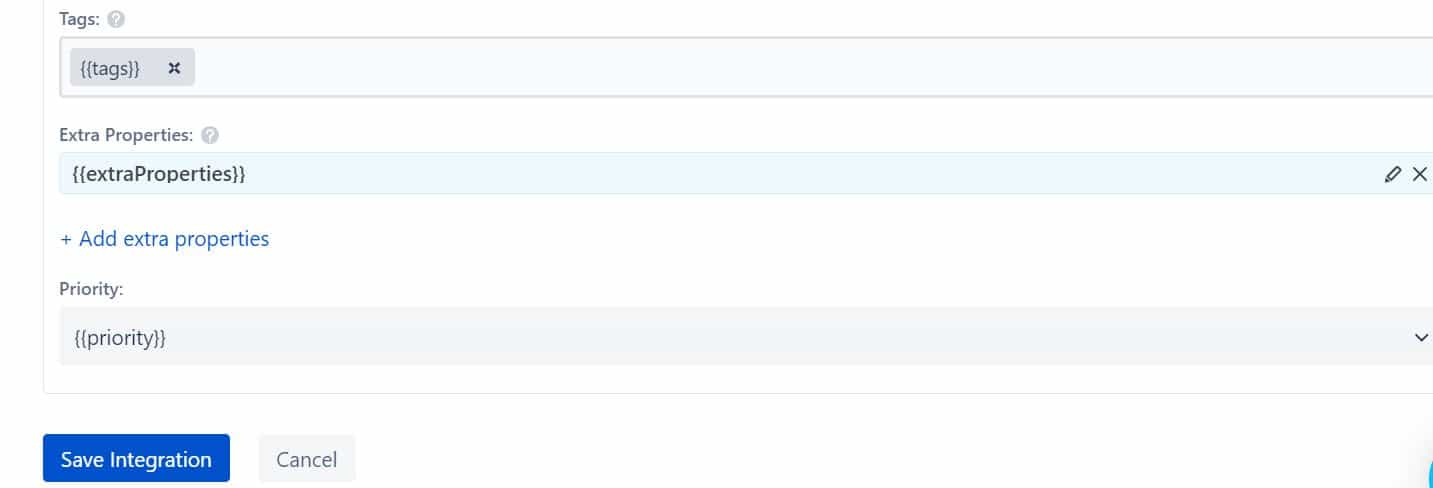
As soon as you click on Prometheus, you will see below instructions to configure prometheus Integration. In the given steps, you need to basically download the Alertmanager and configure according to the instructions given in the below link. Then paste the below mentioned key into API key field and run the Alertmanager. If you would like, you can also fill the Details, Teams and Tag fields in between.
Scroll down a bit and click on Save integration. This completes the monitoring solution integration with the Opsgenie tool.
Step 5: Create Alert
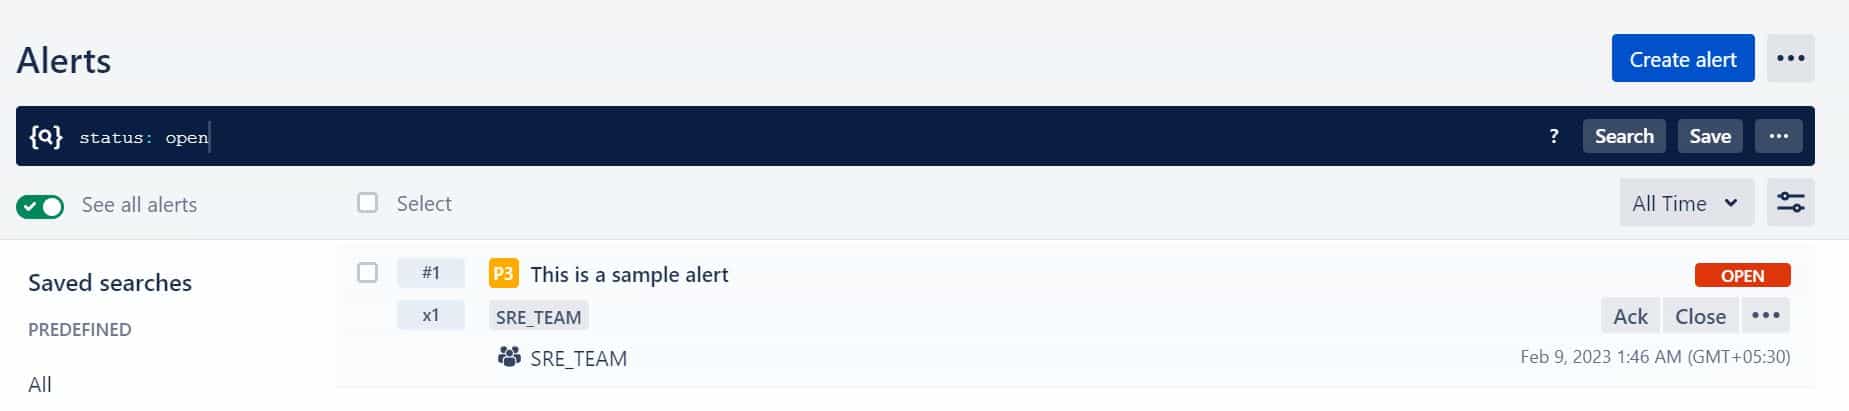
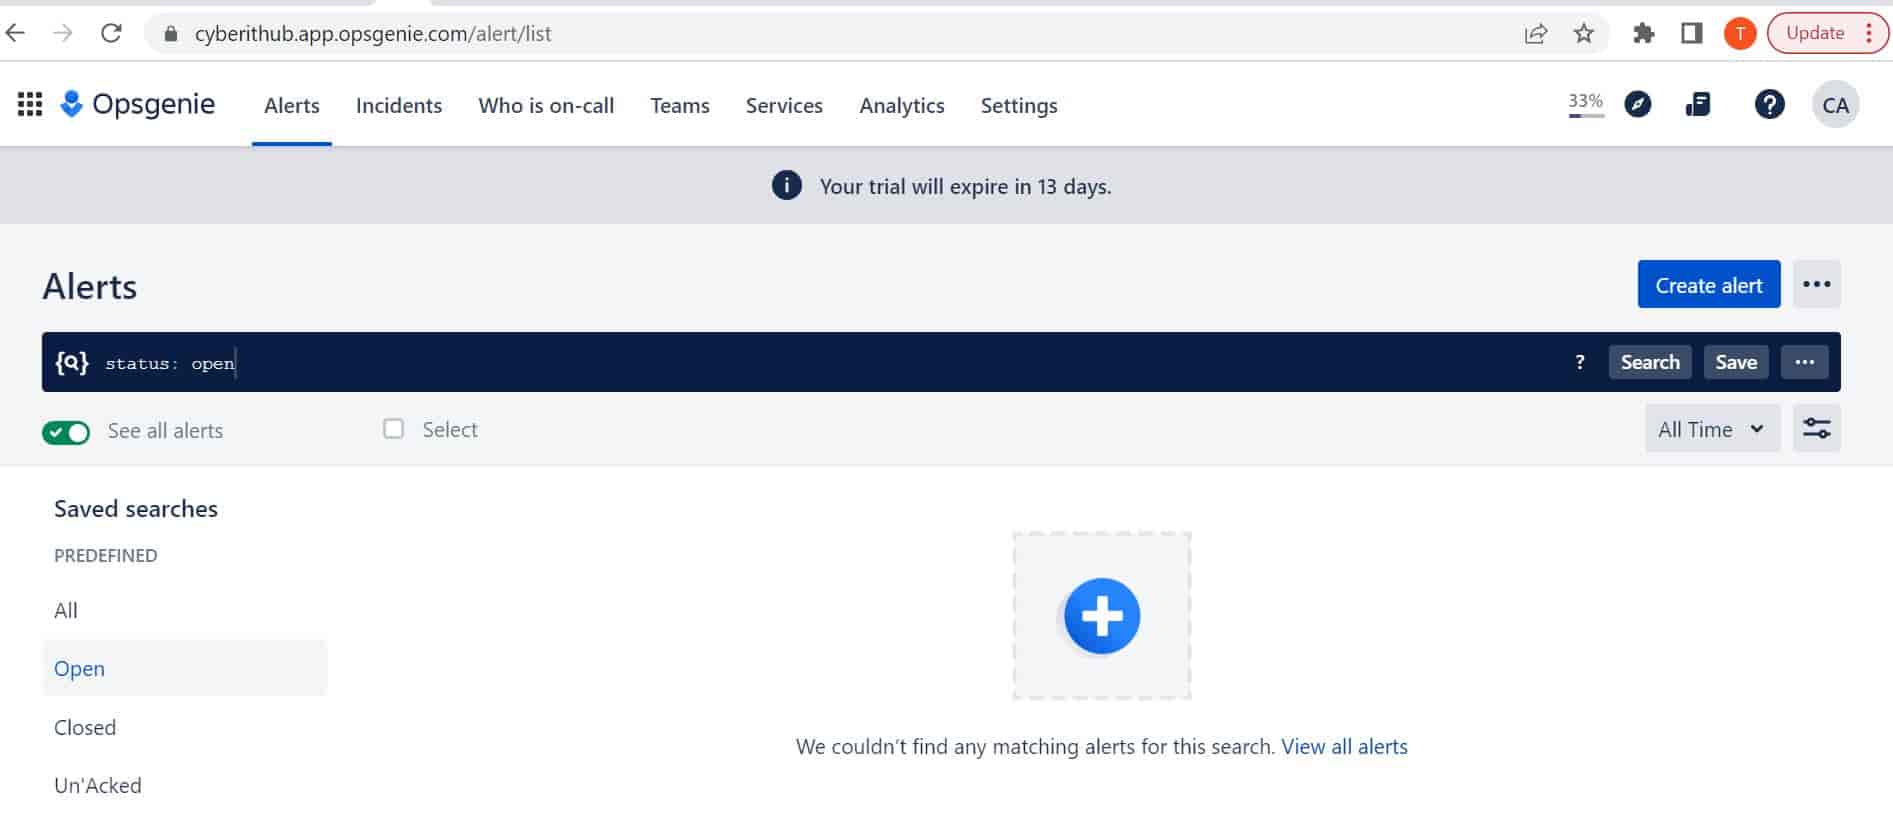
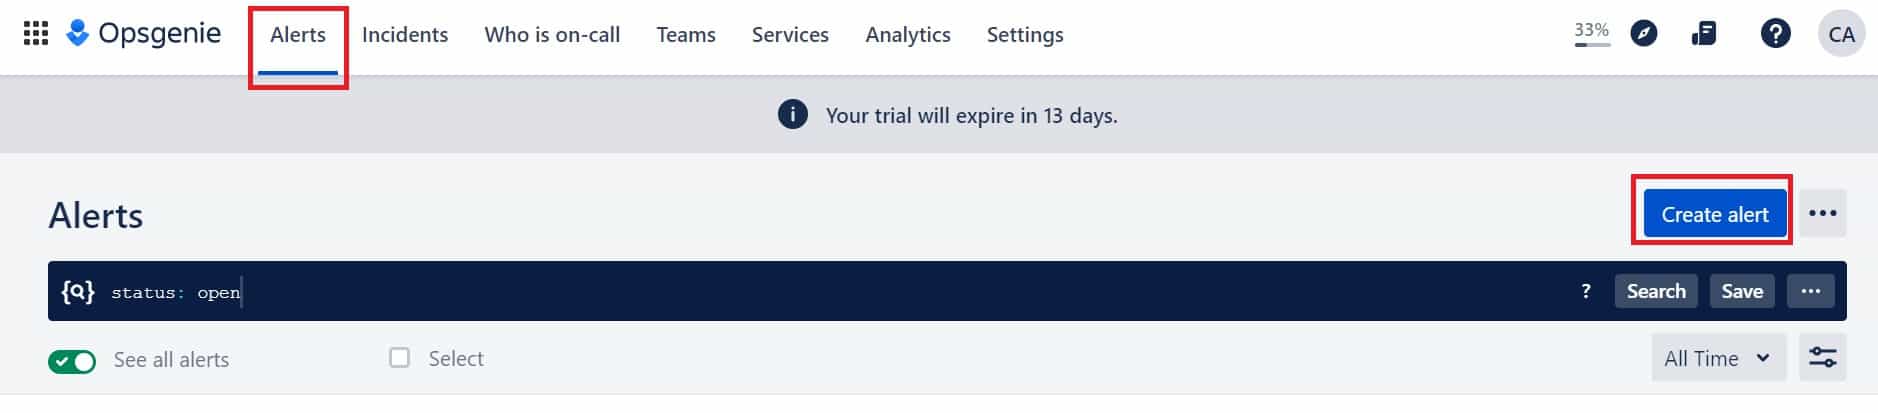
To create an alert, go to Alerts section and click on Create alert as highlighted below.
Here you need select the API Integration from the drop down, provide the alert message, set the priority depending on the criticality of the issue, set the responsible responders and the finally provide the list of tags. Once done, click on Create to create the alert.
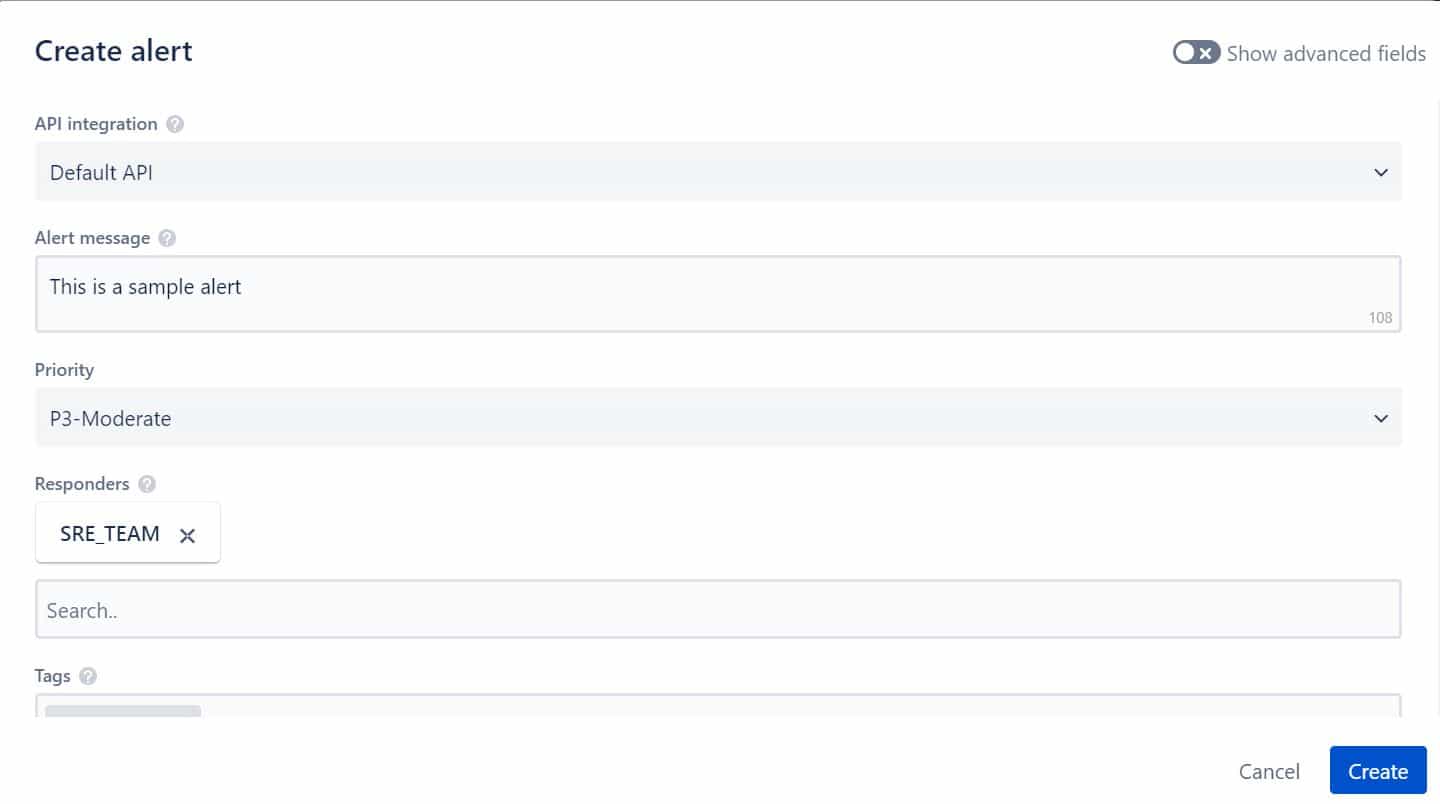
You will see the created alert below.