
Table of Contents
In this article, we will see how to install lighttpd web server on Ubuntu 22.04. lighttpd is a free and open source web server, known for its speed, efficiency and minimal resource consumption. It is mainly designed for serving static contents at very fast speed. It support wide range of features including FastCGI and CGI which allows it to work as web server for applications written in various languages such as PHP, Python, Perl, Ruby etc. Due to its ability to handle multiple connections asynchronously, it is mostly preferred in an environment where handling of multiple connections to application is absolutely critical. More on official website.

How to Install lighttpd web server on Ubuntu 22.04
Also Read: How to Install Envoy proxy on Ubuntu Linux
Step 1: Prerequisites
a) You should have a ready to use Ubuntu 22.04 System.
b) You would required sudo or root access to run privileged commands on your System.
c) You would also require apt or apt-get utility to install the package.
d) Minimum hardware configuration:-
- CPU: Since Lighttpd is not CPU-intensive, only limited by websites traffic, any latest CPU would be enough.
- Memory: At least 512 MB of RAM is recommended, but Lighttpd can run with less, especially for low-traffic websites.
- Storage: Minimal disk space is required for the Lighttpd installation itself, around 1-2 GB should be sufficient for the operating system plus Lighttpd, excluding the data/content you plan to serve.
Step 2: Update Your Server
As always, it is not mandatory to upgrade your system packages but it is always recommended to do so by running sudo apt update && sudo apt upgrade command. This will ensure your system security and stability.
cyberithub@ubuntu:~$ sudo apt update && sudo apt upgrade
[sudo] password for cyberithub:
Hit:1 https://aquasecurity.github.io/trivy-repo/deb jammy InRelease
Hit:2 https://packages.microsoft.com/ubuntu/22.04/prod jammy InRelease
Get:3 http://security.ubuntu.com/ubuntu jammy-security InRelease [110 kB]
Hit:4 http://in.archive.ubuntu.com/ubuntu jammy InRelease
Get:5 http://in.archive.ubuntu.com/ubuntu jammy-updates InRelease [119 kB]
Get:6 https://deb.dl.getenvoy.io/public/deb/ubuntu jammy InRelease [2,975 B]
Hit:7 http://in.archive.ubuntu.com/ubuntu jammy-backports InRelease
Get:8 http://in.archive.ubuntu.com/ubuntu jammy-updates/main amd64 Packages [1,562 kB]
Get:9 http://in.archive.ubuntu.com/ubuntu jammy-updates/main i386 Packages [610 kB]
...........................................................
Step 3: Install lighttpd
As lighttpd package is available from default Ubuntu repo, you can easy install it by using sudo apt install lighttpd command. This will not only install lighttpd package but it will also check and resolve all the dependencies required by lighttpd package so that you don't have to install anything manually.
cyberithub@ubuntu:~$ sudo apt install lighttpd
[sudo] password for cyberithub:
Reading package lists... Done
Building dependency tree... Done
Reading state information... Done
The following additional packages will be installed:
lighttpd-mod-deflate lighttpd-mod-openssl spawn-fcgi
Suggested packages:
rrdtool php-cgi php-fpm apache2-utils lighttpd-doc lighttpd-mod-authn-gssapi lighttpd-mod-authn-pam lighttpd-mod-authn-sasl lighttpd-mod-geoip
lighttpd-mod-maxminddb lighttpd-mod-trigger-b4-dl lighttpd-mod-vhostdb-pgsql lighttpd-mod-webdav lighttpd-modules-dbi lighttpd-modules-ldap
lighttpd-modules-lua lighttpd-modules-mysql
The following NEW packages will be installed:
lighttpd lighttpd-mod-deflate lighttpd-mod-openssl spawn-fcgi
0 upgraded, 4 newly installed, 0 to remove and 21 not upgraded.
Need to get 437 kB of archives.
After this operation, 1,471 kB of additional disk space will be used.
Do you want to continue? [Y/n] Y
Get:1 http://in.archive.ubuntu.com/ubuntu jammy-updates/universe amd64 lighttpd amd64 1.4.63-1ubuntu3.1 [389 kB]
Get:2 http://in.archive.ubuntu.com/ubuntu jammy-updates/universe amd64 lighttpd-mod-deflate amd64 1.4.63-1ubuntu3.1 [11.7 kB]
Get:3 http://in.archive.ubuntu.com/ubuntu jammy-updates/universe amd64 lighttpd-mod-openssl amd64 1.4.63-1ubuntu3.1 [21.5 kB]
Get:4 http://in.archive.ubuntu.com/ubuntu jammy/universe amd64 spawn-fcgi amd64 1.6.4-2 [14.9 kB]
Fetched 437 kB in 1s (320 kB/s)
....................................................................
Step 4: Check Service Status
After successful installation, you can verify the service running status by using sudo systemctl status lighttpd command as shown below. If everything goes well, you should see it running and active.
cyberithub@ubuntu:~$ sudo systemctl status lighttpd
[sudo] password for cyberithub:
● lighttpd.service - Lighttpd Daemon
Loaded: loaded (/lib/systemd/system/lighttpd.service; enabled; vendor preset: enabled)
Active: active (running) since Sat 2024-04-06 19:27:51 IST; 1h 4min ago
Process: 753 ExecStartPre=/usr/sbin/lighttpd -tt -f /etc/lighttpd/lighttpd.conf (code=exited, status=0/SUCCESS)
Main PID: 987 (lighttpd)
Tasks: 1 (limit: 2261)
Memory: 1.8M
CPU: 1.138s
CGroup: /system.slice/lighttpd.service
└─987 /usr/sbin/lighttpd -D -f /etc/lighttpd/lighttpd.conf

Apr 06 19:27:46 ubuntu systemd[1]: Starting Lighttpd Daemon...
Apr 06 19:27:51 ubuntu systemd[1]: Started Lighttpd Daemon.
Step 5: Test Lighttpd Server
To test the working of lighttpd server, you can open your favorite browser and enter url http://localhost or http://<local_server_ip> to access default page. You should see something like below. This confirms lighttpd service started fine and working as expected.
NOTE:
Port 80. So if you have any firewall enabled in your system then don't forget to allow this port. If you have any other service already running on Port 80 then don't forget to change server port in /etc/lighttpd/lighttpd.conf to run the service on some other port.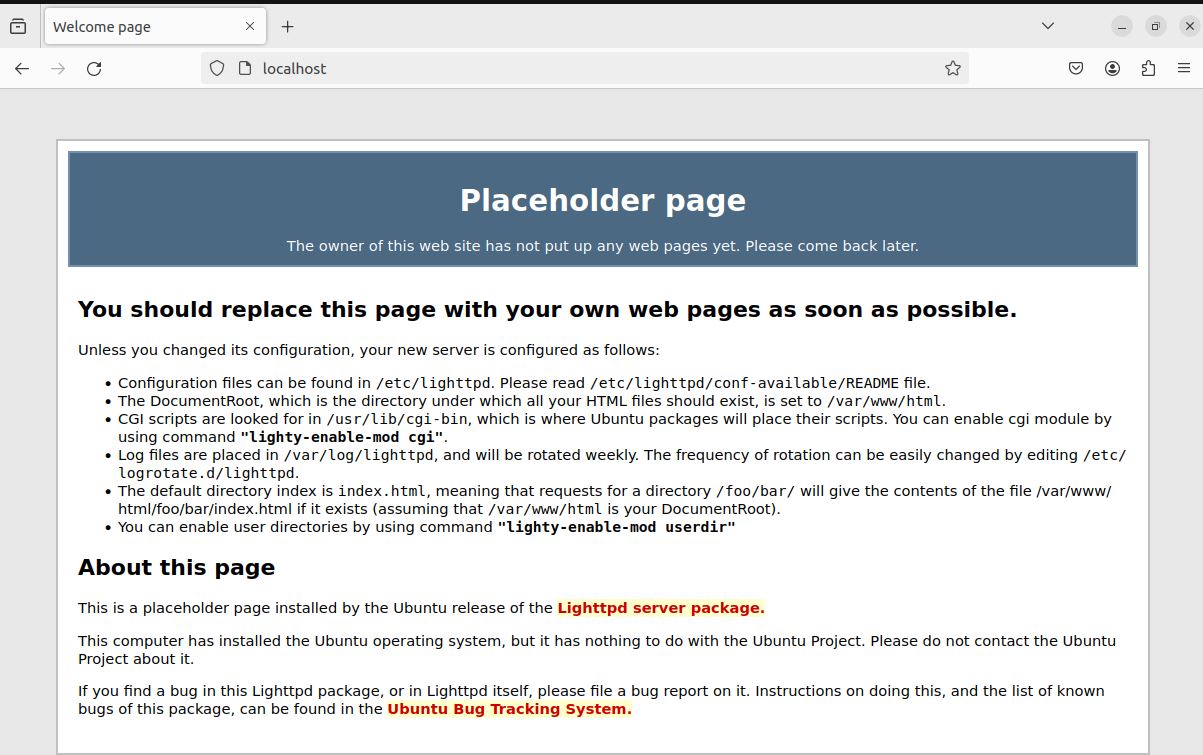
Step 6: Configure Lighttpd
When you freshly install lighttpd, you will find the configuration under /etc/lighttpd/lighttpd.conf path. To configure a website, you have place the files under a path specified in server.document-root directive. By default, you will see /var/www/html path configured in server.document-root as shown below. You can change to any custom path as per your requirement.
cyberithub@ubuntu:~$ vi /etc/lighttpd/lighttpd.conf
............................
server.document-root = "/var/www/html"
............................
You will have to specify the port on which server listens to. By default, it will be have Port 80 configured. You can change this port as well as per your need.
cyberithub@ubuntu:~$ vi /etc/lighttpd/lighttpd.conf
.............................
server.port = 80
.............................
Similarly, you can also change other required configuration.
cyberithub@ubuntu:~$ vi /etc/lighttpd/lighttpd.conf
.............................
server.upload-dirs = ( "/var/cache/lighttpd/uploads" )
server.errorlog = "/var/log/lighttpd/error.log"
server.pid-file = "/run/lighttpd.pid"
server.username = "www-data"
server.groupname = "www-data"
.............................
For the moment, we are going to create a simple HTML page under /var/www/html and test it. If you don't find /var/www/html directory path present in your system then you can create it by using mkdir /var/www/html command as shown below.
NOTE:
/var/www/html path.cyberithub@ubuntu:~$ sudo mkdir /var/www/html
Once created, switch to path using cd /var/www/html command.
cyberithub@ubuntu:~$ cd /var/www/html/
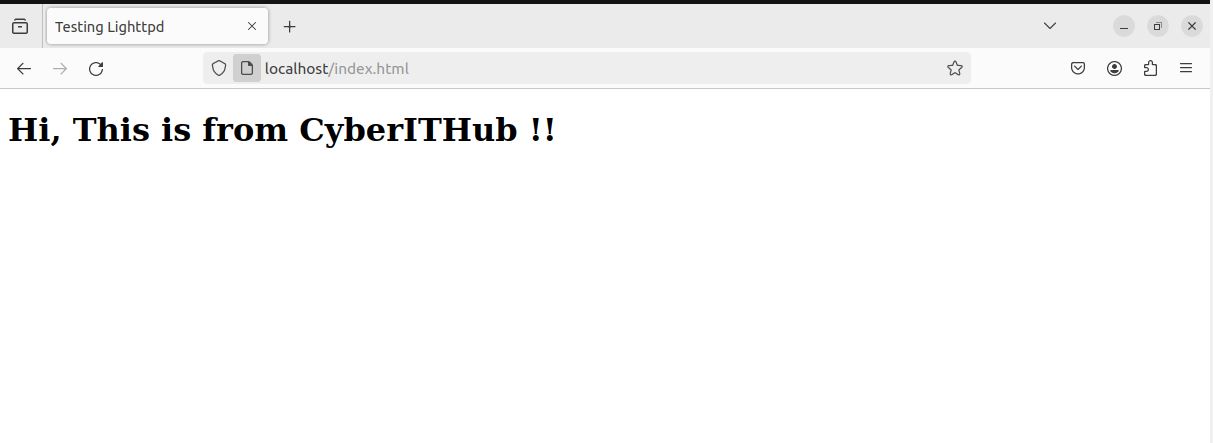
Now, create index.html file with below contents in it.
cyberithub@ubuntu:/var/www/html$ vi index.html
<!DOCTYPE html>
<html>
    <head>
        <title>Testing Lighttpd</title>
    </head>
    <body>
        <h1>Hi, This is from CyberITHub !!</h1>
    </body>
</html>
Restart lighttpd server by using sudo systemctl restart lighttpd command.
cyberithub@ubuntu:~$ sudo systemctl restart lighttpd
Now open your browser again and access http://localhost/index.html url. You would see something like below output. This confirms everything is working as expected.
Step 7: Uninstall Lighttpd
You also have the option to uninstall lighttpd from your system in case you are not looking to use it anymore. This can be done by simply running sudo apt remove lighttpd command as shown below. To remove dependencies, use --auto-remove option with below command.
cyberithub@ubuntu:~$ sudo apt remove lighttpd
Reading package lists... Done
Building dependency tree... Done
Reading state information... Done
The following package was automatically installed and is no longer required:
spawn-fcgi
Use 'sudo apt autoremove' to remove it.
The following packages will be REMOVED:
lighttpd lighttpd-mod-deflate lighttpd-mod-openssl
0 upgraded, 0 newly installed, 3 to remove and 48 not upgraded.
After this operation, 1,423 kB disk space will be freed.
Do you want to continue? [Y/n] Y
(Reading database ... 245340 files and directories currently installed.)
Removing lighttpd-mod-openssl (1.4.63-1ubuntu3.1) ...
Removing lighttpd-mod-deflate (1.4.63-1ubuntu3.1) ...
Removing lighttpd (1.4.63-1ubuntu3.1) ...
Processing triggers for man-db (2.10.2-1) ...
If you are looking to remove all the configuration files related to lighttpd along with the main package and its dependencies then you can use sudo apt purge lighttpd --auto-remove command.
cyberithub@ubuntu:~$ sudo apt purge lighttpd --auto-remove