
Table of Contents
In this article, we will see how to install Kubefwd on Windows 10 using 7 easy steps. Kubefwd, also known as kube forward is a free and open source command line utility to port forward multiple services within one or more namespaces on one or more kubernetes clusters. It uses the same port exposed by the service and forwards it from a loopback address on your local system. kubefwd allows you to access all the kubernetes services from your local workstation without doing any modification in the remote clusters. It is also very easy to install and use in Mac and Windows based systems. Here we will see the steps to install kubefwd on Windows 10 System in great detail.

How to Install Kubefwd on Windows 10 Using 7 Easy Steps
Also Read: How to Install Scoop on Windows 10 Using Few Easy Steps
Step 1: Prerequisites
a) You should have a running Windows 10 Server.
b) You should have Windows Powershell 5 available in your System.
c) You should have scoop utility installed in your System.
d) You should have access to open powershell with administrator rights.
Step 2: Open Powershell with Administrator Rights
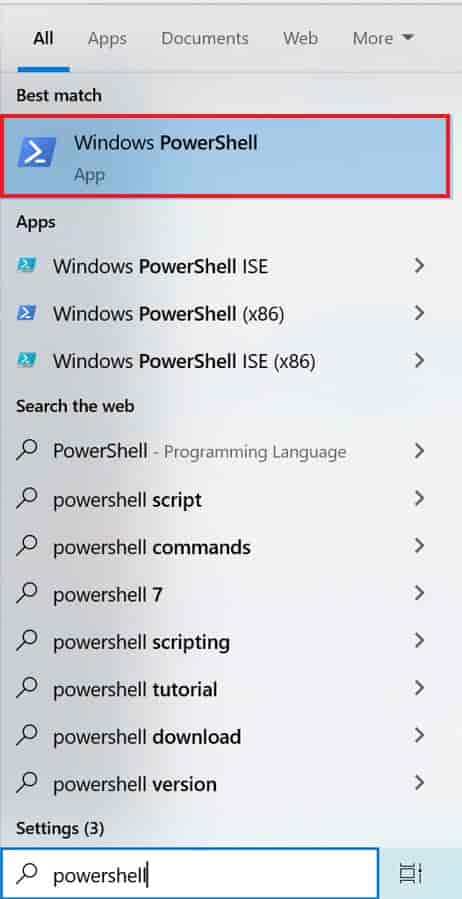
To open Powershell with administrator rights, you need to go to search bar on the bottom left of your Desktop screen and search powershell as shown below.

You will see Windows Powershell appearing on top as shown below. Once it appears, right click on Windows Powershell and select Run as administrator to start the shell with administrator rights. If it asks for administrator password, provide it and click on Yes to proceed.
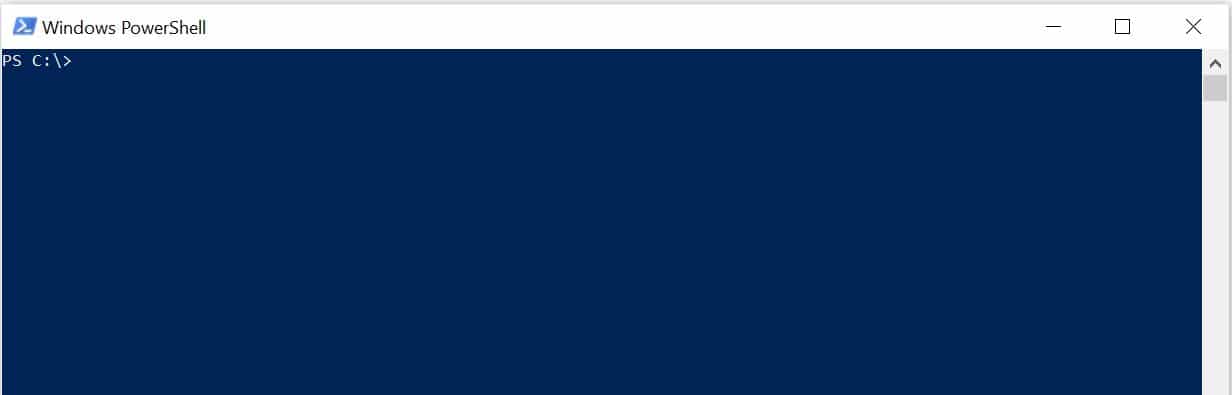
You will see Windows Powershell opened like below after clearing the screen using cls command.
Step 3: Check Program Info
Before installing kubefwd program, you can check the program version and other required information using scoop info kubefwd command as shown below.
PS C:\> scoop info kubefwd


Name : kubefwd
Description : Bulk port forwarding Kubernetes services for local development
Version : 1.22.5
Bucket     : main
Website    : https://github.com/txn2/kubefwd
License    : Apache-2.0
Updated at : 05-04-2023 01:56:03
Updated by : github-actions[bot]
Binaries   : kubefwd.exe
Step 4: Install Kubefwd
Then you can install the program by using scoop install kubefwd command as shown below. scoop will install the program from bucket, details of which can be checked using scoop bucket list command as shown below.
PS C:\> scoop install kubefwd
Installing 'kubefwd' (1.22.5) [64bit] from main bucket
kubefwd_Windows_x86_64.zip (10.7 MB) [========================================================================] 100%
Checking hash of kubefwd_Windows_x86_64.zip ... ok.
Extracting kubefwd_Windows_x86_64.zip ... done.
Linking ~\scoop\apps\kubefwd\current => ~\scoop\apps\kubefwd\1.22.5
Creating shim for 'kubefwd'.
'kubefwd' (1.22.5) was installed successfully!
Step 5: Check all Options
You can get the list of service forwarding options using kubefwd help svc command as shown below.
PS C:\> kubefwd help svc
←[36mINFO←[0m[03:07:58]  _          _           __           _
←[36mINFO←[0m[03:07:58] | | ___   _| |__   ___ / _|_   ____|  |
←[36mINFO←[0m[03:07:58] | |/ / | | | '_ \ / _ \ |_\ \ /\ / _  |
←[36mINFO←[0m[03:07:58] |   <| |_| | |_) | __/ _|\ V V  / (_| |
←[36mINFO←[0m[03:07:58] |_|\_\\__,_|_.__/ \___|_| \_/\_/ \__,_|
←[36mINFO←[0m[03:07:58]
←[36mINFO←[0m[03:07:58] Version 1.22.5
←[36mINFO←[0m[03:07:58] https://github.com/txn2/kubefwd
←[36mINFO←[0m[03:07:58]
Forward multiple Kubernetes services from one or more namespaces. Filter services with selector.

Usage:
kubefwd services [flags]

Aliases:
services, svcs, svc

Examples:
kubefwd svc -n the-project
kubefwd svc -n the-project -l app=wx,component=api
kubefwd svc -n default -l "app in (ws, api)"
kubefwd svc -n default -n the-project
kubefwd svc -n default -d internal.example.com
kubefwd svc -n the-project -x prod-cluster
kubefwd svc -n the-project -m 80:8080 -m 443:1443
kubefwd svc -n the-project -z path/to/conf.yml
kubefwd svc -n the-project -r svc.ns:127.3.3.1
kubefwd svc --all-namespaces
....................................................................
Step 6: Using Kubefwd
Now that Kubefwd is installed in your system, it is time to use it port forward all the services in a namespace. For example, in our case we have multiple services running under namespace fscm so to port forward those services we need to run kubefwd svc -n fscm command as shown below.
PS C:\> kubefwd svc -n fscm
←[36mINFO←[0m[10:10:32]  _          _           __            _
←[36mINFO←[0m[10:10:32] | | ___   _| |__   ___ / _|_    ____|  |
←[36mINFO←[0m[10:10:32] | |/ / | | | '_ \ / _ \ |_\ \ /\ / /_  |
←[36mINFO←[0m[10:10:32] |   <| |_| | |_) | __/ _|\ V V /  (_|  |
←[36mINFO←[0m[10:10:32] |_|\_\\__,_|_.__/ \___|_| \_/\_/  \__,_|
←[36mINFO←[0m[10:10:32]
←[36mINFO←[0m[10:10:32] Version 1.22.5
←[36mINFO←[0m[10:10:32] https://github.com/txn2/kubefwd
←[36mINFO←[0m[10:10:32]
←[36mINFO←[0m[10:10:32] Press [Ctrl-C] to stop forwarding.
............................................
Step 7: Uninstall Kubefwd
Once you are done using kubefwd, you can choose to uninstall it from your system by using scoop uninstall kubefwd command as shown below.
PS C:\> scoop uninstall kubefwd
Uninstalling 'kubefwd' (1.22.5).
Removing shim 'kubefwd.shim'.
Removing shim 'kubefwd.exe'.
Unlinking ~\scoop\apps\kubefwd\current
'kubefwd' was uninstalled.