
Table of Contents
In this article, I will take you through steps to create and configure Zone in Solaris 11. As per Oracle Documentation, The Solaris Zones partitioning technology is used to virtualize operating system services and provide an isolated and secure environment for running applications.
A zone is a virtualized operating system environment created within a single instance of the Solaris OS. Within zone,the operating system is represented to the applications as virtual operating system environments that are isolated and secure. The applications run in different zones with complete isolation.
This isolation prevents processes that are running in one zone from monitoring or affecting processes that are running in other zones. Even a process running with superuser credentials cannot view or affect activity in other zones.
There are basically two types of Zones:-
- Global Zones : The global zone is the default operating system and has control over all the processes. A global zone always exists even when no other zones are configured.
- Non-global zones : Non global zones are configured inside Global zones. Zones are isolated from the Physical Hardware by the virtual platform layer.
There are further division in Non Global Zones:-
- Spars root : It contains selected read only portion of the global zone. It Shares packages with Global Zones
- Whole root : It remains independent from Global Zone
- Branded : It allows different versions of Solaris to be installed.
Create and Configure Zone in Solaris 11
Also Read: How to use tar command in Solaris 11
Step 1: Prerequisites
In the first step, you need to check the package publisher location is set or not using pkg publisher command.
root@localhost:~# pkg publisher
PUBLISHER TYPE STATUS P LOCATION
solaris origin online F http://pkg.oracle.com/solaris/release
Step 2: Create ZFS File system
Then you need to first create a ZFS File system using zfs create rpool/zone1 command.
root@localhost:~# zfs create rpool/zone1
Step 3: Configure a new Zone zone1
Now you need to configure your zone using zonecfg -z zone1 command. Here we will minimal configuration to set up your zone where you need to define zonepath, set autoboot option and provide bootargs value.
root@localhost:~# zonecfg -z zone1
Use 'create' to begin configuring a new zone.
zonecfg:zone1> create
create: Using system default template 'SYSdefault'
zonecfg:zone1> set zonepath=/rpool/zone1
zonecfg:zone1> set autoboot=true
zonecfg:zone1> set bootargs="-m verbose"
zonecfg:zone1> verify
zonecfg:zone1> commit
zonecfg:zone1> exit
Step 4: List Configured Zones
Once zones is configured, check the status of the Global and Non Global zone in the global zone using zoneadm list -cv command. Notice that status is showing configured. Now you can go ahead and proceed towards zone installation.
root@localhost:~# zoneadm list -cv
ID NAME STATUS PATH BRAND IP
0 global running / solaris shared
- zone1 configured /rpool/zone1 solaris excl
-c :Display all configured zones. This option overrides the -i option.
-v :Display verbose information, including zone name, id, current state, root directory, brand type, ip-type, and
options.
Step 5: Install Zone zone1
You can start Zone installation by using zoneadm -z zone1 install command.
root@localhost:~# zoneadm -z zone1 install
/rpool/zone1 must not be group readable.
/rpool/zone1 must not be group executable.
/rpool/zone1 must not be world readable.
/rpool/zone1 must not be world executable.
changing zonepath permissions to 0700.
Progress being logged to /var/log/zones/zoneadm.20200108T133859Z.zone1.install
Image: Preparing at /rpool/zone1/root.
Step 6: Boot the Zone
Once zone is installed, it is now time to boot the zone using zoneadm -z zone1 boot command.
root@localhost:~# zoneadm -z zone1 boot
-z :String identifier for a zone.
Step 7: Access Zone Console
Once Zone is booted, you need to access the Zone Console to set the Configuration Parameters. Zone console can be accessed through zlogin -C zone1 command.
root@localhost:~# zlogin -C zone1
[Connected to zone 'zone1' console]
150/150
Booting to milestone "svc:/milestone/config:default".
[ network/datalink-management:default starting (data-link management daemon) ]
[ milestone/immutable-setup:default starting (Immutable Zone early boot configuration.) ]
[ network/socket-config:default starting (socket configuration) ]
[ system/name-service/upgrade:default starting (name service upgrade) ]
[ network/sctp/congestion-control:cubic starting (TCP-style congestion control) ]
[ network/sctp/congestion-control:vegas starting (TCP-style congestion control) ]
[ network/sctp/congestion-control:highspeed starting (TCP-style congestion control) ]
[ network/tcp/congestion-control:newreno starting (TCP-style congestion control) ]
[ network/sctp/congestion-control:newreno starting (TCP-style congestion control)
-C :Connects to the zone console. Access to the zone console requires the authorization .
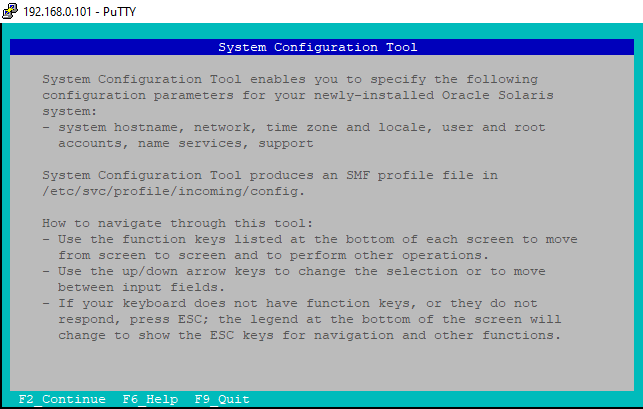
a) System Configuration Tool
Here you will see System Configuration Tool which enables you to specify the configuration parameters like System hostname, network, time zone, user and root accounts etc.
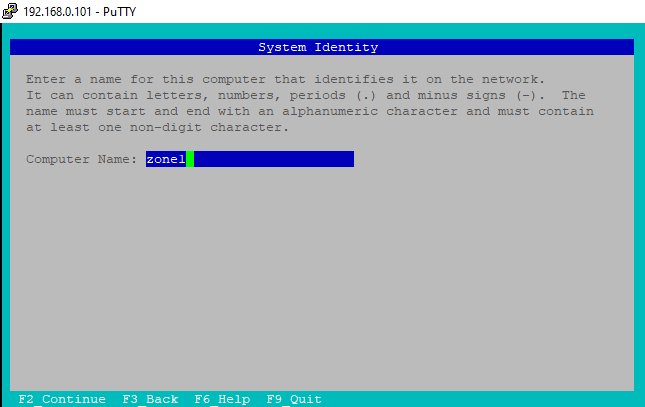
b) Set Computer Name
Here provide your computer name. I have given zone1 as my computer name. You can choose any name as required.
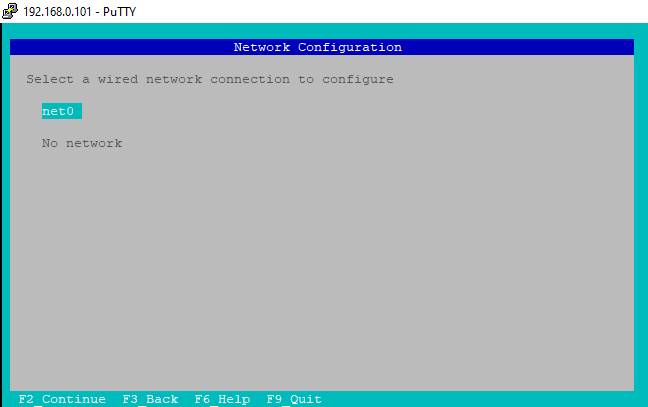
c)Network Configuration
Select network interface net0 from Network Configuration.
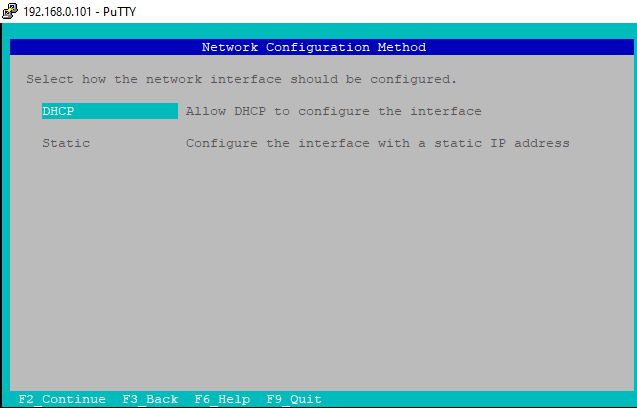
d) Network Configuration Method
Select DHCP under Network Configuration Method to get the IP for interface.
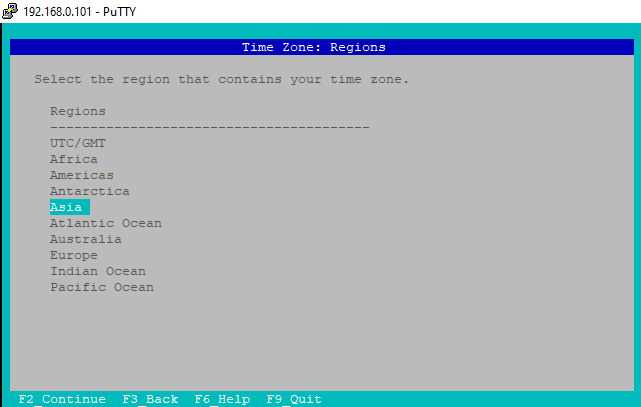
e) Time Zone
Select Time Zone Asia under Regions.
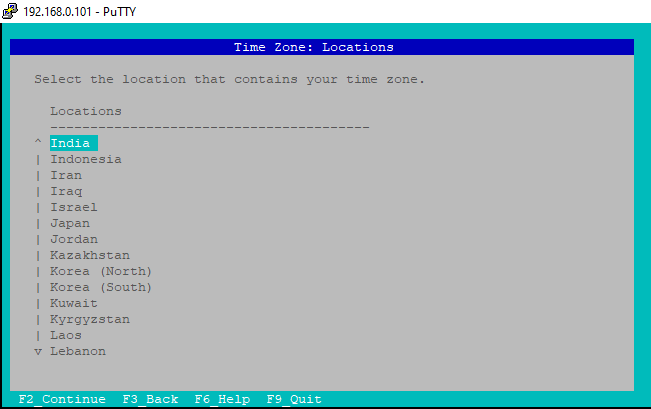
f)Set Locations
You need to set your locations here. I have selected India as you can see below.
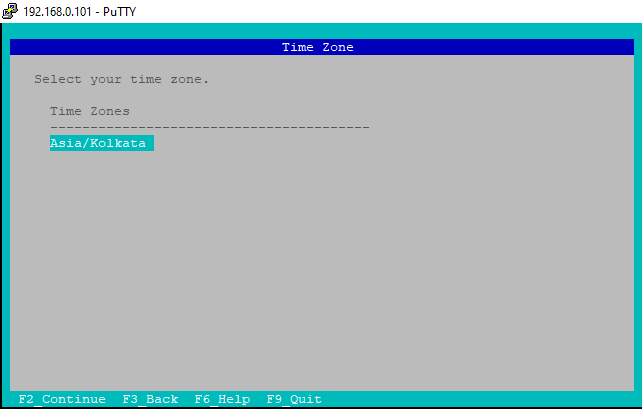
g)Set Time Zone
Set your time zone Asia/Kolkata here and Press F2.
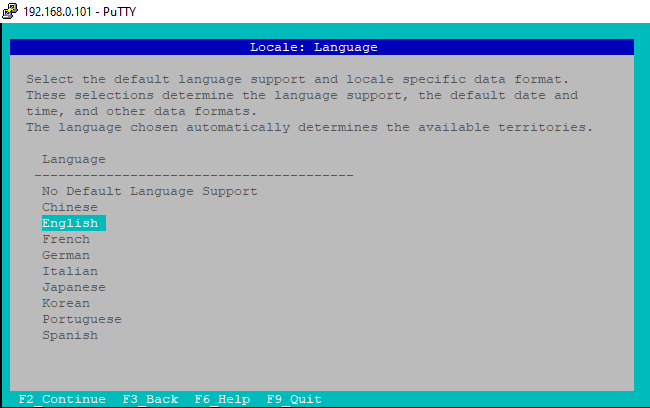
h) Set Language
Set your default language to English. You can set language as per your requirement and Press F2.
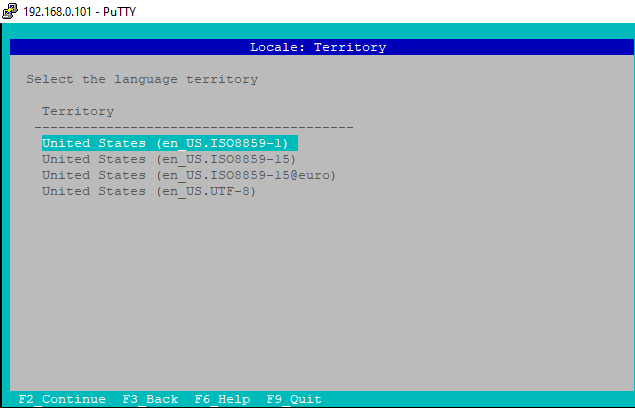
i) Set Language Territory
Here we will use Language Territory United States (en_US.ISO8859-1) and Press F2.
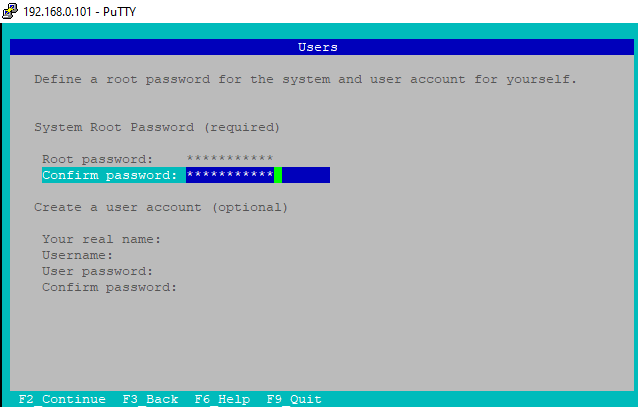
j) Set Password
You need to set your account password here. You can also create a user account but it is not mandatory. After setting the password, Press F2.
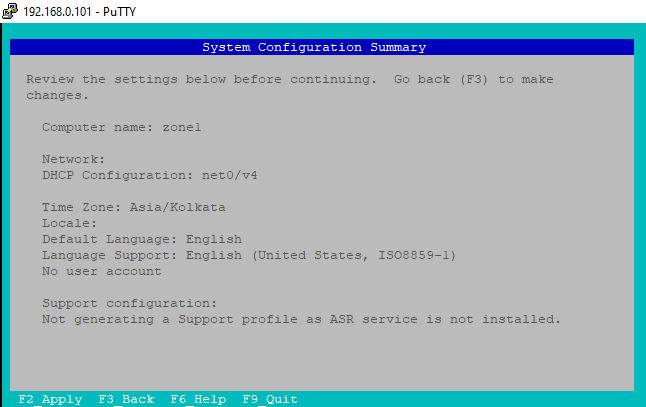
k) System Configuration Summary
Once all System Configuration parameters are set, you can check and verify all the configurations in System Configuration Summary as you can see below. If all looks good, Press F2 to apply this configuration.
Step 8: Login to Console
Now let's login to Zone Console and check if able to login to not.
root@localhost:~# zlogin zone1
[Connected to zone 'zone1' pts/2]
Last login: Wed Jan 8 21:23:52 2020 on console
NOTE: system has 1 active defect; run 'fmadm list' for details.
Oracle Corporation SunOS 5.11 11.4 Aug 2018
root@zone1:~#
How to Exit Out Zone?
To exit out a Zone, you need to press ~. as you can see below.
root@zone1:~# ~.
[Connection to zone 'zone1' pts/2 closed]
root@localhost:~#
How to get in the Zone using Failsafe Mode?
If you want to login to zone using failsafe mode, you need to run zlogin -S zone1 command.
root@localhost:~# zlogin -S zone1
[Connected to zone 'zone1' pts/2]
@zone1:~$
How to shutdown a zone ?
If you want to shutdown a non global zone in global zone, you need to run zlogin zone1 shutdown -i 0 command.
root@localhost:~# zlogin zone1 shutdown -i 0

Shutdown started. Wed Jan 15 11:03:03 IST 2020

Do you want to continue? (y or n): y
Changing to init state 0 - please wait
How to Start a Shutdown Zone ?
If your zone is shutdown and you want to start it, you need to use zoneadm -z zone1 boot command as seen below.
root@localhost:~# zoneadm -z zone1 boot
How to uninstall a Non Global zone ?
If you want to uninstall a non global zone zone1, you need to use zoneadm -z zone1 uninstall -F command.
root@localhost:~# zoneadm -z zone1 uninstall -F
Progress being logged to /var/log/zones/zoneadm.20200115T062357Z.zone1.uninstall
Also Read: 27 nmcli command examples
Popular Searches
- zfs file system
- zone 11
- creating a solaris zone