Table of Contents
In this article, we will see how to install FOXPRO programming software in Windows 10. FOXPRO sound programming utility is an easy-to-use application that assists you in managing the sounds in your FOXPRO game call. This is a free application developed for users of Microsoft Windows (XP, Vista, 7, 8, 8.1 & 10). More on official website. Here we will see the steps to install FOXPRO utility in Windows 10 System.
What You can do
- Add new sound
- Remove sounds
- Reorganize sounds
- Manage your sound categories (only for models that feature a TX1000 remote)
- Print sound labels
- Backup your sounds and many more
How to Install FOXPRO Programming Software in Windows 10
Also Read: How to Download and Install Cisco Packet Tracer in Windows 10
Step 1: Prerequisites
a) You should have a running Windows 10 System.
b) You should have access to install software in your System.
c) You should have active Internet Connection in your System.
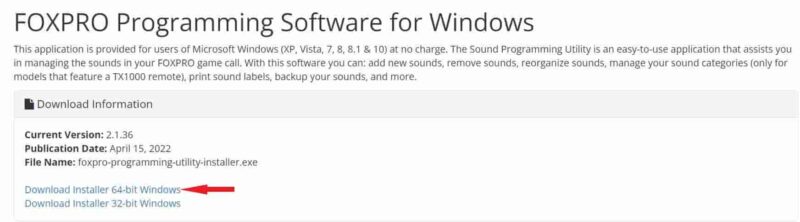
Step 2: Download FOXPRO
You need to go to FOXPRO official website and download the latest installer for 64-bit Windows OS as shown below.
Once you click on above shown link, it will start downloading the installer file in your local system as shown below.

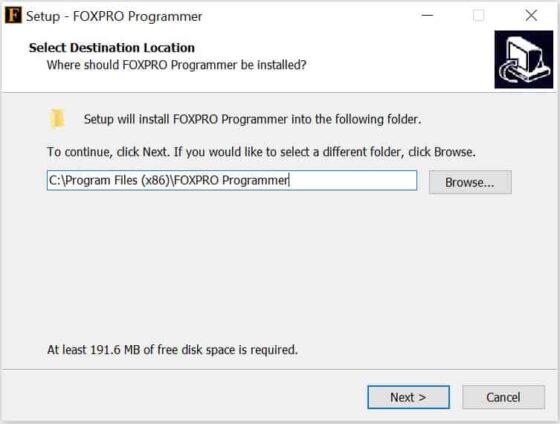
Step 3: Install FOXPRO
Once the software is successfully downloaded, you can double click it to start the installation. On the below setup screen, you need to provide the destination folder to install the software. By default, it will install under C:\Program Files (x86) folder as shown below. If you want to change the location, then click on Browse and select the appropriate location. Then click on Next to continue.
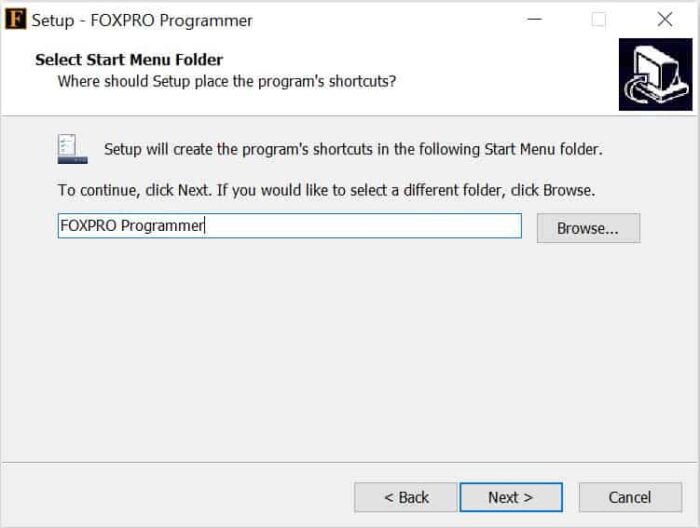
In the next screen, it will ask you to specify the folder location to setup the program's shortcuts. You can either Browse to different location or choose the default folder to place the program's shortcuts and then click on Next.
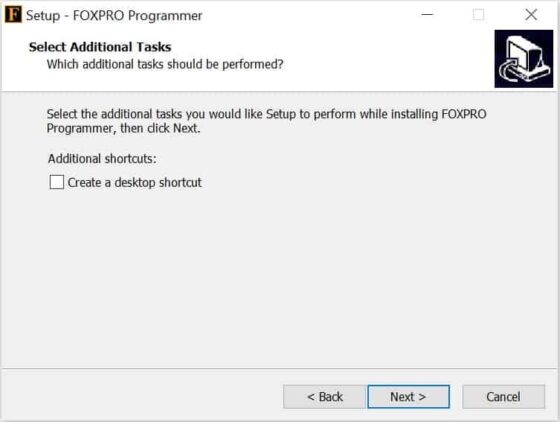
You can also choose additional tasks like Create a desktop shortcut by selecting the checkbox. Or else leave the option unselected and click on Next.
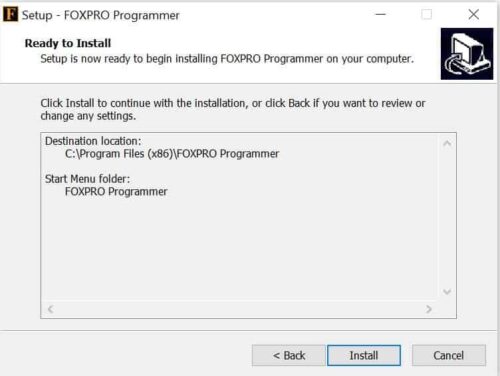
Finally you will see a summary of all the setup you did in the earlier steps on the below screen. If everything looks ok then click on Install as shown below.
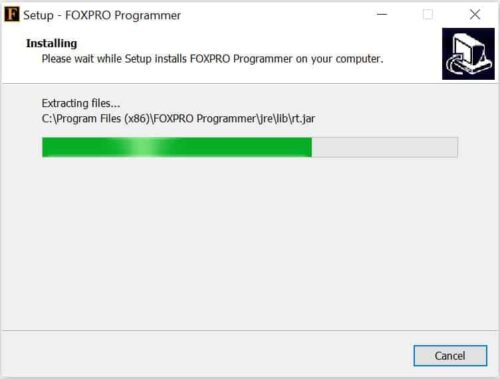
You will see the installation started and the progress can be tracked on below screen.
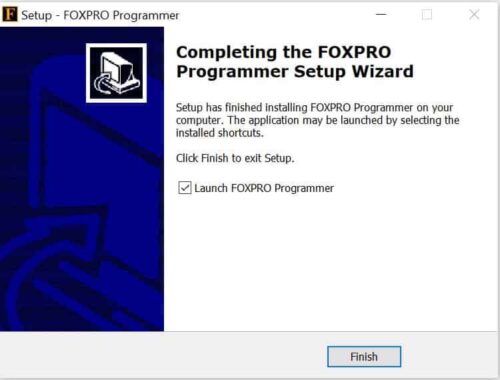
Once the installation is completed, you will see below screen. You just need to click on Finish to close the screen and launch FOXPRO Programmer. If you don't want to launch FOXPRO immediately then unselect the Launch FOXPRO Programmer checkbox and then click on Finish.
Step 4: Launch FOXPRO
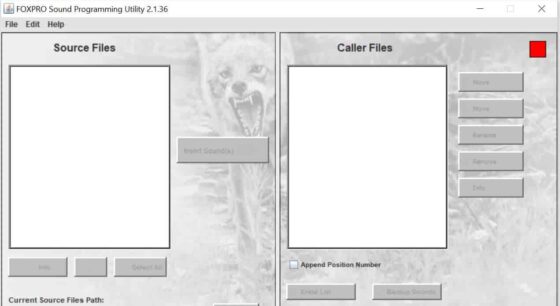
Once FOXPRO is launched, it should show like below where it will detect the Operating System and scan for devices.

Finally you will see below FOXPRO Sound Programming Utility opened where you can start doing your work. This also means that installation is finished successfully.