
Table of Contents
In this article, I will take you through step by step guide to install and setup firewalld GUI on Rocky Linux 8. According to Official documentation, firewalld provides a dynamically managed firewall with support for network/firewall zones that define the trust level of network connections or interfaces. It has support for IPv4, IPv6 firewall settings, ethernet bridges and IP sets. There is a separation of runtime and permanent configuration options. It also provides an interface for services or applications to add firewall rules directly. Many times configuring firewalld through command line might be tedious and prone to mistake so it is always better to use GUI mode to setup all the firewall rules.
Features
- Complete D-Bus API
- IPv4, IPv6, bridge and ipset support
- IPv4 and IPv6 NAT support
- Firewall zones
- Predefined list of zones, services and icmptypes
- Simple service, port, protocol, source port, masquerading, port forwarding, icmp filter, rich rule, interface and source address handlig in zones
- Simple service definition with ports, protocols, source ports, modules (netfilter helpers) and destination address handling
- Rich Language for more flexible and complex rules in zones
- Timed firewall rules in zones
- Simple log of denied packets
- Direct interface
- Lockdown: Whitelisting of applications that may modify the firewall
- Automatic loading of Linux kernel modules
- Integration with Puppet
- Command line clients for online and offline configuration
- Graphical configuration tool using gtk3
- Applet using Qt4

How to Install and Setup Firewalld GUI on Rocky Linux 8
Also Read: How to Install Podman on Ubuntu 20.04 LTS [Step by Step]
Step 1: Prerequisites
a) You should have a running Rocky Linux 8 Server.
b) You should have sudo or root access to run privileged command.
c) You should have yum and rpm utility available in your Server.
Step 2: Update Your Server
It is always recommended to run an update once before installing a new package using yum update command. If any package needs to be upgraded then run yum upgrade as well to upgrade packages to the latest version.
[root@cyberithub ~]# yum update
Rocky Linux 8 - AppStream 2.9 kB/s | 4.8 kB 00:01
Rocky Linux 8 - AppStream 3.9 MB/s | 8.7 MB 00:02
Rocky Linux 8 - BaseOS 2.6 kB/s | 4.3 kB 00:01
Rocky Linux 8 - BaseOS 1.0 MB/s | 4.6 MB 00:04
Rocky Linux 8 - Extras 3.7 kB/s | 3.5 kB 00:00
Rocky Linux 8 - Extras 9.3 kB/s | 10 kB 00:01
Docker CE Stable - x86_64 21 kB/s | 3.5 kB 00:00
Docker main Repository 0.0 B/s | 0 B 00:00
.........................................................
Step 3: Install Firewalld
Next step is to install firewalld package by using yum install firewall-config command as shown below. This will install the package along with all the required dependencies.
[root@cyberithub ~]# yum install firewall-config
Loaded plugins: fastestmirror
Loading mirror speeds from cached hostfile
epel/x86_64/metalink                                                                                                             |  32 kB  00:00:00
 * base: ftp.funet.fi
 * centos-qemu-ev: ftp.funet.fi
 * epel: www.nic.funet.fi
 * extras: ftp.funet.fi
 * updates: ftp.funet.fi
base                                                                                                                             | 3.6 kB  00:00:00
centos-ceph-luminous                                                                                                             | 3.0 kB  00:00:00
centos-openstack-rocky                                                                                                           | 3.0 kB  00:00:00
centos-qemu-ev                                                                                                                   | 3.0 kB  00:00:00
docker-ce-stable                                                                                                                 | 3.5 kB  00:00:00
epel                                                                                                                             | 4.7 kB  00:00:00
Installed:
firewall-config.noarch 0:0.6.3-13.el7_9
Dependency Installed:
adwaita-cursor-theme.noarch 0:3.28.0-1.el7 adwaita-icon-theme.noarch 0:3.28.0-1.el7 at-spi2-atk.x86_64 0:2.26.2-1.el7
at-spi2-core.x86_64 0:2.28.0-1.el7 cairo-gobject.x86_64 0:1.15.12-4.el7 colord-libs.x86_64 0:1.3.4-2.el7 dbus-x11.x86_64 1:1.10.24-15.el7 dconf.x86_64 0:0.28.0-4.el7 glib-networking.x86_64 0:2.56.1-1.el7
gnutls.x86_64 0:3.3.29-9.el7_6 gsettings-desktop-schemas.x86_64 0:3.28.0-3.el7 gtk3.x86_64 0:3.22.30-6.el7 json-glib.x86_64 0:1.4.2-2.el7 lcms2.x86_64 0:2.6-3.el7 libXmu.x86_64 0:1.1.2-2.el7 libXt.x86_64 0:1.1.5-3.el7 libXxf86misc.x86_64 0:1.0.3-7.1.el7 libepoxy.x86_64 0:1.5.2-1.el7
libgusb.x86_64 0:0.2.9-1.el7 libmodman.x86_64 0:2.0.1-8.el7 libproxy.x86_64 0:0.4.11-11.el7 libsoup.x86_64 0:2.62.2-2.el7 libusbx.x86_64 0:1.0.21-1.el7 libwayland-cursor.x86_64 0:1.15.0-1.el7
libwayland-egl.x86_64 0:1.15.0-1.el7 libxkbcommon.x86_64 0:0.7.1-3.el7 nettle.x86_64 0:2.7.1-9.el7_9 rest.x86_64 0:0.8.1-2.el7 trousers.x86_64 0:0.3.14-2.el7 xkeyboard-config.noarch 0:2.24-1.el7
xorg-x11-server-utils.x86_64 0:7.7-20.el7 xorg-x11-xauth.x86_64 1:1.0.9-1.el7 xorg-x11-xinit.x86_64 0:1.3.4-2.el7

Dependency Updated:
dbus.x86_64 1:1.10.24-15.el7 dbus-libs.x86_64 1:1.10.24-15.el7 firewalld.noarch 0:0.6.3-13.el7_9
firewalld-filesystem.noarch 0:0.6.3-13.el7_9  python-firewall.noarch 0:0.6.3-13.el7_9
Complete!
Step 4: Verify Installed RPM
Once installed successfully, you can verify the package by using rpm -qa | grep firewall command as shown below.
[root@cyberithub ~]# rpm -qa | grep firewall
firewalld-filesystem-0.6.3-13.el7_9.noarch
python-firewall-0.6.3-13.el7_9.noarch
firewalld-0.6.3-13.el7_9.noarch
firewall-config-0.6.3-13.el7_9.noarch
Step 5: Setup Firewalld
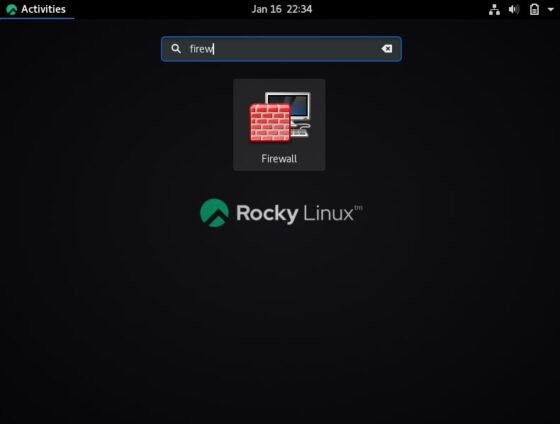
Once RPM is installed, Click on Activities and search for firewall in the Search box. Once firewall pop up like below then click on it to open.
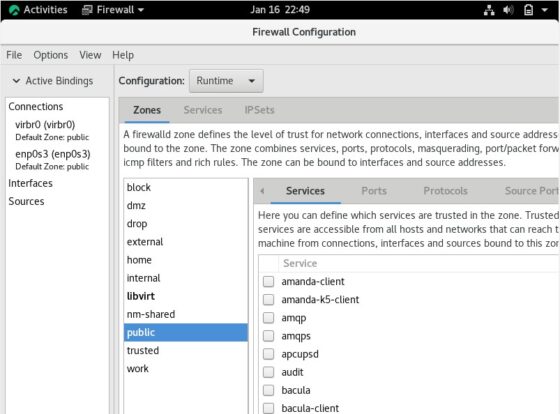
It might ask you for password to authenticate. Once authenticated it will take you to the Firewall Configuration screen where you can see the current default settings.
Now that we have the setup, we will walk through few rule creations to get familiar with the working of the tool. We will create 2 rules in this tutorial for the demonstration. One to create a new zone and another to add interfaces to the newly created zone.
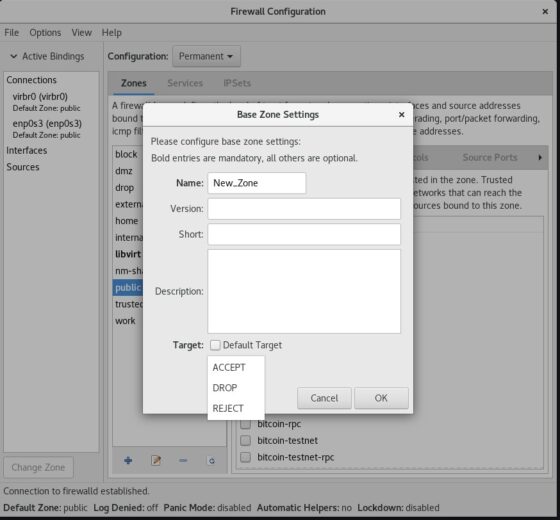
a) Create new zones
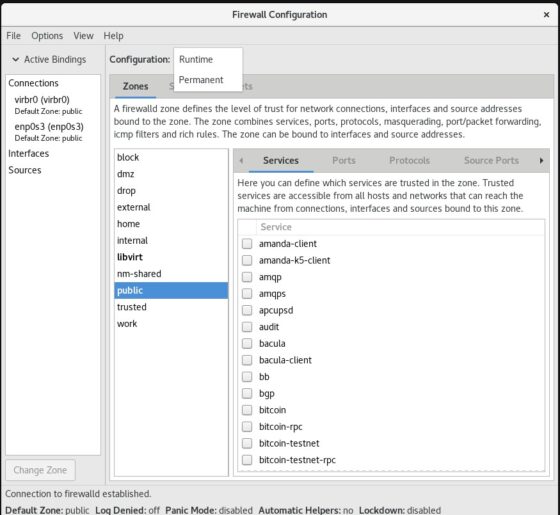
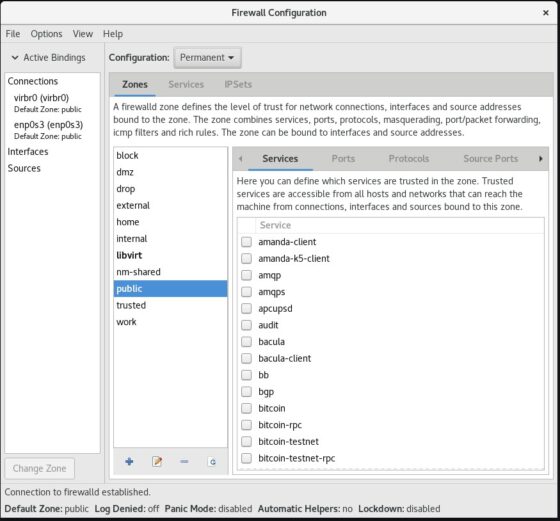
Select the Configuration as “Permanent”.
Click on “Add Zone” option.
Enter new zone name and uncheck Target to customize the value. In my case I have selected target as DROP. Then Click on OK once done.
Then Click on Reload firewalld to apply the changes.
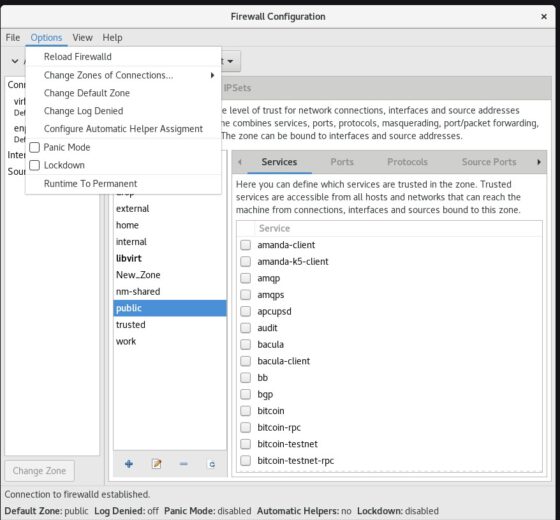
Next Click on “Change Default Zone” option to make newly created zone as default. Then select the new zone and click OK.
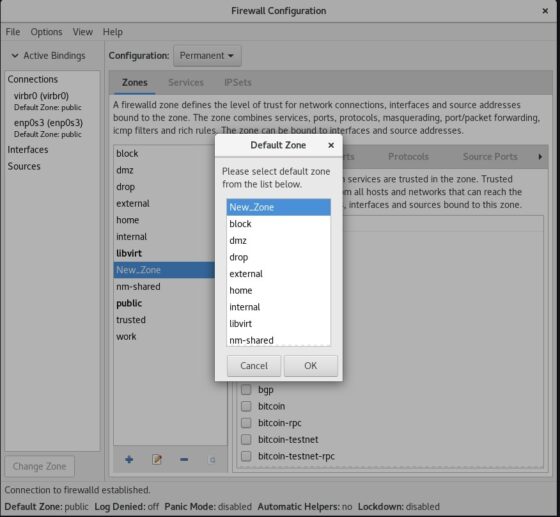
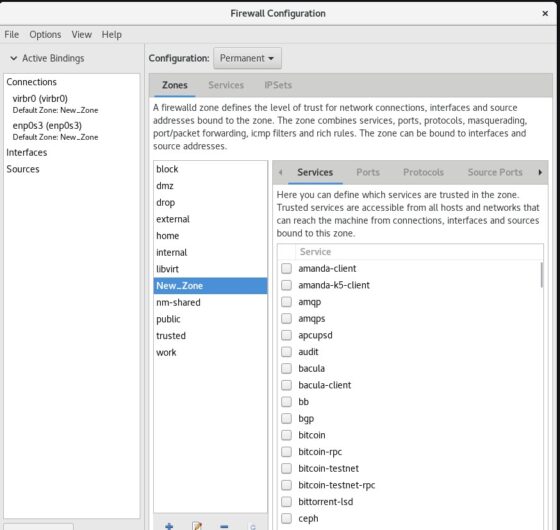
Again reload the firewalld to apply the changes permanently like we did above. You will now see that the default zone has been changed to “New_Zone”.
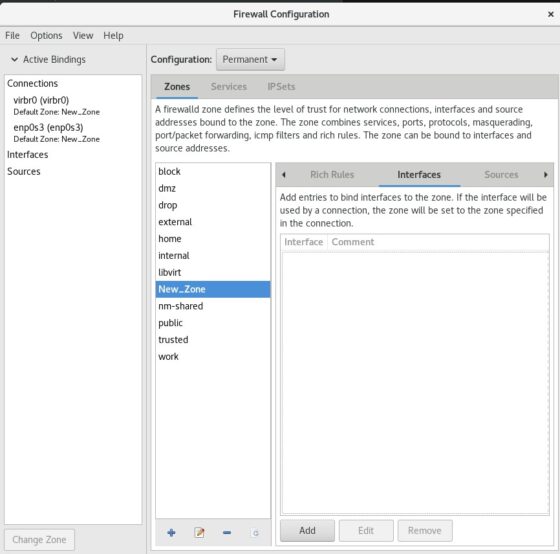
b) Add interfaces to Zone
Next we will add the interfaces to the newly created zone. By default there won’t be any interfaces added to this zone as you can see below.

To see the existing network interfaces in your machine, open the terminal and execute “ip a” to list all the interfaces. Click on “Add” button to add the interface.
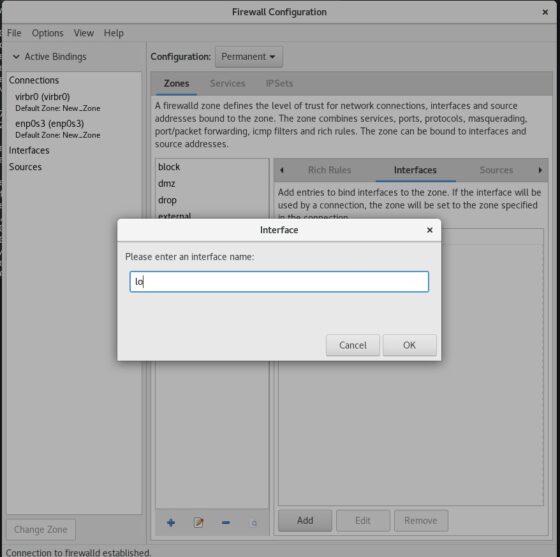
Enter the interface name. I am adding loopback (lo) interface to the zone. This might be different for you. You may want to add eth0 or enp0s3 or some other interface depending on your requirements. Once done, Click on OK.
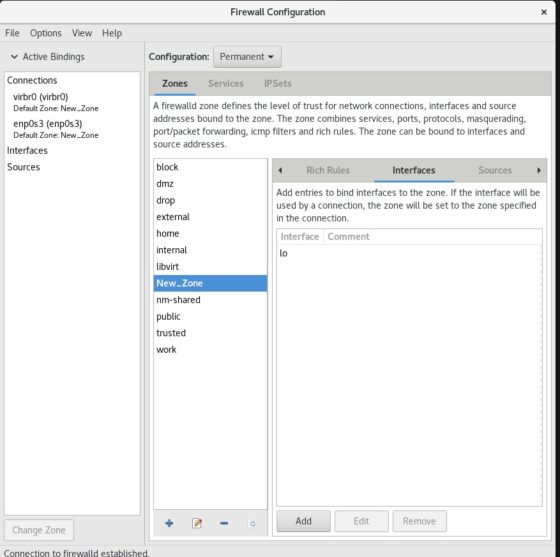
Reload firewalld to apply the changes permanently. We can see “lo” interface has been added to the “New_Zone” zone.
Similarly we can add any number of interfaces to a zone. We can also edit, remove the interfaces from a zone using the options available. We can add any number of firewalld rules using the GUI like adding services, applying ICMP type, rich rule, direct rule and many more. Demonstrating each rule is beyond the scope of this tutorial. But the above demonstration should give you the fair idea on how to play around with GUI to create and apply required rules.
Good to Know
All the firewalld configuration and related information gets stored on the server in path /etc/firewalld.
[root@cyberithub ~]# cd /etc/firewalld
[root@cyberithub firewalld]# ls
firewalld.conf  helpers  icmptypes  ipsets  lockdown-whitelist.xml  services  zones
We can view the zones inside zones directory. Similarly if we have services applies, we can view inside services directory. We can also see all the direct rules applied in the file “direct.xml” which gets created in the same directory.